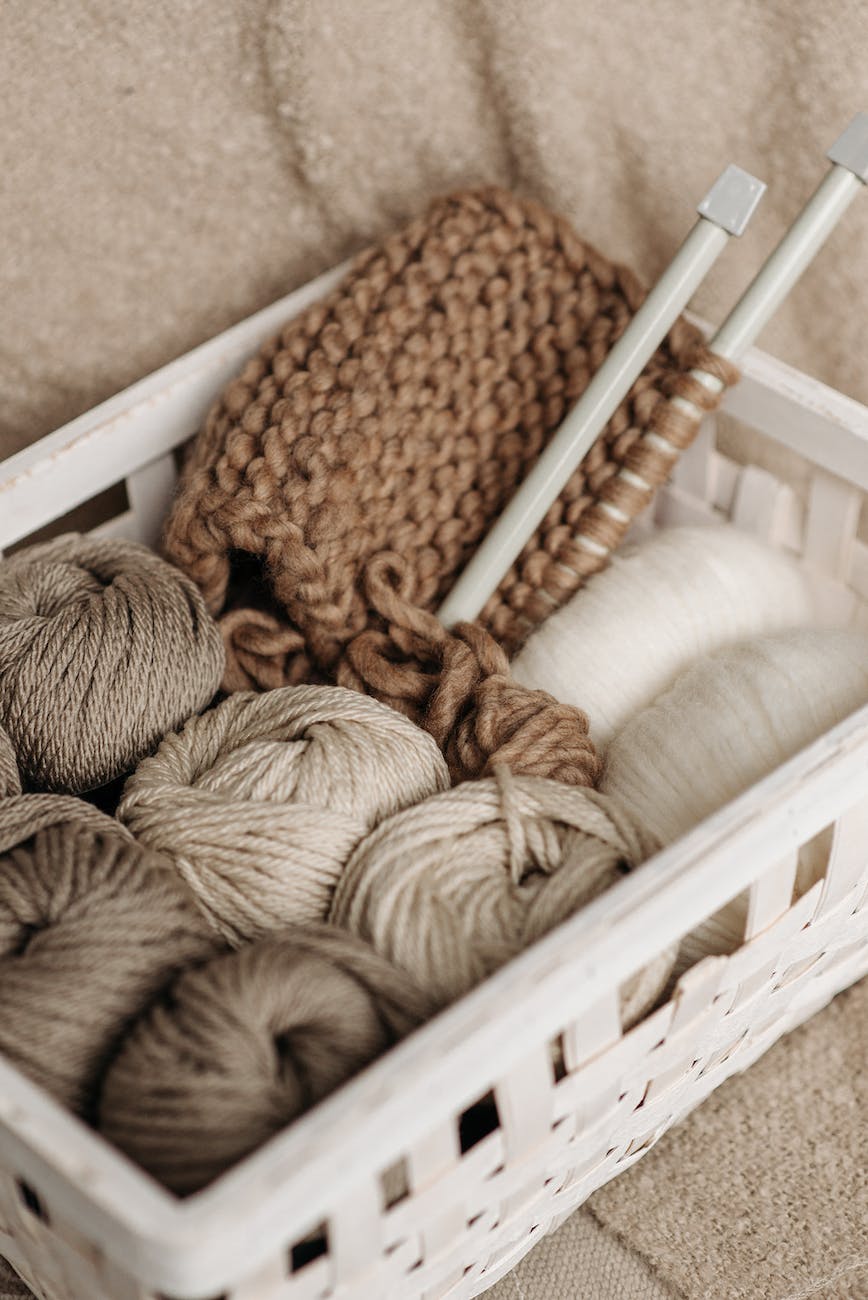
mastering knitting techniques: tips and tricks for success
Once you’ve mastered the basic knit and purl stitches, you’re ready to start learning some more advanced knitting techniques. These techniques will allow you to create intricate patterns, join pieces, shape garments, and add decorative touches to your knitting.
Here are a few of the most important advanced knitting techniques:
- Colorwork: This technique allows you to knit with multiple colors of yarn to create beautiful patterns.
- Fair Isle: This is a type of colorwork that is characterized by its intricate patterns and bold colors.
- Intarsia: This technique is similar to Fair Isle, but it allows you to knit with more than two colors of yarn at a time.
- Knit and purl cables: These are decorative stitches that are created by twisting the knit and purl stitches in different ways.
- Raglan shaping: This technique is used to shape the sleeves and body of a garment.
- Short rows: These are rows that are worked only partially, and they are used to create shaping in garments.
Learning these techniques will open up a whole new world of possibilities for your knitting. You’ll be able to create intricate patterns, garments that fit perfectly, and home décor that is both beautiful and functional.
So what are you waiting for? Start learning these techniques today!
Here are some additional tips for learning advanced knitting techniques:
- Find a good tutorial or class. There are many resources available to help you learn these techniques, so find one that is right for you.
- Practice regularly. The more you practice, the better you’ll become at these techniques.
- Don’t be afraid to experiment. Try different things and see what works for you.
With a little bit of practice, you’ll be mastering these techniques in no time.
Increasing and Decreasing Stitches
Increases add stitches to widen pieces like sleeve cuffs. Decreases remove stitches to taper sections like hat crowns.
Knit Front/Back Increase: Knit into front loop normally, then knit into back loop of same stitch to double it.
Purl Increase: Purl normally but leave stitch on left needle, bring yarn to front and purl into back of same stitch.
Make One Increase: Use left needle tip to twist horizontal strand between stitches to make new stitch.
K2tog Decrease: Knit 2 stitches together as one to reduce count by 1.
P2tog Decrease: Purl 2 stitches together as one to reduce count by 1.
Slip, Slip, Knit Decrease: Slip 2 stitches individually, knit them together through back loop.
Buttonholes
Buttonholes allow cardigans and wraps to fasten. They’re strategic holes reinforced with stitches.
Work 2-4 buttonhole stitches based on width needed. Bring yarn to front, slip next stitch purlwise, return yarn to back then slip stitch back to left needle. Work indicated number of stitches. On following row, cast on stitches to replace those bound off.
Picking Up Stitches
This attaches a new knitted section to an existing piece, like a collar or pocket.
With right side facing, insert needle through edge stitch from front to back. Wrap working yarn around needle and pull new loop through to front. Continue at regular intervals.
Three Needle Bind Off
This joins two pieces together while binding off stitches.
Divide stitches evenly on two needles with edges facing. Hold needles parallel in left hand. Using third needle in right hand, knit first stitch from front needle together with first stitch from back needle. Knit next two stitches together, pass first stitch over second to bind off. Repeat across row.
Seaming
Connect finished panels with flat, near-invisible seams using mattress stitch. Works vertically or horizontally.
With yarn threaded on needle, insert needle under bar between two stitches on one piece, then under bar between corresponding two stitches on other piece. Draw yarn through gently. Repeat, creating ladder-like seam.
Casting On in Middle of Row
Attach yarn at needed point by making a backward loop around right needle. Tighten carefully so loop sits at the base of needles without twisting. Proceed with indicated stitches.
Picking Up Dropped Stitches
Don’t rip out whole rows! Use crochet hook two sizes smaller than knitting needles to retrieve stitches and place back on needle to continue.
Insert crochet hook from front into dropped stitch. Catch the horizontal ladder rung and pull through carefully. Place caught stitch onto left knitting needle.
Joining New Yarn Balls
When changing yarn, tie new and old ends together in a slipknot. Trim previous tail to 4″ and weave ends into wrong side when finishing. Or, overlap old and new yarn while knitting two stitches with both to twist and secure.
Reading Charts and Graphs
Learn to follow visual pattern charts. Each square represents a stitch. Symbols show techniques, with colors depicting yarn changes. Read charts from bottom to top.
With practice, mastering essential knitting know-how becomes second nature. Use these techniques to expand possibilities and patterns. Soon you’ll be creating intricate, professional knitwear!
