Leatherworking 101: A Beginner’s Guide to Crafting with Leather
An Introduction to Leather and its Uses
Leather is a versatile material made from animal rawhides and skins that has been used for centuries for clothing, footwear, accessories, armor and more. Leather is valued for its durability, flexibility and water resistance.
Common leathers used in crafting include cow, lamb, goat and deerskins. Leather can be tooled, dyed, stitched, laced, carved and stamped to create endless handmade items like handbags, wallets, journals, home decor, jewelry and garments.
With some basic tools and skills, beginners can get started crafting quality leather goods right at home. This guide covers everything needed to begin.
Gathering Essential Leathercrafting Tools
Leathercrafting does not require a huge upfront investment in specialized tools, especially for beginners. Many common household items work in a pinch. Here are some basics to start out:
- Leather needles – Various sizes and points for hand stitching
- Thread – Strong waxed thread for durability
- Scissors – Sharp shears for cutting leather
- Ruler – Metal rulers with beveled edges
- Knives – Craft knives with replaceable blades
- Mallets – Soft mallets to hammer and shape leather
- Edge slicker and burnisher – To finish and seal edges
- Hole punches – Various sizes to make rivets and stitching holes
- Stamps – For decorative patterns and personalization
Quality beginner’s toolsets provide all these starter tools at a reasonable cost to outfit a workspace.
Selecting Appropriate Leather for Projects
Many factors determine leather selection for specific products including thickness, softness, breathability and surface finish. Beginners should consider:
- Thickness – Thinner leathers 1-2 oz. for garments. Thicker 5-6 oz. for bags and armor.
- Softness – Softer leathers like lamb for clothes. Stiffer cowhide for structure.
- Finish – Suede’s napped side vs smooth grain side. Distressed finishes.
- Origin – Cow, ox, lamb, deer etc. Impacts texture and drape. Test different leathers to get a feel for handling, flexibility and how edges burnish before investing in large cuts. Grain cracking or tears means leather was not ideal for the project. Quality matters.
Proper Leather Cutting Techniques
Good cutting technique prevents waste from inaccurate slices and inefficient layouts. Follow these tips when starting out:
- Use sharp blades and change as needed
- Cut on smooth solid work surfaces using a ruler
- Lay out patterns efficiently to minimize unused scraps
- Skive edges where leather will overlap for flexible seams
- Punch holes before stitching to avoid tear out
- Trim fuzzy edges with beveled blades for clean lines
- Take care not to overcut corners
- Sharpen blades frequently for effortless cutting
With practice, cutting leather becomes quick and satisfying. Efficient layout and piecing together scraps reduces waste.
Prepping and Finishing Leather Edges
Exposed leather edges must get sealed to prevent moisture damage and fraying. Finishing edges also lends a polished professional look.
Use an edge beveler or file slicker to smooth and shape cut edges at an angle. Remove fuzziness with fine grit sandpaper.
Apply edge paint like gum tragacanth or acrylic and tap with a cloth-wrapped burnishing tool to seal. Let dry completely before further handling.
Well-executed edge finishing prevents deterioration and makes projects feel elevated and complete. It just takes some finesse and patience.
Basic Leather Stamping and Tooling
Decorative stamping presses designs into leather using metal tools. This versatile technique adds artistry and personalization to leather goods.
Hold stamps perpendicular and strike firmly with a mallet to imprint crisp impressions. Repeat across the leather, spacing out motifs evenly.
Use alphabet sets for monogramming and sentiments. Border stamps decorate edges and seams. Geometric and floral stamps bring decorative flair.
With many stamp design options, the possibilities are endless for making projects special through creative tooling. Even beginners can pick it up quickly.
Helpful Techniques for Assembly and Construction
Assembling leather pieces into a functional finished product requires reliable construction approaches. Here are some common options:
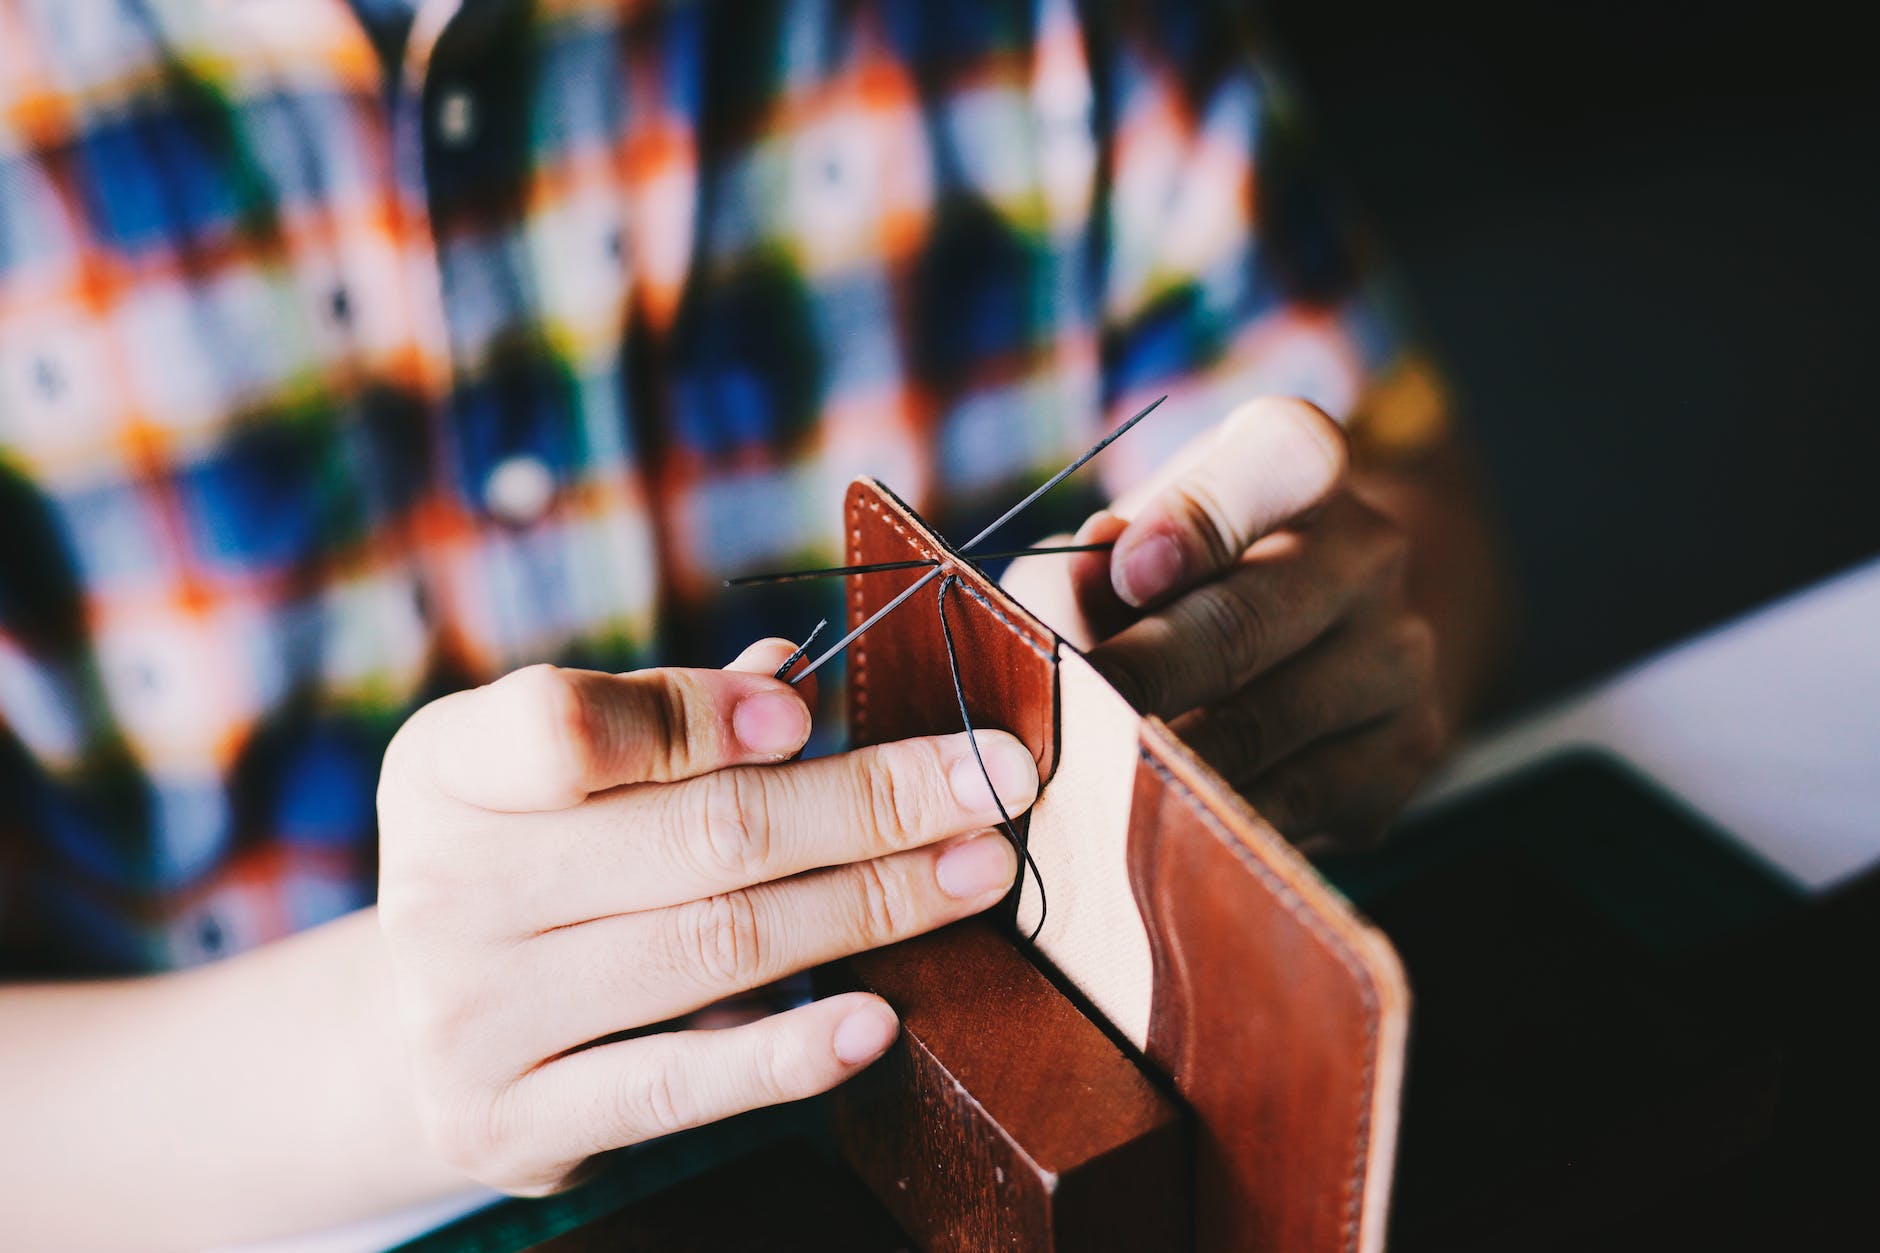
- Punch evenly spaced holes for stitching together with waxed thread and harness needles
- Use contact cement to firmly bond leather layers and lining
- Rivet pieces together with metal burrs set into holes
- Lace leather through slots using waxed thread or leather lacing
- Snap pieces together using grommet and snap press tools
- Create hinges by skiving leather at the fold line
Planning ahead for assembly helps identify the most appropriate techniques based on project use and design. Leather glues and lacing create flexible joints.
Advanced Cutting Methods for 3D Shaping
Beyond flat 2D projects, leather can get shaped into 3D bags, armor, cases, and other forms. Advanced cutting enables 3D assembly.
Make paper pattern templates first and transfer to leather. Cut adjoined pieces continuously to ensure fit.
Skive and bevel the edges at compound seams. Slice or carve decorative cutouts as desired. Leave needed margins.
Cut gaps allow smoother folding around corners. Tabs help interlock segments. Thoughtfully planned cuts allow the leather to transform.
With careful planning and cutwork, leather’s flexible durability molds beautifully into dimensional objects like sculptural mask, molded cases, and ergonomic accessories.
Personalizing with Creative Stamping and Carving
Leather’s ability to hold impressions allows extensive creative options for personalization through carving, stamping, and embossing.
Use swivel knives to carve freehand designs, names, and symbols. Geometric templates add precision.
Emboss by rubbing textured items against dampened suede. Add definition by tracing pressed lines with tools.
Apply creative stamps in original arrangements across projects. Use background textures to make central motifs pop.
Leather offers a timeless canvas for self-expression through tooling. Even beginners can craft meaningful personalized touches and signing their works.
Helpful Techniques for Painting and Coloring
Applying color opens new realms for custom leathercraft. Leather dyes, stains, paints and finishes allow limitless possibilities.
Thin diluted dyes penetrate evenly. Multiple coats build intensity. Seal with acrylic resolene for durability.
Brush on edge paints and gel antique finishes for controlled shading. Paint background textures around tooled areas.
Distress with layers of waxes and stains. Metallic foils add accents. Clear finishes protect painted works.
With quality paints and preparation, beginners can introduce bold color while preserving leather’s supple feel. Creative techniques lend rich visual depth.
Advanced Leather Carving Techniques
After mastering basic stamping and tooling, challenging advanced carving skills create lifelike motifs. This fine work becomes art.
Use swivel knives to outline patterns first. Background gets carved down around the contours. Add shading through impressions.
Build dimension and realism through skillful convex and concave slicing to shape forms. Add details like scales, fur, feathers and textures.
It takes years to carve leather skillfully without slicing too deep or losing tracking. But practice pays off in dramatic etched artwork.
With dedication, leather’s surface transforms into everything from animal portraiture to floral tableaus under assiduous blades. Patience carves awe from leather’s supple canvas.
Helpful Finishing Techniques
Many finishing touches add beauty and functionality to complete leather pieces. Useful techniques include:
- Dyeing and oiling leather to saturation for rich uniform color
- Polishing with wax or resolene for protective sheen
- Waterproofing by oiling suede backs for outdoor use
- Setting snaps and rivets for closure and decoration
- Adding leather handles, straps or hinges for usability
- Sewing in leather-reinforced lining for structure and pockets
Thoughtful finishing makes durable goods both user-friendly and striking. Protecting work keeps pieces cherished for a lifetime of use.
Leathercrafting empowers beginners to create timeless durable goods imbued with personal meaning. As skills develop, make cherished gifts, artwork, clothing and accessories that gain beauty through use. Practical skill blended with imagination manifests endless possibility from this ancient medium that invites hands and hearts to shape sublime beauty infused with purpose.