Decoupage Art 101: A Beginner’s Guide to Getting Started
Welcome to the beginner’s guide to decoupage art! If you’re new to this craft project, don’t worry – we’ve got you covered. In this guide, we will walk you through the basics of decoupage, the materials you’ll need, different techniques, troubleshooting tips, and much more. So let’s dive in and learn how to create beautiful decoupage projects!
What is Decoupage?
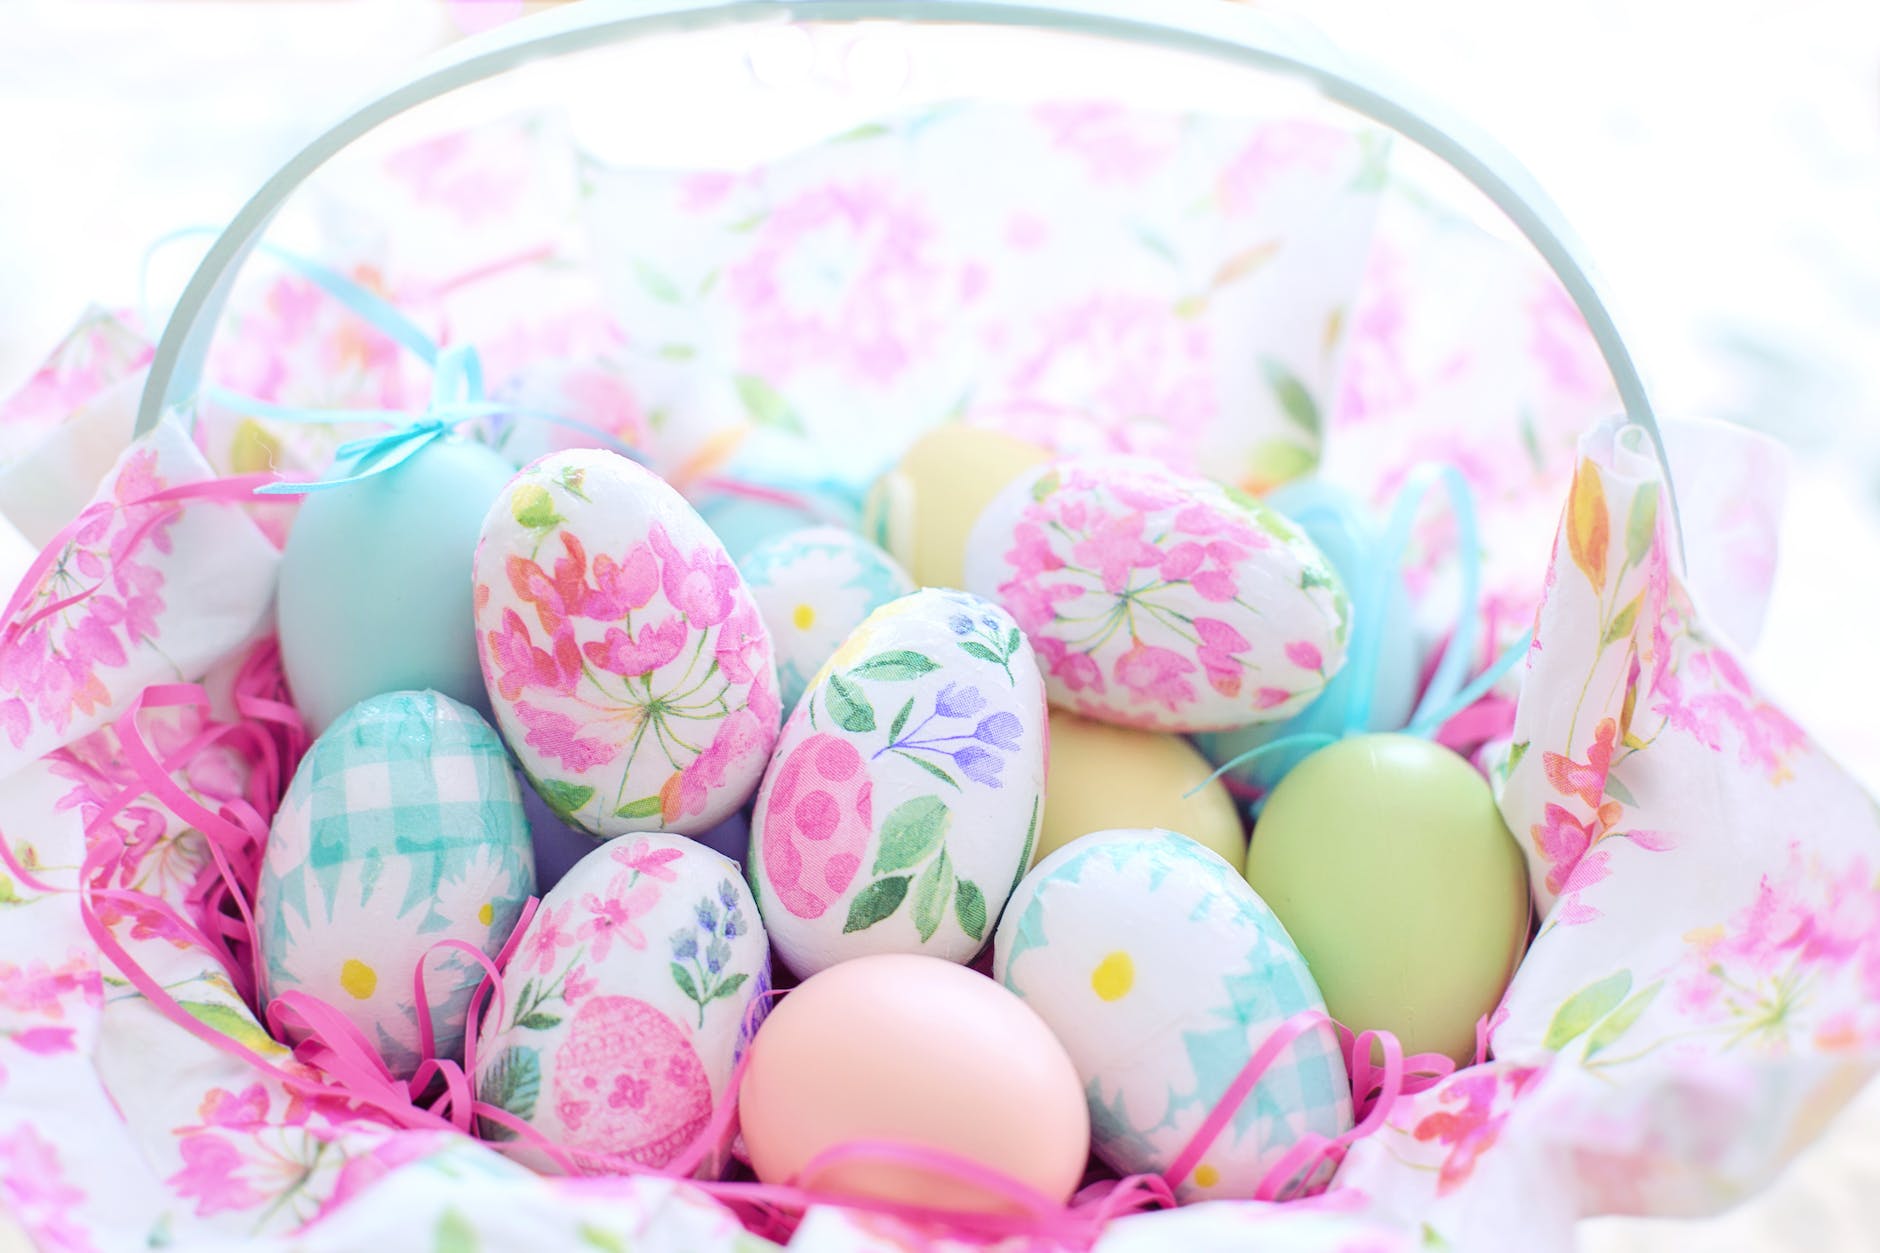
Decoupage is the art of decorating objects by gluing on paper cutouts or other materials and then sealing them with layers of varnish. This technique allows you to transform ordinary items into stunning pieces of art. The word “decoupage” comes from the French word “decouper,” which means to cut out.
When you decoupage, you can use various materials like tissue paper, wrapping paper, or even fabric to create unique designs. The possibilities are endless, and you can let your creativity run wild!
Decoupage has a rich history that dates back centuries. It originated in China during the Tang Dynasty and eventually spread to Europe during the Renaissance. It gained popularity in the 18th and 19th centuries when it became a fashionable hobby for ladies of high society. Today, decoupage is still a beloved art form enjoyed by people of all ages and skill levels.
Learning decoupage can bring numerous benefits. It is a relaxing and therapeutic activity that allows you to express your creativity. It also helps develop your fine motor skills and attention to detail. Plus, decoupage is a cost-effective way to create personalized gifts or decorate your home without breaking the bank.
Getting Started with Decoupage
What do you need for decoupage?
Before you dive into decoupage, it’s essential to gather all the necessary materials. You will need:
- Glue: Choose a decoupage glue that is specifically designed for this craft, such as Mod Podge. This type of glue works well for adhering paper and other materials to various surfaces.
- Varnish: Varnish is used to seal and protect your decoupage projects. It creates a glossy finish, giving your artwork a professional look.
- Tissue paper: Tissue paper comes in various colors and patterns, making it ideal for adding a delicate touch to your decoupage designs.
- Wrapping paper: Wrapping paper can be a great option for creating bold and vibrant decoupage patterns.
- Craft knife: A craft knife will come in handy for cutting out your desired shapes and designs.
- Paintbrush: Use a paintbrush to apply the glue and varnish smoothly onto your chosen surface.
- Sandpaper: Sandpaper can help you prepare the surface of your object by smoothing out any imperfections.
Once you have gathered all the necessary materials, you’re ready to get started!
Choosing the right glue for your decoupage project
When it comes to selecting the right glue for your decoupage project, Mod Podge is a popular choice among crafters. It is specifically formulated for decoupage and works well on a variety of surfaces.
To apply the glue, use a paintbrush to spread an even layer of decoupage glue onto the surface of the object you want to decoupage. Then, carefully place your cut-out paper or fabric onto the glue, smoothing out any wrinkles or air bubbles. Once everything is in place, apply another layer of glue on top to seal the design.
If you prefer a glossy finish, you can use Mod Podge’s glossy variant. However, if you want a matte or satin finish, there are options available for those preferences as well.
Using varnish to seal and protect your decoupage
Varnish is an essential step in the decoupage process as it helps seal and protect your artwork. It also gives a polished and professional look to your finished project.
To apply varnish, use a clean paintbrush and brush a thin and even layer of varnish onto your decoupaged surface. Make sure to cover the entire area to ensure proper protection. Allow the varnish to dry completely before applying additional coats. Depending on the level of glossiness you desire, you can add multiple coats of varnish.
Remember to sand the surface lightly between coats to remove any imperfections or dust particles. This will ensure a smooth and flawless finish.
Materials for Decoupage
Exploring different types of glues for decoupage
When it comes to selecting the right glue for your decoupage project, there are several options available. Alongside Mod Podge, you can also consider using white craft glue or specialized decoupage glues from various brands. It’s important to choose a glue that is suitable for the materials you are working with and the surface you are decoupaging onto.
Choosing the right surfaces for decoupage
Decoupage can be done on a wide range of surfaces, including wood, glass, metal, and even ceramic. However, it’s important to choose a surface that is clean and free from any dirt or grease. This will ensure proper adhesion of the glue and prevent any issues later on.
Wooden surfaces, such as furniture or decorative boxes, are popular choices for decoupage projects. The texture of wood provides a great base for the adhesive, allowing the paper to stick firmly in place. However, you can also experiment with decoupaging on other surfaces to create unique and exciting designs.
Tips for selecting and preparing tissue paper for decoupage
When selecting tissue paper for decoupage, choose colors and patterns that complement your overall design. Tissue paper is delicate, so handle it with care to avoid tearing.
Before decoupaging, it’s helpful to prepare the tissue paper. Lay it out flat and smooth out any wrinkles or folds. You can also use an iron on a low setting to gently press the tissue paper, but make sure to place a clean cloth between the iron and the paper to avoid direct contact.
Techniques for Decoupaging
Step-by-step guide on how to decoupage
Decoupaging is a straightforward process that can be done in a few simple steps:
- Clean your chosen surface and ensure it is free from any dust or debris.
- Apply a thin layer of decoupage glue onto the surface using a paintbrush.
- Place your cut-out paper or fabric onto the glue, carefully smoothing out any wrinkles or bubbles.
- Apply another layer of glue on top to seal the design.
- Allow the project to dry completely before moving on to the next step.
- If desired, apply additional layers of glue or varnish for added protection and glossiness.
With practice, you’ll become more comfortable with the process and be able to create intricate and detailed decoupage designs.
Learning how to mod podge for decoupage projects
Mod Podge is a versatile decoupage glue that is widely used in the crafting community. Learning how to use Mod Podge can open up a world of creative possibilities for your decoupage projects.
To use Mod Podge, simply follow the steps mentioned earlier for decoupaging. The only difference is that you’ll be using Mod Podge as your decoupage glue. Mod Podge offers various formulations, such as matte, glossy, and even glittered options to suit your preference.
Decoupaging on wood: Tips and tricks for a successful outcome
Decoupaging on wood can yield stunning results. Here are a few tips and tricks to ensure a successful outcome:
- Prepare the wooden surface by sanding it lightly. This will create a smooth and even base for the glue to adhere to.
- Apply a layer of decoupage glue onto