exploring different knitting stitches: step-by-step tutorials
The basic knit and purl stitches are the foundation of knitting, but exploring different stitch patterns can create beautiful textures, shapes, and designs. Each stitch has its own distinct look and properties, so mastering a range of knitting stitches lets crafters add interest and variety to their projects.
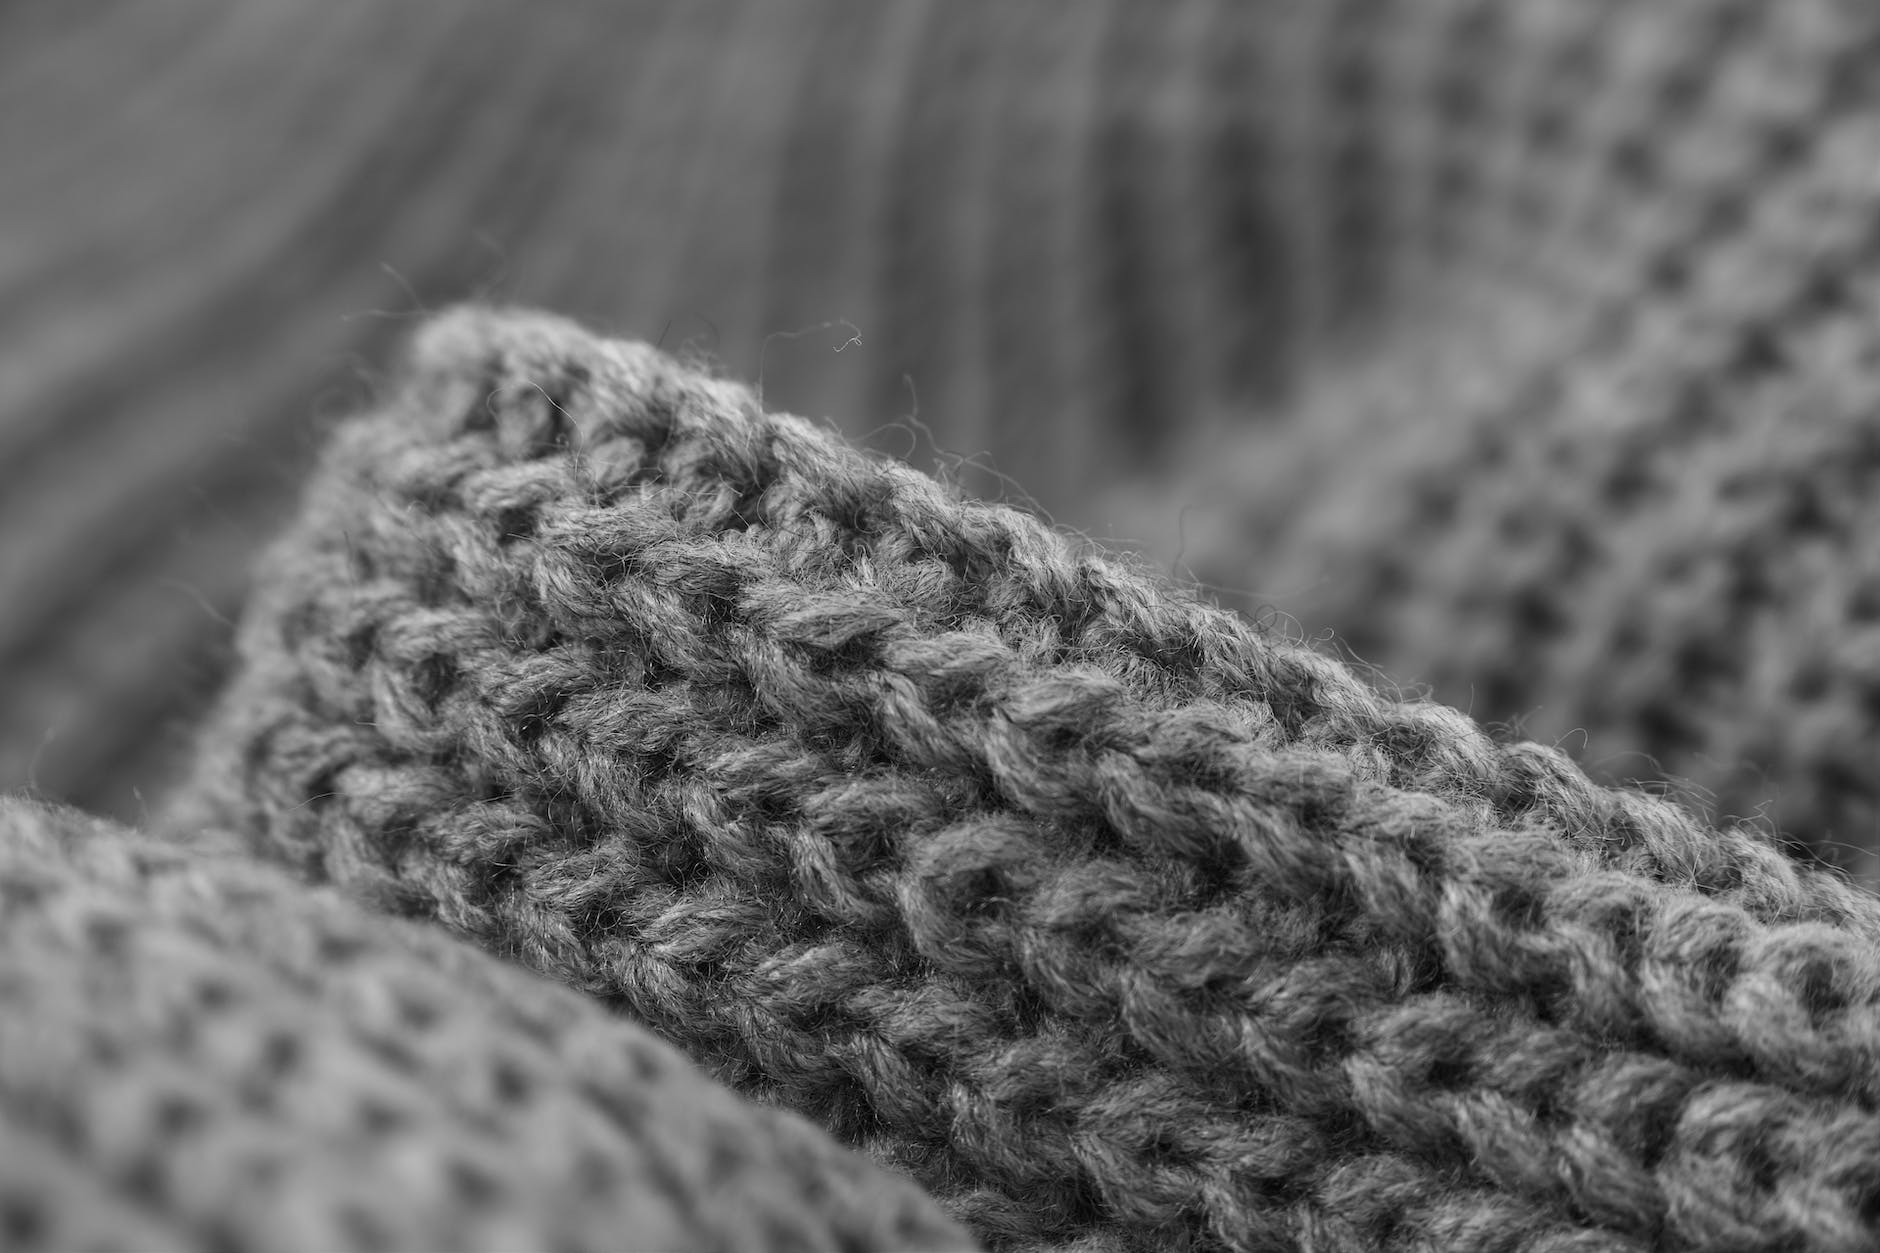
For example, the garter stitch is a simple stitch that creates a smooth, reversible fabric. The seed stitch is a textured stitch that creates a bumpy, uneven fabric. And the lace stitch is a delicate stitch that creates a lacy, open fabric.
There are endless possibilities when it comes to knitting stitches. You can find stitches that create everything from simple stripes to complex patterns. And you can even design your own stitches.
So if you’re looking to add some variety to your knitting projects, why not explore different stitch patterns? You’ll be amazed at the beautiful results you can achieve.
Here are some additional tips for exploring different knitting stitches:
- Start with simple stitches. Once you’ve mastered the basic knit and purl stitches, you can start exploring more complex stitches.
- Look for patterns that use stitches you’re familiar with. This will help you learn how to combine different stitches to create beautiful patterns.
- Don’t be afraid to experiment. The best way to learn about different stitches is to try them out. So experiment with different patterns and see what you like.
With a little bit of practice, you’ll be able to create stunning knitting projects that feature a variety of beautiful stitches. So what are you waiting for? Start exploring today!
The Knit Stitch
Step 1: With yarn held behind needles, insert right needle into next stitch on left needle from front to back.
Step 2: Wrap yarn around right needle counterclockwise.
Step 3: Draw looped yarn through stitch with right needle.
Step 4: Slide original stitch off left needle. New stitch formed on right needle.
The knit stitch produces flat V shaped lines on fabric surface. Stockinette stitch is made by knitting all right side rows, purling wrong side rows.
The Purl Stitch
Step 1: With yarn held in front, insert right needle into next stitch on left needle from back to front.
Step 2: Wrap yarn around right needle clockwise.
Step 3: Draw looped yarn back through stitch with right needle.
Step 4: Slide original stitch off left needle. New stitch formed on right needle.
Purl stitch makes a rounded, horizontal bump. Combined with knit stitch in rows it creates ribbing patterns.
Seed Stitch
Row 1 (RS): *K1, p1. Repeat from * across row.
Row 2: Purl the knit stitches, and knit the purl stitches.
Repeat Row 2 to create checkerboard texture. Balances knits and purls. Lies flat, doesn’t curl.
Moss Stitch
Row 1: *K1, p1. Repeat from * across row.
Row 2: Purl the knit stitches, knit the purl stitches.
Repeat these two rows. Makes dense, flat, reversible fabric using just knits and purls.
Garter Stitch
Knit every row. Creates ridged flexible fabric. Great for scarves, blankets. Lies flat, doesn’t curl.
Stockinette Stitch
Row 1 (RS): Knit across row.
Row 2: Purl across row.
Repeat rows 1 and 2 to make flat smooth fabric. Knit side appears as V shapes while purl side shows horizontal lines. Tends to curl at edges unless stabilized.
Reverse Stockinette Stitch
Row 1 (RS): Purl across row.
Row 2: Knit across row.
Repeat rows 1 and 2. Creates same fabric as regular stockinette stitch but with purl side as the dominant right side. Rounds curl to outside rather than inside.
Basketweave Stitch
Rows 1-4: *P4, k4. Repeat from * across row.
Rows 5-8: *K4, p4. Repeat from * across row.
Repeat rows 1-8. Forms welted squares alternating knit and purl. Lies flat, provides textured pattern.
Ribbing
Row 1 (RS): *K2, p2. Repeat from * across row.
Row 2: Knit the knit stitches and purl the purl stitches.
Repeat row 2. The bouncy elastic texture is perfect for cuffs, hems and neckbands. Stabilizes edges.
Cable Stitch
Cables involve swapping order of stitches using cable needle to create twisted rope-like columns.
Step 1: Slip 1-4 stitches to cable needle and hold in front.
Step 2: Knit next stitch on left needle.
Step 3: Knit stitches from cable needle.
Varying technique creates endless cable designs, from simple 4-stitch cables to intricate all-over patterns.
The possibilities are endless when it comes to knitting stitches. There are stitches that create everything from simple stripes to complex patterns. You can even design your own stitches. So, whatever your skill level or style, there’s sure to be a stitch that’s perfect for you.
Here are some additional tips for exploring different knitting stitches:
- Start with simple stitches. Once you’ve mastered the basic knit and purl stitches, you can start exploring more complex stitches.
- Look for patterns that use stitches you’re familiar with. This will help you learn how to combine different stitches to create beautiful patterns.
- Don’t be afraid to experiment. The best way to learn about different stitches is to try them out. So experiment with different patterns and see what you like.
With a little bit of practice, you’ll be able to create stunning knitting projects that feature a variety of beautiful stitches. So what are you waiting for? Start exploring today!
I hope this article has inspired you to explore the world of knitting stitches. With so many possibilities to choose from, you’re sure to find the perfect stitch to add interest and variety to your knitting projects.