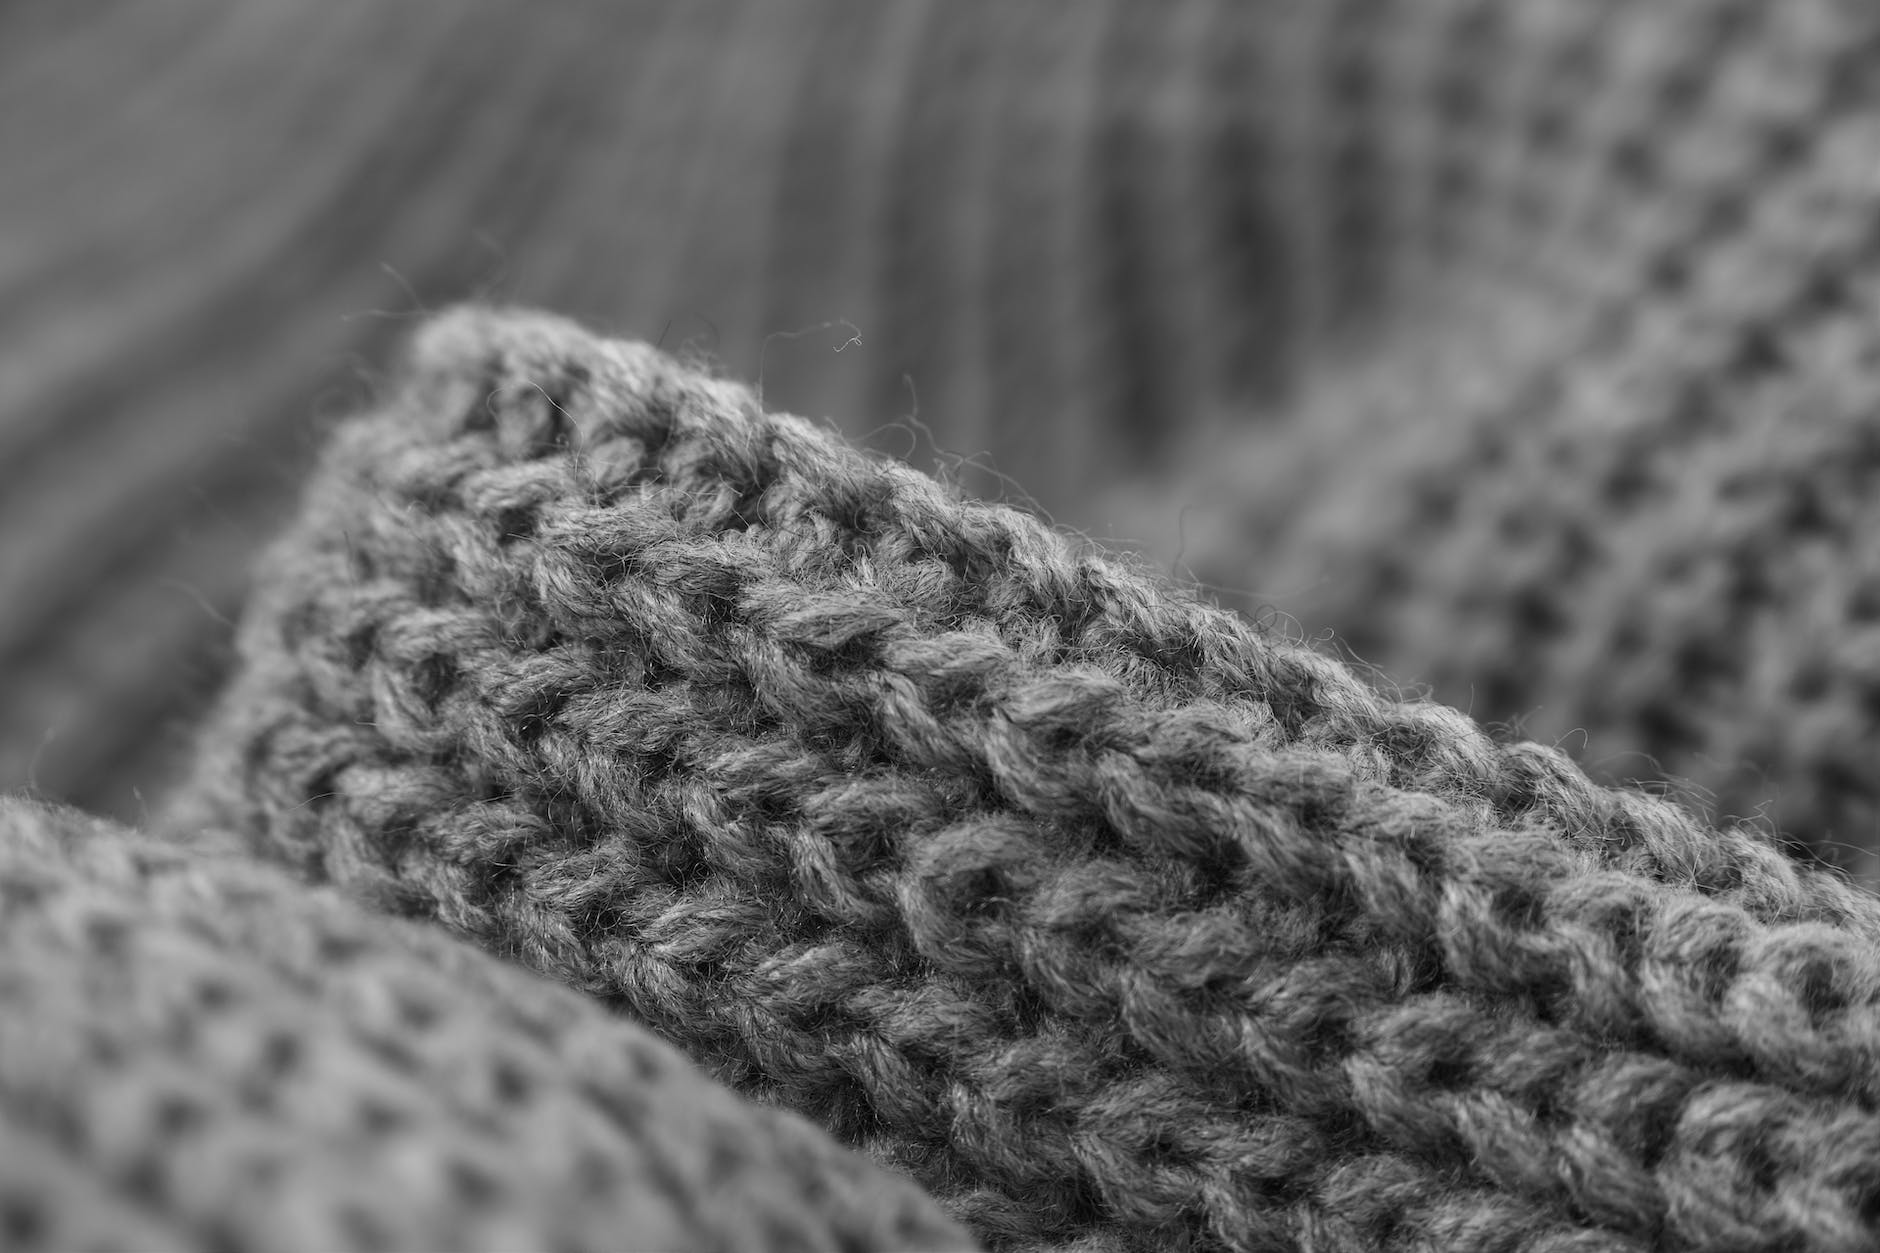
knitting cables: adding texture and intricacy to your knits
Cables are a popular knitting technique that creates ropelike columns of twisted stitches. These twisted stitches add beautiful texture and visual interest to knitted garments, accessories, and home decor items.
Cables are formed by manipulating stitch order. This means that the knitter temporarily moves stitches around on the needles to create the twisted effect. Cables can be simple or complex, ranging from simple 4-stitch crosses to complex knot and braid motifs.
Mastering cable knitting opens up unlimited possibilities for knitters. With a little practice, knitters can create elaborate allover patterns or placed accents on their projects. Cables are a great way to add visual interest and texture to knitted pieces.
Here are a few examples of the different types of cables that can be created:
- 4-stitch crosses: These are the simplest type of cable. They are created by crossing two stitches over two other stitches.
- Twisted cables: These cables are created by twisting two stitches together. This creates a ropelike effect.
- Knotted cables: These cables are created by crossing stitches in a specific pattern to create a knotted effect.
- Braid cables: These cables are created by braiding stitches together. This creates a braided effect.
Cables can be used to create a variety of different patterns. They can be used to create allover patterns, or they can be used to create accents on knitted pieces. Cables can also be used to create different textures, such as ribbing or honeycomb.
If you’re interested in learning how to knit cables, there are many resources available online and in knitting books. There are also many knitting classes that teach cable knitting.
With a little practice, you’ll be able to create beautiful and intricate cables in no time!
Here are a few tips for knitting cables:
- Start with simple cables. Once you’ve mastered the basics, you can move on to more complex cables.
- Use a cable needle. A cable needle is a small, double-pointed needle that is used to hold stitches temporarily while you’re working the cable.
- Pay attention to the stitch pattern. It’s important to follow the stitch pattern carefully to ensure that your cables are created correctly.
- Be patient. Learning to knit cables takes time and practice. Don’t get discouraged if you don’t get it right away.
Cable Knitting Basics
Background stitches – The plain stitches forming the base between cable twists. Stockinette and reverse stockinette are common bases.
Cable needle – Helps hold stitches temporarily while other stitches are worked, creating the crossing twist.
Cabling – Allows switching stitch order by moving certain loops out of order onto cable needle, working intervening stitches, then working loops from cable needle.
Crossing direction – Altering whether cable needle is held in front or behind work changes cable direction.
Chart symbols – Show cable placement and direction. Cables are represented by lines across stitches on charts.
Executing Cables
Step 1: Following chart, slip indicated number of stitches onto cable needle and hold in front or back of work as directed.
Step 2: Work the number of stitches specified between cable ends.
Step 3: Then work stitches from cable needle into their new positions, completing the cross.
Keeping tension firm, stretching cable needle stitches slightly, and working methodically prevents errors. Check chart regularly.
Common Cable Patterns
Horseshoe cables – A curved column of stitches circled partially around by other stitches.
Basketweave cables – Interlocking crossed rows creating woven texture.
Twisted rib cables – Ribbed columns crossed at intervals across a row.
Braided cables – Two or more cables crossed over each other in harmonious rhythm.
Bobble cables – Use a bobble stitch instead of standard knit stitches being crossed to add texture.
Traveling cables – Cable column moves progressively left or right across rows rather than staying put.
Design Principles for Using Cables
- Limit total cables for clarity. Too many crossing stitches looks busy.
- Use asymmetric placement to create bold zigzag diagonals and interest.
- Alternate direction frequently. Twists facing all one way appears distorted.
- Mark cable repeats clearly. Missing crossings ruins flow.
- Make similar sized cables for cohesion. Vary widths gradually.
- Combine with ribbing, lace panels, and other textures for contrast.
- Outline cables in background stitch like purls to make them “pop”.
Cables are a beautiful and versatile knitting technique that can be used to create a variety of different patterns. With a little practice, you’ll be able to create beautiful and intricate cables in no time!
Here are a few additional tips for using cables in your knitting:
- Limit the total number of cables in your project. Too many cables can make your project look busy and overwhelming.
- Use asymmetric placement to create bold zigzag diagonals and interest. This is a great way to add visual interest to your knitting.
- Alternate the direction of your cables frequently. This will help to prevent your cables from looking distorted.
- Mark the cable repeats clearly. This will help you to keep track of where you are in the pattern and prevent you from missing any stitches.
- Make similar sized cables for cohesion. This will help your project look more balanced and polished.
- Combine cables with other textures, such as ribbing or lace panels, for contrast. This will add visual interest and depth to your knitting.
- Outline cables in the background stitch, such as purls, to make them “pop.” This will help to define the cables and make them stand out from the rest of your knitting.
