Mastering Leatherworking: Essential Skills for Artistic Creations
Planning and Patternmaking
Careful planning of design and patterns ensures professionally crafted results. Steps include:
- Sketch concepts to scale and plan required tools and steps
- Create paper templates allowing perfecting proportions
- Lay out patterns on leather considering natural grain and stretch orientations
- Mark patterns clearly with chalk or tools before cutting
- Number pieces for easy assembly and store safely
Mockups prevent costly leather mistakes. Efficiency comes from envisioning finished works in advance.
Selecting and Cutting Leather
Choosing the right leather and slicing it crisply empowers quality end results:
- Assess temper, thickness, and flaws before purchasing hides
- Determine cutting layout to minimize waste using entire surface
- Use sharp blades and frequent replacements for clean cuts
- Cut on self healing mats to protect tabletops and leather
- Secure patterns while cutting to prevent shifting
- Skive edges where needed to improve flexibility
There is no shortcut around sharp fresh blades when cutting leather. Finesse takes practice but creates satisfaction and savings.
Edge Finishing Techniques
Finishing leather edges makes pieces feel complete and stand the test of time through sealing, burnishing, and polishing a professional look.
- Trim edge fuzz first with fine grit sandpaper for clean surface
- Apply edge dye or paint to seal pores vulnerable to moisture
- Use canvas or steel burnisher to compress and smooth edges
- Rub vigorously with wax polish wrapped in cloth to shine
- Mask and tape off areas to limit color finishing solely to edges
Burnished edges withstand scuffs and blend aged pieces beautifully into patinated surfaces with use and wear.
Stamping and Tooling
Creative tooling options refine plain leather with ornate embellishment and personalized motifs like monograms and logos:
- Use geometric templates to guide stippling background textures
- Impress patterns in repetition with bookmatched symmetry
- Outline shapes with stylus before carving away background
- Shadow effects come from bevelers and pear shaders
- Use foil and gum tragacanth resist to make stamped elements stand out
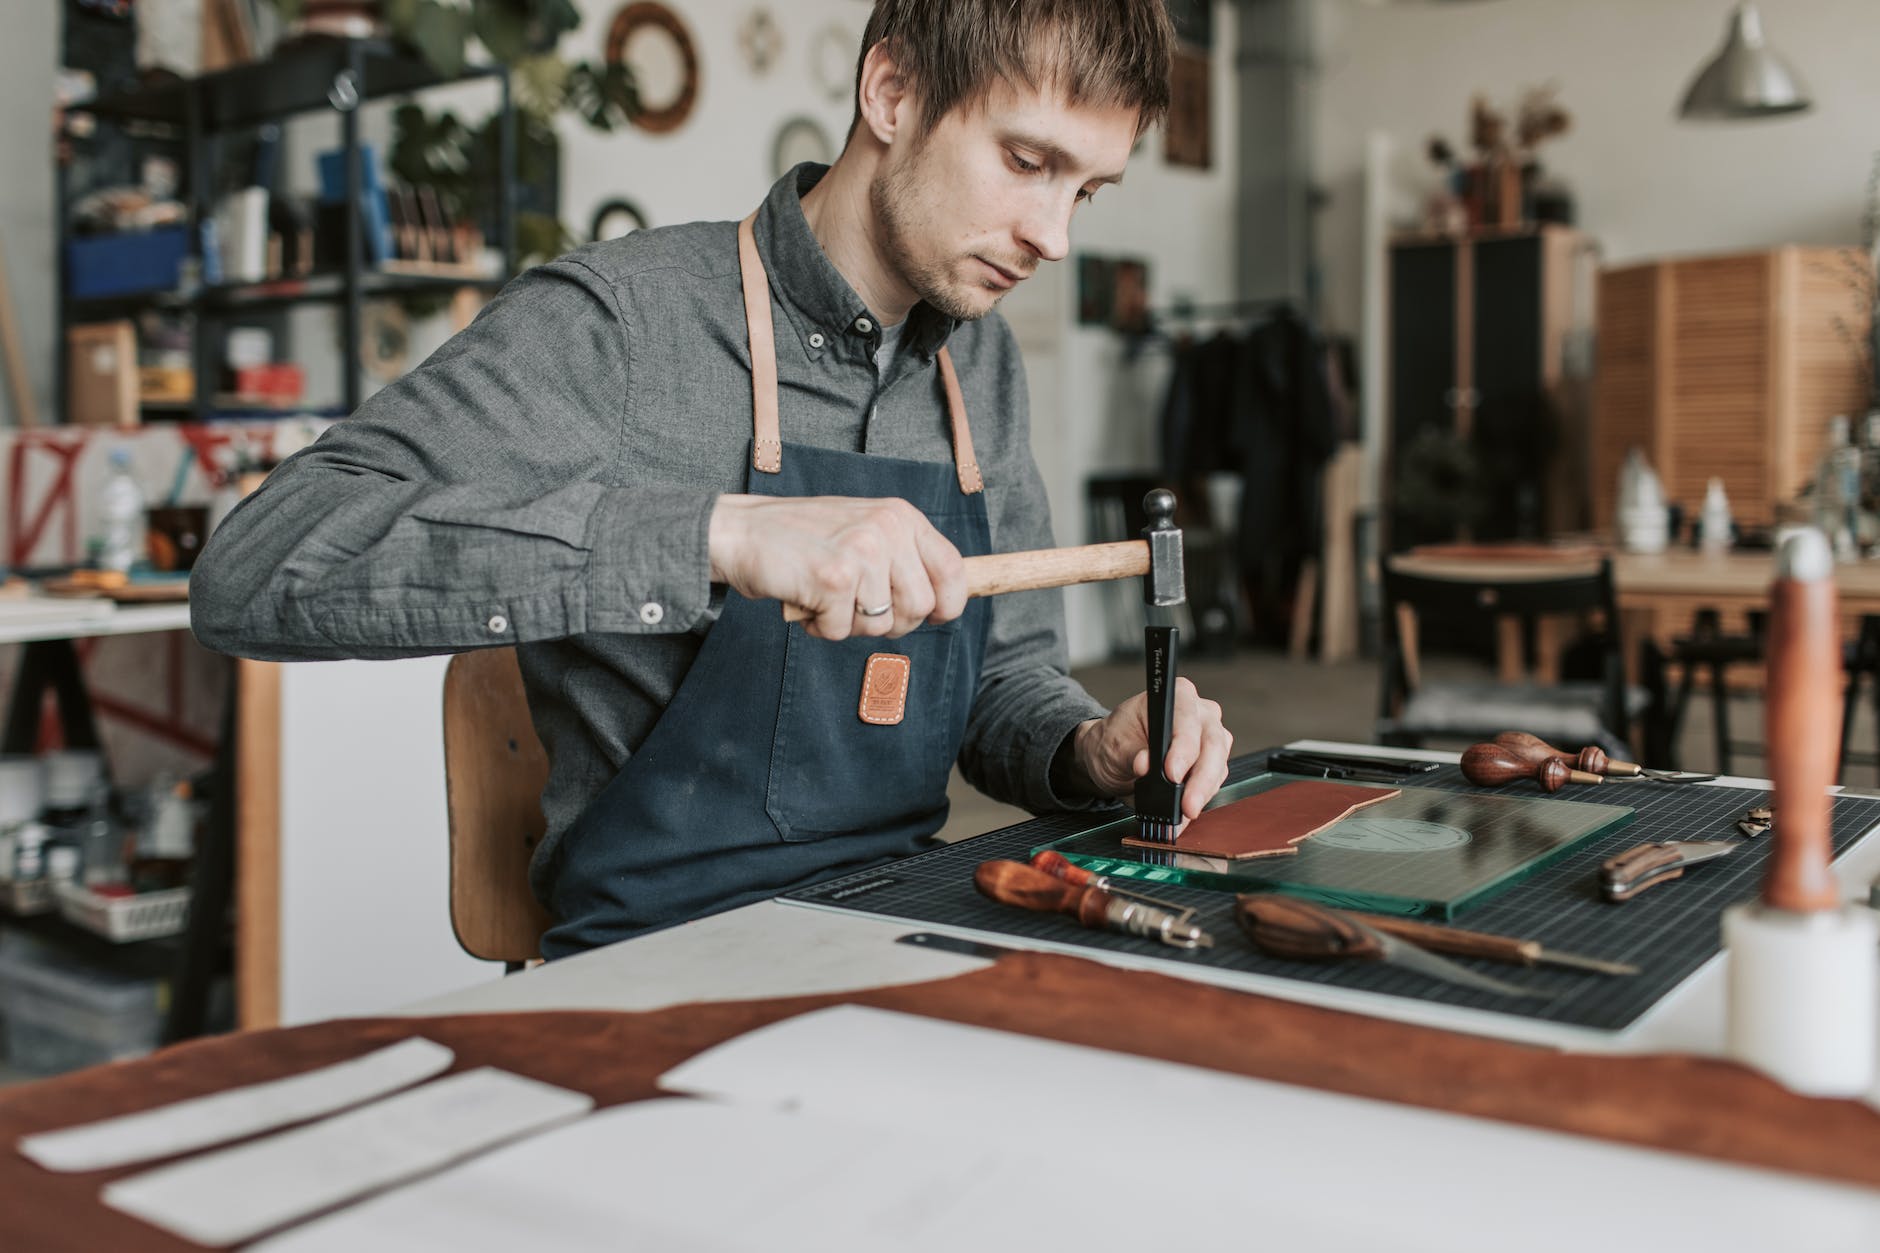
Practice working intricate patterns from the center out prevents distortion. Hammer force takes finesse.
Assembly and Construction
Joining elements into beautiful sturdy finished goods requires specialized assembly strategies:
- Punch evenly aligned holes avoiding tear-out before stitching
- Skive pieces at joins to reduce bulk
- Cement flat sections before neatly topstitching edges
- Rivet on snaps and decor using a press setter
- Wrap raw edges in piping using curved needles before stitching
- Line interiors with suede for cohesive finish
With care, construction steps incorporate elegantly into overall design rather than distracting.
Applying Dyes and Finishes
Dyes introduce vibrant color while finishes protect and restore vibrancy to leather’s surface:
- Test dyes first on leather scraps to avoid discoloration surprises later
- Apply dye in thin coats using sponges and paintbrushes
- Distressed effects utilize waxes and diluted dyes in layers
- Even saturation requires patience. Emboss first for tone variations
- Seal in colors and add sheen with wax and acrylic finisher coats
Achieving color mastery means embracing the experimental nuance in natural dyes. Test batches teach and refine intuition.
Creating Custom Designs and Patterns
Moving beyond pre-made patterns allows unlimited creativity and perfect fit:
- Drape leather shapes directly on forms like dress dummies
- Transfer these outlines to paper or cardstock to create paper patterns
- Refine shapes before cutting final leather and mark details like stitching lines
- Digital drawings scanned and printed to templates work too
- Add seam allowances and piece shapes for 3D assembly
With a custom design approach, imagination becomes the only limit for leather goods created specifically for their intended purpose.
Developing leatherworking mastery requires focused practice more than strength. Patience and pursuit of excellence elevate usefulness into beauty. Though perfection remains elusive, the steady journey rewards heart and hand with meaning and peace discovered only through skill cultivated gently knot by knot. Each cut and stitch roots identity in work that smoothes ragged edges into flowing purpose.
