Advancing Your Pottery Craft: Mastering Foundational Techniques
The journey toward expert ceramic artistry begins by building competency with essential pottery skills. Mastering fundamentals from centering clay on the wheel to glaze chemistry unlocks creative potential through technical freedom. Examining key techniques needed to progress beyond hobbyist levels reveals the path to elevating your pottery to new heights.
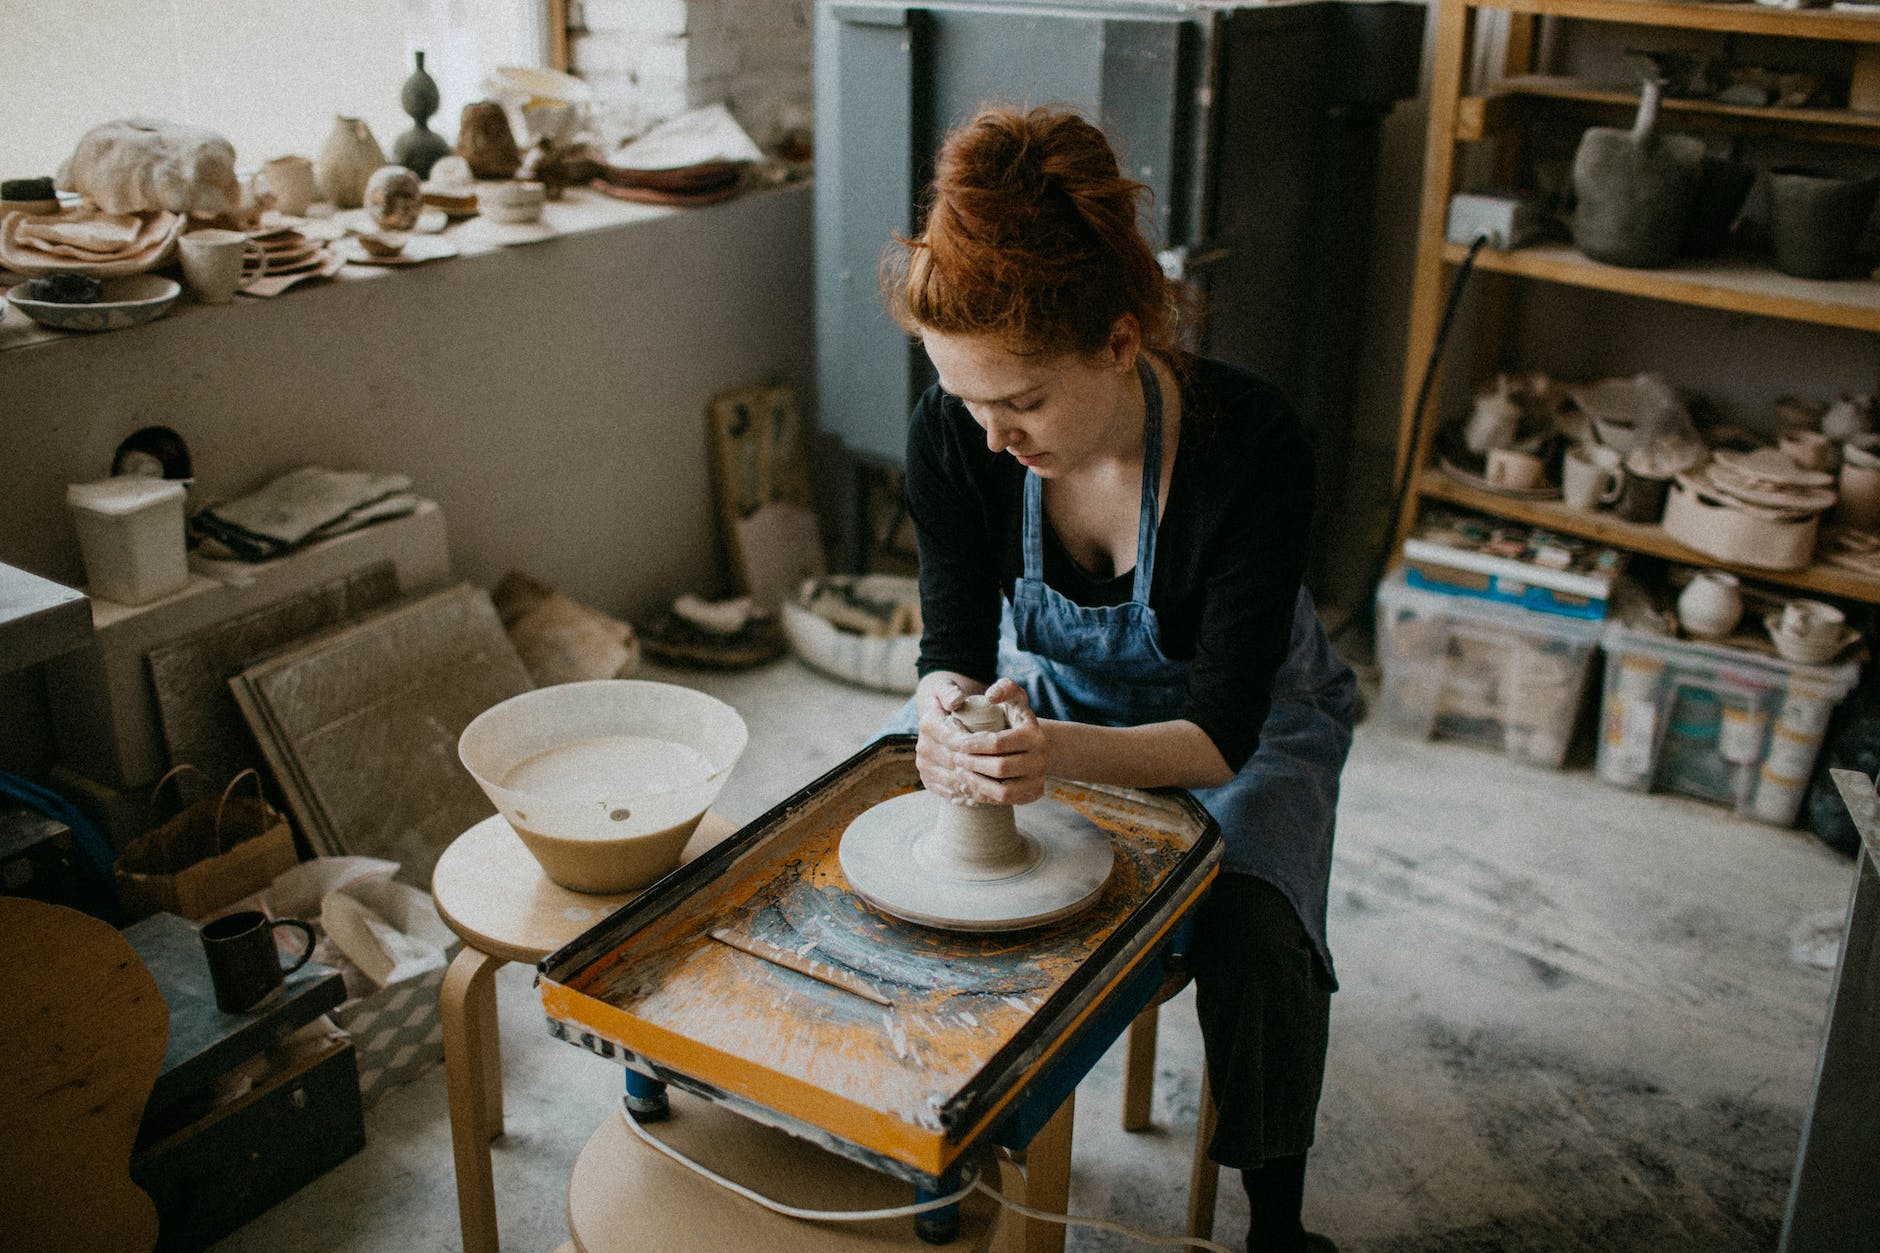
Learning to Center Clay on the Wheel
Throwing symmetrical rounded vessels on the potter’s wheel starts with properly centered clay. Off-center clay wobbles, deforms, and collapses when throwing. Learn to firmly press a clay mound onto the wheelhead while coning up until walls evenly rise when spun. Use hands and scrapers to adjust the clay into a domed shape focused on the wheel’s axis. Well-centered clay withstands the forces of throwing without distortion.
Opening Clay into Cylindrical Forms
With centered clay, use your thumbs to press into the domed top while the wheel spins slowly. Stabilize the base with one hand while the other expands the hole downward into a cylinder, applying even pressure all around to keep walls uniform. Openings get refined by inserting a round rib tool and compressing further. Gradually widen forms using ribs to maintain vertical symmetry while preventing collapse.
Pulling Consistent Walls Upward
Once cylindrical, pull the walls incrementally higher with each pass while maintaining uniform thickness. Insert rib tools inside to gauge width regularly. Apply an even pull with both hands to draw clay upward without forcing or dragging. As heights increase, compress rims before each pull to stabilize. Lift and elongate walls steadily to fashion straight-sided vases, mugs, bowls, and bottles of regular thinness.
Refining Foot Placement and Base Shape
To create level bottoms, maintain an excess clay base while raising the sides, then refine only once walls are complete. Support the interior floor from underneath while trimming excess clay from the base exterior by pulling outward with a loop trimming tool. Define the foot ring height as desired. Then smooth and shape the base using curved rib tools to achieve a finished flat foundation.
Mastering Lidded Forms and Handles
Cut lidded forms in two after drying leather hard using taut wires. Remove excess clay from both sections’ edges before rejoining slightly off-center. Pull slender extensions for handles or spouts while wet using pressure and rib tools. Refine attachment points for smooth transitions. Built-up strips get coiled then smoothed onto wet surfaces where needed. Plan lids and handles into overall thrown forms.
Mixing and Applying Glazes Properly
Mastering glaze chemistry and application culminates surfaces. Test combinations on bisque samples to perfect compatible glazes with desired properties like viscosity, color saturation, and textures. Mix, sieve, and store correctly to prevent defects. Before glazing, bisque fire and finish greenware properly. Apply multiple sheer coats on vertical pieces to prevent drips until full coverage is achieved. Even glazes enhance professionalism dramatically.
Advancing Through Dedicated Practice
Like any craft, elevating skills requires repetition, self-analysis, and patience. But persistently mastering these foundations liberates artistic expression through technical intuition. Fluid skills allow immersive creation without consciously focusing on process. Advance by dedicating time for practice, progress tracking, and regular technique refinement. Consistent skill-building leads to artistic excellence.
Focus on foundational throwing, handbuilding, trimming, joining, and glazing mastery unlocks creative potential through control of medium. With practice, clay becomes an intuitive extension of imagination. Progress along a personalized multi-year journey to discover your own highest levels of ceramic artistry.