Rug Making 101: A Comprehensive Beginner’s Guide to Creating Beautiful Rugs
Handcrafting a rug not only yields a floor covering with unique artistry and character, but provides a deeply rewarding creative journey. With an array of techniques from traditional weaving to modern punch needle, beginners can find their ideal medium to design rugs that impress with thoughtful color palettes, captivating textures, and an ethos of sustainability. Understanding the comprehensive ins and outs of planning designs, choosing materials, executing patterns, and adding finishing touches lets rug makers imbue these functional fibers with personal panache.
Getting Started: Rug Making Tools and Materials
Having the right basic supplies facilitates learning rug making techniques smoothly and successfully. Gathering materials thoughtfully lays the foundation.
Fabric Selection
- Fiber Content: Natural fibers like wool, cotton, jute, and sisal are ideal for durability and flexibility. Avoid synthetics which fray.
- Weave Style: Tightly woven fabrics withstand tugging of warps and wefts without distortion. Loose weaves risk snagging.
- Texture and Weight: Heavier fabrics work well for floor rugs receiving foot traffic and furniture friction. Delicate sheers suit wall hangings.
- Dye Method: Plant-based natural dyes offer lovely tonal variations while synthetics yield uniform hues. Choose according to aesthetic preference.
- Grain and Pattern Direction: Whether weaving, embroidering, or hooking, fabric direction affects final design results and durability.
Frames and Hoops
- Floor Looms: Offer the most versatility for warp faced or weft faced weaving but require space and expertise. Can create intricate patterns.
- Lap Looms: Compact and transportable tabletop looms allow weaving narrower widths. Great for beginners before graduating to floor looms.
- Embroidery Hoops: Keep fabric taut for punch needle or freeform embroidery techniques. Wooden hoops grip best.
- Stretcher Frames: Staple or clamp monk’s cloth, burlap, or rug canvas to a wooden frame to keep the backing fabric evenly taut. Avoid wrinkles.
Weaving Yarns
- Wool: Provides softness and durability. Can be strips or spun yarn styles like crewel or worsted weights. Felts tightly.
- Cotton: Offers excellent strength, affordability, and availability. Machine washable. Warps especially well.
- Jute and Sisal: Natural fibers with excellent durability and texture that lend an earthy vibe. Eco-friendly choices.
- Acrylic and Synthetic Blends: Affordable options often used for crafting rugs. But lack the rich texture of natural fibers.
Weaving Tools
- Shuttles and Bobbins: Allow neatly holding copious amounts of yarn while weaving to prevent tangling. Makes weft passage smooth.
- Beaters: After passing the weft with a shuttle, beat it down snugly with the beater. Creates tightly packed ridges without gaps between warp threads.
- Pick Up Sticks: When weaving patterns, these temporary sticks help select only certain warps to raise to create the shed for that row. Aids intricate designs.
- Scissors: Trimming fringe evenly after weaving gives a clean edge. Sharp shears also cut yarns and fabric pieces cleanly before use.
Latch Hooking Tools
- Latch Hooks: The small handheld hook draws the yarn or fabric strips up through the backing canvas or burlap to form neat loops.
- Strip Cutter: Cuts yarn or fabric strips the ideal width to fit the opening of the latch hook for consistent results. Speeds preparation.
- Gripping Mat: Holds the rug taut while latch hooking the design to prevent tugging or shifting which can warp the shape.
Punch Needle Tools
- Punch Needle Tool: This tool repeatedly pierces the monk’s cloth backing to create thousands of tiny loops forming patterns and textures. Different tips change loop height.
- Embroidery Hoops: keep the monk’s cloth backing taut in the frame for punch needle projects to prevent buckling while punching.
- Design Transfer Tools: Chalk, disappearing ink pens, stencils and stamps help transfer designs lightly to the rug backing before punch needle embroidering.
Planning Your Rug Design
Carefully planning rug motifs, dimensions, materials, and composition creates appealing visual impact within a cohesive design before beginning.
Design Inspiration Sources
- Historical Styles: Research patterns and layouts from antique Persian, Navajo, or Colonial American rugs then recreate elements in a fresh palette.
- Nature Motifs: Leaves, flowers, seashells, and landscapes offer unlimited beautiful design motifs to abstract or recreate in rugs.
- Favorite hobbies: Turn cherished hobbies like music, gardening, or cooking into rug patterns featuring related symbols and imagery.
- Pinterest or Instagram: Browsing rug hashtags on social media uncovers amazing designs to use as inspiring jumping off points.
- Interior Decor: Custom rugs can pick up exact colors from furnishings for a tailored coordinated look.
Composition Considerations
- Complementary Color Schemes: Balancing warm and cool analogous hues creates harmony. Pair brights with muted neutrals. Monochromatic also intrigues.
- Central Focus: Anchor the center with a prominent motif then surround with coordinating borders in pleasing scale.
- Repetition and Tessellation: Repeating geometric motifs mesmerizes while distributing visual weight evenly. Tessellating patterns build movement.
- Improv Layouts: For casual rugs, play with random organic shapes and delightfully chaotic color variegation in unplanned layouts full of whimsical bursts.
- Symbolic Meanings: Choose motifs, colors, and numerology that hold deeper personal meaning or cultural significance.
Size Planning Tips
- Measure the target floor space to determine ideal dimensions for full coverage without excess overhang. Add a few extra inches to dimensions.
- Standard rug sizes like 3’x5′ or 8′ round can guide designs but custom sizes also captivate. Just scale motif sizes up accordingly.
- If designing a series, create sketch studies first to visualize how well the styles and colorways coordinate if placed together.
- Undersize designs slightly to allow for shrinkage of natural fibers after washing. Wool especially will contract.
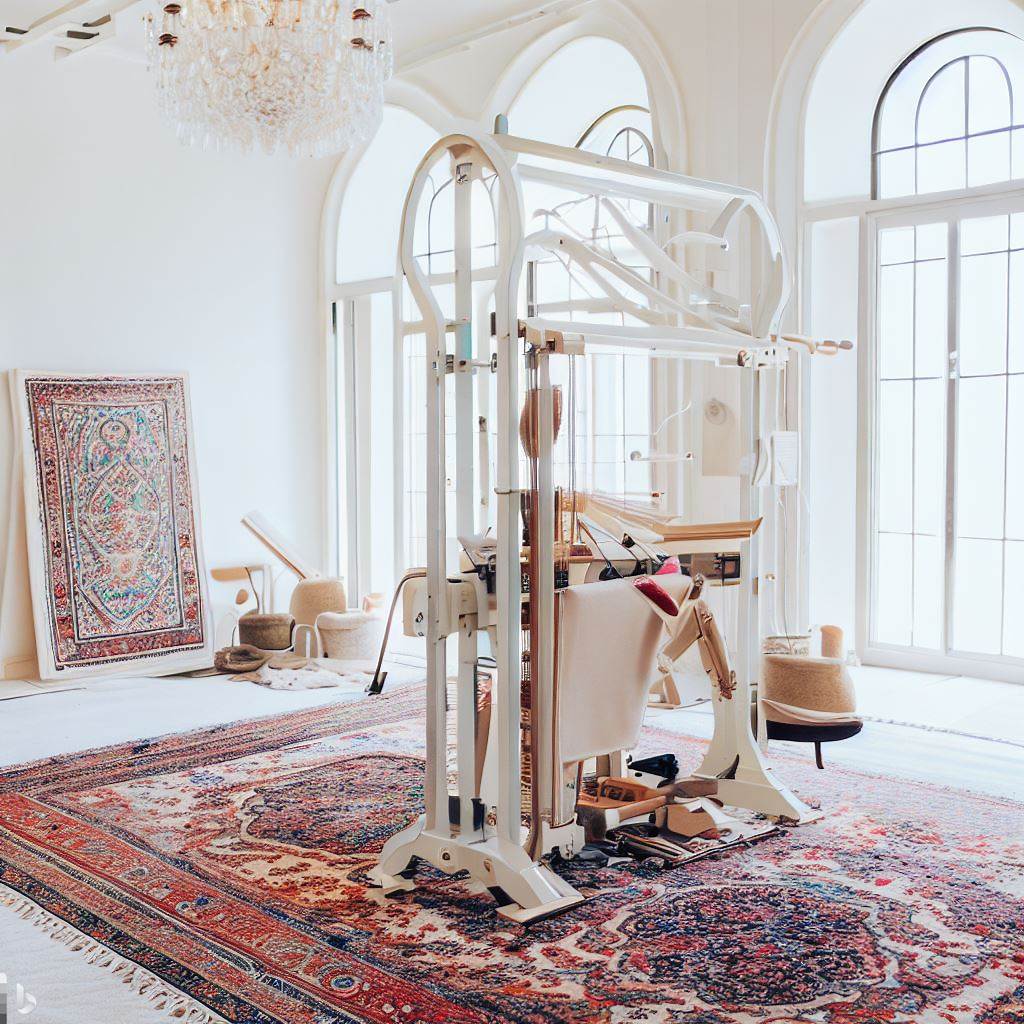
Weaving Rugs on a Loom for Beginners
Mastering the centuries-old technique of operating a loom allows rug makers intricate custom designs with exacting technique through interlacing warp and weft threads.
Preparing the Loom Warp Threads
- Measure out warp yardage based on rug planned width and length plus extra for fringe and securing at the ends.
- Wind warp threads neatly onto the back beam of the loom keeping threads untangled and organized by color.
- Thread warp strands through the heddles according to the rug pattern repeating sequence. Group repeating color sets.
- Tie warp ends securely onto the front beam apron after threading and tensioning warp threads evenly. This readies the loom.
Weaving the Rug Body
- Shedding: Use pedals or levers to shift alternating sets of warp threads forward and back to open the “shed” space between threads.
- Passing Weft: Send the weft horizontally through the shed opening using shuttles or bobbins to carry yarn. Beat down after each pass.
- Repeat the shedding and weft passing steps over and over interlacing warps and wefts into ridges until the rug is the desired length.
- Patterns: Use pick up sticks to select just certain warp sets to create intricate designs, textures, and shapes.
Binding and Finishing the Rug
- Trimming: Cut the woven rug from the loom leaving roughly 2″ of unwoven warp fringe on both ends.
- Binding: Sew or glue durable cloth or leather edging strips over the sides to encase raw edges neatly.
- Rug Pad: Adhere a padded rug back underneath using rug tape or latex glue for slip prevention and cushioning.
- Tassels: Optional decorative tassels can attach to each fringe end for additional ornamentation.
Latch Hooking Technique for Beginners
Drawing yarn or fabric strips through burlap or rug canvas mesh creates colorful textured rugs quickly with an easy handheld latch hook tool.
Preparing the Rug Backing Fabric
- Burlap vs Rug Canvas: Sturdy tightly woven canvas prevents loops from slipping but burlap gives a more organic look.
- Melt Cut Edges: Singe the fabric edges with a lighter or match first so they don’t fray while hooking the design.
- Stretching the Fabric: Tack the backing fabric onto a wooden stretcher frame pulled very taut to prevent distortion while hooking.
Planning and Transferring a Design
- Motif Ideas: Geometric patterns, animals, landscapes or abstract shapes all translate well into latch hooked rugs. Keep shapes/lines simple with flat fills of color.
- Transfer Method: Use a projector, trace an enlarged pattern, or draw freehand with chalk or vanishing ink onto the rug backing prior to hooking.
Latch Hooking the Design
- Cut Strips: Use a strip cutter tool or rotary cutter to cut even widths of fabric or yarn about the width of your latch hook’s opening.
- Hook Through Back: Working row by row, poke up through backing and hook strip to pull a loop though to the front side. Pack rows densely.
- Vary Loop Heights: More rows stacked vertically yield shaggy high pile texture. Take care to control density for defined motif edges.
- Troubleshooting: Keep hook perpendicular to fabric. Tugging distorts shape. Keep loops uniform and pack tightly.
Finishing and Binding the Rug
- Trimming Edges: Once design is complete, trim any uneven fabric edges with scissors to neaten shape.
- Binding: Glue or sew cloth or faux leather binding around perimeter edges for a clean finish.
- Backing: Adhere a grippy rug pad or anti-slip mesh to the rug back before use for safety.
Punch Needle Embroidery for Dimensional Rugs
By punching yarn through monk’s cloth backing, rug makers can render any number of colorful freeform or grid-based designs with delightful loopy texture.
Selecting and Preparing the Monk’s Cloth
- Tightly Woven: Choose monk’s cloth rug canvas with a very tight weave so yarns won’t slip between gaps while punching the design.
- Stretching Taut: Place monk’s cloth over a rug frame or staple/clamp around the edges of an embroidery hoop to keep the backing taut.
- Design Transfer: Use chalk or vanishing ink to lightly sketch any desired motifs onto the monk’s cloth backing beforehand as a guide.
Punch Needle Embroidering the Design
- Punch Needle Grip: Hold the needle tool perpendicular to the surface and pierce down through backing until the needle collar rests on fabric.
- Controlling Loop Height: Adjusting how far down you punch before pulling back up changes loop height for dimensional designs.
- Changing Yarn Colors: Insert yarn ends into needles and tie off neatly on back to switch hues while working in motifs.
- Outlining Shapes: First outline larger shapes then fill in remaining areas row by row moving the hoop as needed.
Shearing and Finishing the Embroidered Rug
- Shearing Loops Evenly: Once design is complete, use sharp scissors to shear the loops neatly and evenly. Can leave some tall.
- Bind Edges: Glue or sew cloth binding around the outer edges of the rug for a neat bordered finish.
- Attach Rug Backing: Adhere a non-slip rug backing to the underside for safety using rug tape or latex glue.
- Protective Spray: To help secure loops, apply a fabric stiffening spray like Scotchgard to the surface. Do not oversaturate.
The Art of Transforming Thread to Treasure
Whether crafted on a grand marquetry loom or humble punch needle, handworked rugs represent sacred spaces where artistry and craft honor materials and process. Transforming raw fibers into tapestries woven with purpose mends the spirit, stitch by meditative stitch. When we trace the knots and guide the threads, we remember once more our hands’ reason for being.