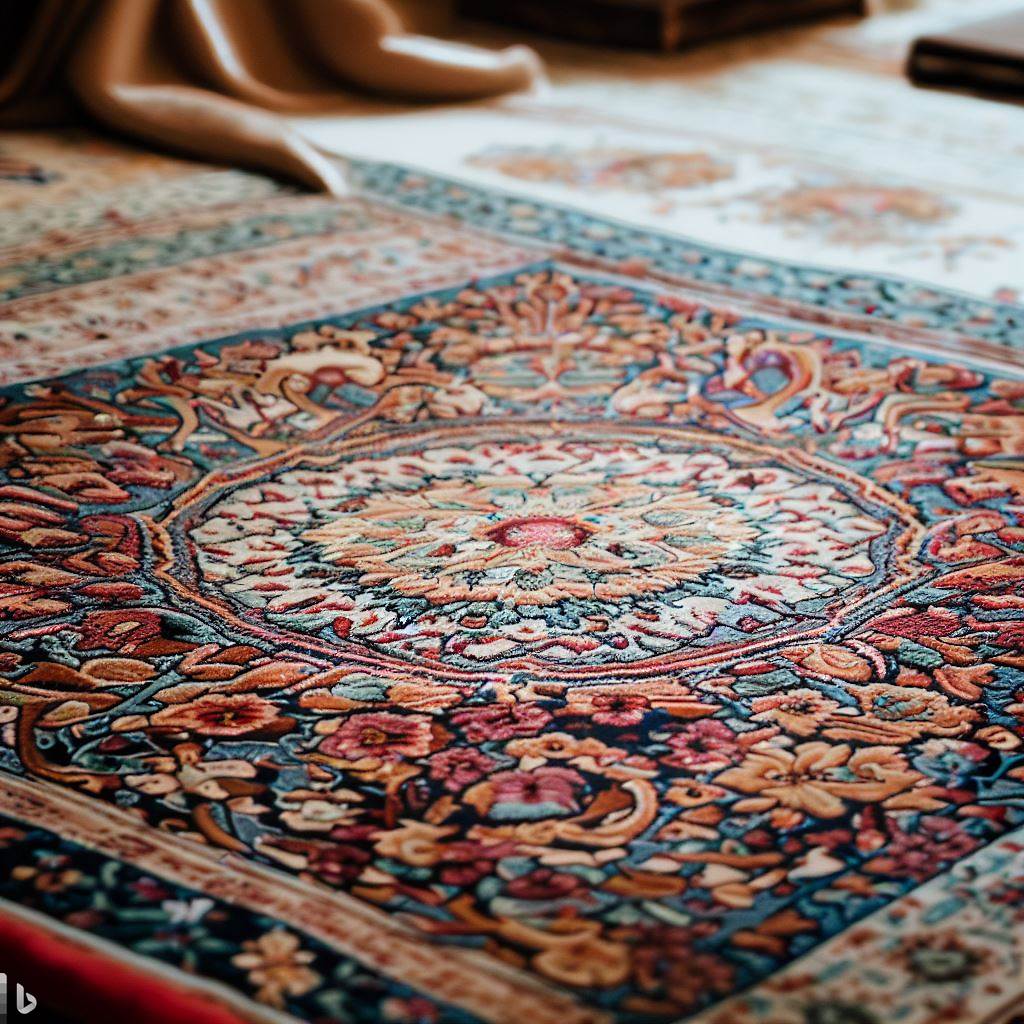
Rug Making Tips and Tricks: Enhancing Your Craftsmanship
Whether you’re knotting, braiding, latch hooking, weaving, or tufting, rug making involves specialized techniques that take practice to master. But there are many tips and tricks that can help enhance rug craftsmanship while also making the process easier and more efficient. This article delves into expert advice, shortcuts, and problem-solving solutions for elevating the quality and enjoyment of your handcrafted rugs. Follow these rug making pointers to finesse your skills.
Fabric and Yarn Prep Tips
Getting your fabric and yarn ready for rug construction is an important first step:
Prewash Fabrics
Wash fabrics in mild detergent before using for rug making. This prevents dyes from bleeding and sets any finishes that may interfere.
Tear Don’t Cut
Tear wool and cotton fabrics into strips rather than cutting. This creates a natural frayed edge that adheres well when hooking or braiding rugs.
Wrap Yarn
When dyeing skeins of yarn, first wrap short lengths of cotton string around them. This creates striations of white that add dimension once woven.
Set Dyes
After dyeing fibers or fabrics, set the colors by rinsing in a solution of 1 part white vinegar to 4 parts water. This prevents fading.
Soften Wool
Prior to weaving, soak coarse wool yarns in hair conditioner diluted with water to make them easier on hands during long hours of knotting.
Efficient Weaving and Knotting Methods
Master weavers utilize these tricks for making the rug creation process smoother:
Warp on Bolts
Wind your warp threads onto bolts instead of directly onto the loom. This makes fixing errors and adjusting tension easier.
Sticky Fingers
To better grip slippery silk yarn while knotting, rub bee’s wax or hair gel on your fingers for added tackiness.
Perfect Row Guide
Weaving consistent straight rows is easier when using a ruler or row finder as a movable guide above the warp threads.
Temple Not Tension
Rather than overtightening warps, use a temple – small braces at each side – to keep weaving width consistent and prevent skewing.
Finish as You Go
Periodically trim fringe ends and wash completed sections as you weave. This prevent layers of cut ends from accumulating and speeds the finish process.
Latch Hooking and Braiding Helpers
Work smarter with these handy latch hooking and braiding tips:
Crafty Weights
To keep braided rug coils from unraveling while working, secure ends with weighted clothespins, clamped rulers or giant paper clips.
Even Loops
Maintain uniform latch hook loop height by first marking hole spacing with chalk on your rug backing for visual loop length guidance.
Rug Underlay
Use rug underlay fabric when latch hooking to provide cushioning and prevent loop threads from showing through the backing.
Rotary Cutter
A fabric rotary cutter, self-healing mat, and rulers create neat consistent strips for braiding with far less effort than scissors.
Handle Hook
Thread a wooden dowel or stiff handle through your latch hook eye to more easily pull longer loops without hand strain.
Refining Dimension, Texture and Details
Take your rug designs to the next level with these embellishing techniques:
Multi-Height Loops
Deliberately vary loop or pile height in different motifs to add visual dimension and create focal points.
Alternate Yarns
Weave with alternating yarns – one glossy, one matte – to produce captivating light play and enhanced texture.
Carve and Sculpt
For carved texture, use a electric rotary carver on loop piles in linear geometric or abstract patterns.
Fringe and Tassels
Finish rug edges with lush hand-knotted fringes or bright tasseled accents. These details add artisanal flair.
creative Embellishments
Sew on buttons, beads, ribbons, or charms as whimsical embellishments. Just ensure they are securely attached.
Troubleshooting Common Rug Making Problems
Frustrating issues crop up when rug making. Try these solutions:
Loose Loops
Apply clear nail polish on the tip of latch hooks or the underside of knots to prevent loops or knots from slipping loose over time.
Bleeding Dyes
Stop fabrics from bleeding excess dye by first soaking them in a saltwater solution prior to construction. Salt sets the pigment.
Curled Edges
To prevent braided or woven rug edges from curling, apply washable fabric glue to the underside perimeter then topstitch to a fabric backing.
Skewing Fabric
If rug backing or warp threads loosen on one side causing skewing, mist the material with spray starch or water to reset the fibers then let dry under tension.
Stretching
Rugs stretch out of shape with use. Periodically steam press, wet, and reshape rug fibers to reduce stretching and restore dimensions.
Refining Eye for Design
Keep these design tips in mind as you craft:
Map It Out
Plan color patterns and motif placements using grid paper before starting. This helps visualize proportions and spacing.
Symmetry Brings Harmony
Symmetrical, balanced designs tend to be most appealing to the eye. Radiate motifs from a central point.
Contrast Adds Interest
Vary textures, pile heights, colors, and shapes to create captivating contrast. Accent solid motifs with textured negative space.
Complementary Colors
Pair colors from opposite sides of the color wheel for lively yet harmonious color schemes in your rug.
Draw From Nature
Flowers, landscapes, seashells and animals make beautiful inspirations with their innate balanced shapes and organic hues.
Level Up Your Rug Making Skills
By incorporating specialty tips, problem-solving fixes, and best design practices, rug makers can elevate their technical abilities while also fine-tuning the beauty of their woven works of art. Master weavers are always learning and progressing. With some targeted advice and experimentation, crafters of all levels will enhance their personal rug making prowess. Challenge yourself to try new techniques for a fresh aesthetic. Rug making is a lifelong creative adventure!
