pyrography basics: a beginner’s guide to wood burning art
Welcome to the world of pyrography, the art of creating beautifully intricate designs on various pieces of wood using heat. In this beginner’s guide, we will explore the basics of pyrography, the tools and materials needed, and provide step-by-step instructions to help you get started on your own wood burning projects.
What is Pyrography?
Introduction to Pyrography
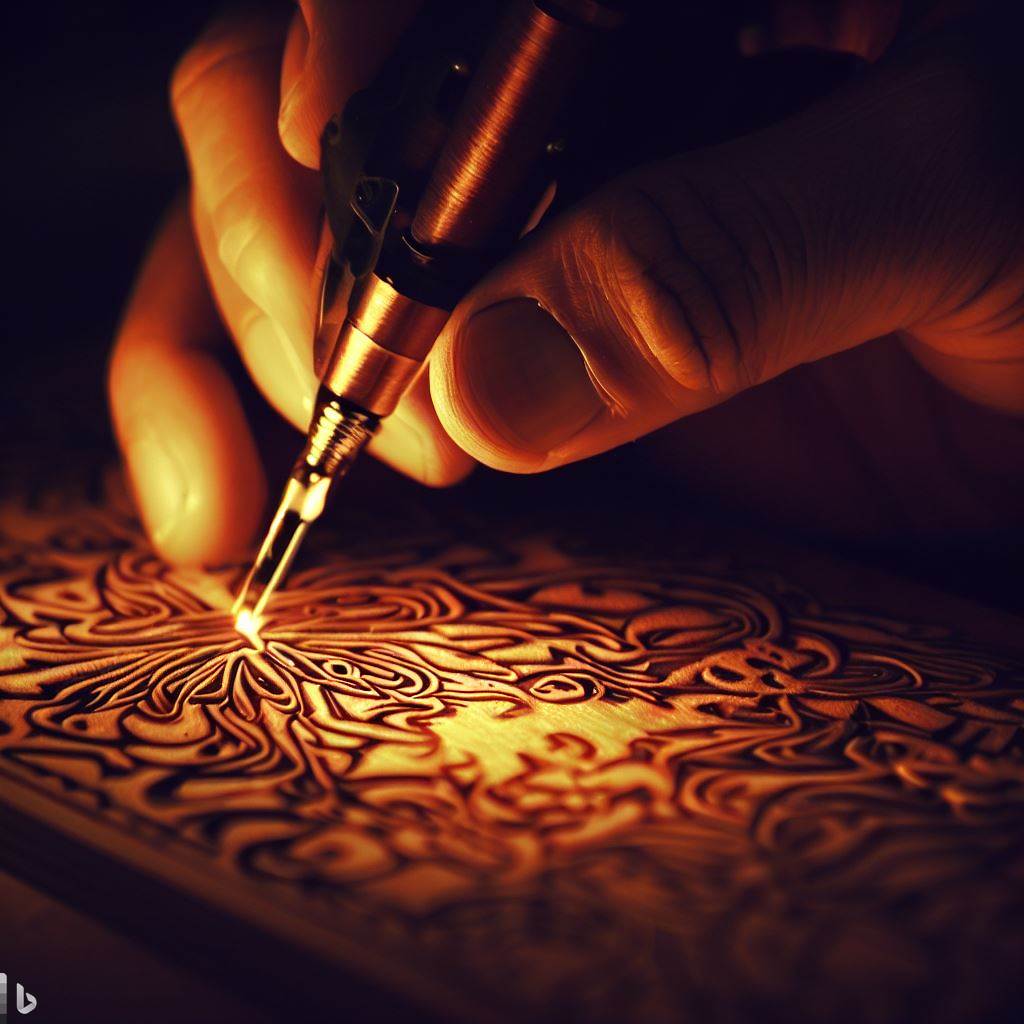
Pyrography is a form of art that involves burning designs onto wood and other materials. The term “pyrography” comes from the Greek words “pur” meaning fire and “graphos” meaning writing, thus describing the process of writing with fire. It is a technique that has been used for centuries to decorate objects and create unique pieces of art.
History of Pyrography
The art of pyrography has a long history that dates back to ancient civilizations. It was commonly used by the Egyptians and later by the Greeks and Romans to decorate various objects, such as furniture, pottery, and even weapons. In the Middle Ages, Christian monks used pyrography to embellish religious texts and manuscripts.
Benefits of Pyrography
One of the main benefits of pyrography is its versatility. It can be used to create intricate designs, add details to woodworking projects, personalize gifts, and even create unique home decor. It is a relatively inexpensive hobby to get started with, and the finished pieces can make wonderful keepsakes or even be sold as handmade crafts.
Getting Started with Pyrography
Choosing the Right Wood for Pyrography
One of the key factors in a successful pyrography project is choosing the right type of wood. Different woods have varying levels of hardness and grain patterns, which can affect how the burn marks appear. While hardwoods like maple or oak are commonly used for pyrography, softer woods like pine can also be great for beginners as they are easier to burn.
Preparing Your Wood for Pyrography
Before you start burning your design onto the wood, it is important to prepare the surface properly. Begin by sanding the piece of wood to create a smooth surface. This will ensure that the heat from the pen is evenly distributed and that the burn marks are more controlled. A fine-grit sandpaper is recommended for this step. Once the wood is sanded, wipe away any dust or debris.
Transferring Your Design onto the Wood
In order to transfer your design onto the wood, you can use graphite paper or create a stencil. Graphite paper is a thin paper with graphite on one side that is placed between your design and the wood. By tracing your design with pressure, the graphite transfers onto the wood, creating an outline for you to follow. Alternatively, you can create a stencil by cutting out your design on a piece of paper and then transferring it onto the wood using a pencil or pen.
Tools and Materials Needed for Pyrography
Types of Pens for Pyrography
There are various types of pens available for pyrography, ranging from basic single-temperature pens to more advanced variable-temperature pens. Single-temperature pens are great for beginners as they are easy to use and affordable. Variable-temperature pens, on the other hand, allow you to adjust the heat level to achieve different effects and work on different types of wood.
Choosing the Right Woodburning Tools
In addition to the pen, there are other woodburning tools that can enhance your pyrography experience. Different tips or nibs can be attached to the pen to create different burn patterns and textures. Pliers are also helpful for safely changing the tips when they are still hot. It is recommended to invest in a starter kit that includes a variety of tips and a pen with adjustable temperature settings.
Additional Materials for Pyrography
Aside from the main tools, there are a few additional materials that can come in handy during the pyrography process. Sandpaper can be used to smooth out any rough areas on the wood or to create shading effects. It is also important to have a well-ventilated work area or use a fume extractor to minimize the inhalation of fumes produced during the burning process.
Step-by-Step Guide to Wood Burning
Step 1: Setting Up Your Work Area
Before you start burning, it is important to set up a safe work area. Make sure you have a stable work surface, such as a table or desk, and that there are no flammable materials nearby. It is also a good idea to have a fire extinguisher handy, just in case.
Step 2: Preparing Your Design
Once your work area is ready, prepare your design by transferring it onto the wood using the method mentioned earlier. Make sure the design is centered and positioned correctly before proceeding.
Step 3: Starting the Wood Burning Process
Now it’s time to start burning! Begin by selecting the appropriate tip or nib for the desired effect. If you are a beginner, start with a simple design and practice your technique on a scrap piece of wood before moving on to your main project. Hold the pen like a pencil and gently apply pressure to the wood to create the desired burn mark. Remember to work slowly and take breaks if needed to prevent overheating.
Tips and Techniques for Pyrography
Best Practices for Wood Burning
When it comes to wood burning, practice makes perfect. Start with simple designs and gradually move on to more complex ones as you gain confidence and enhance your skills. It is also important to take breaks and rest your hand to prevent fatigue. Lastly, always remember to work in a well-ventilated area and wear a mask to protect yourself from inhaling any harmful fumes.
Creating Shading and Textures
Shading and adding textures can enhance the depth and dimension of your pyrography piece. To create shading, adjust the temperature of your pen and lightly burn the areas where you want the shading effect. Experiment with different pressure levels and angles to achieve the desired results. You can also use sandpaper or a wire brush to create textures by lightly sanding or scraping the wood.
Finishing and Sealing Your Pyrography Piece
Once your wood burning is complete, you may choose to add a protective finish to your piece. This can help preserve the artwork and enhance its appearance. There are various finishing options available, such as wood oils, varnishes, or lacquers. Apply the finish according to the manufacturer’s instructions and allow it to dry completely before handling or displaying your pyrography piece.