pyrography on different surfaces: exploring beyond wood in your burned art
Pyrography is a fascinating form of art that involves using heat to create intricate designs on a piece of wood. It combines creativity and craftsmanship, resulting in beautiful and unique pieces of art. The process of pyrography involves using a specialized tool called a wood burner or pen to burn designs onto the wood. The burner or pen has a heated metal nib that is used to create the burned marks on the surface of the wood.
What is Pyrography and How Does it Work?
Understanding the art of wood burn
Pyrography, also known as woodburning, is an ancient technique that has been used for centuries to create decorative and functional pieces of art. The process involves using a heated tool to burn designs onto the surface of a piece of wood. This art form requires skill and precision, as the artist needs to carefully control the temperature and pressure of the burner to create the desired effect.
Exploring different pyrography tools and techniques
There are a variety of pyrography tools and techniques that can be used to create different effects and designs. The most common tool used is a wood burning pen, which has interchangeable nibs that allow for different types of lines and shading. Other tools, such as soldering irons or even heated metal tips, can also be used for pyrography.
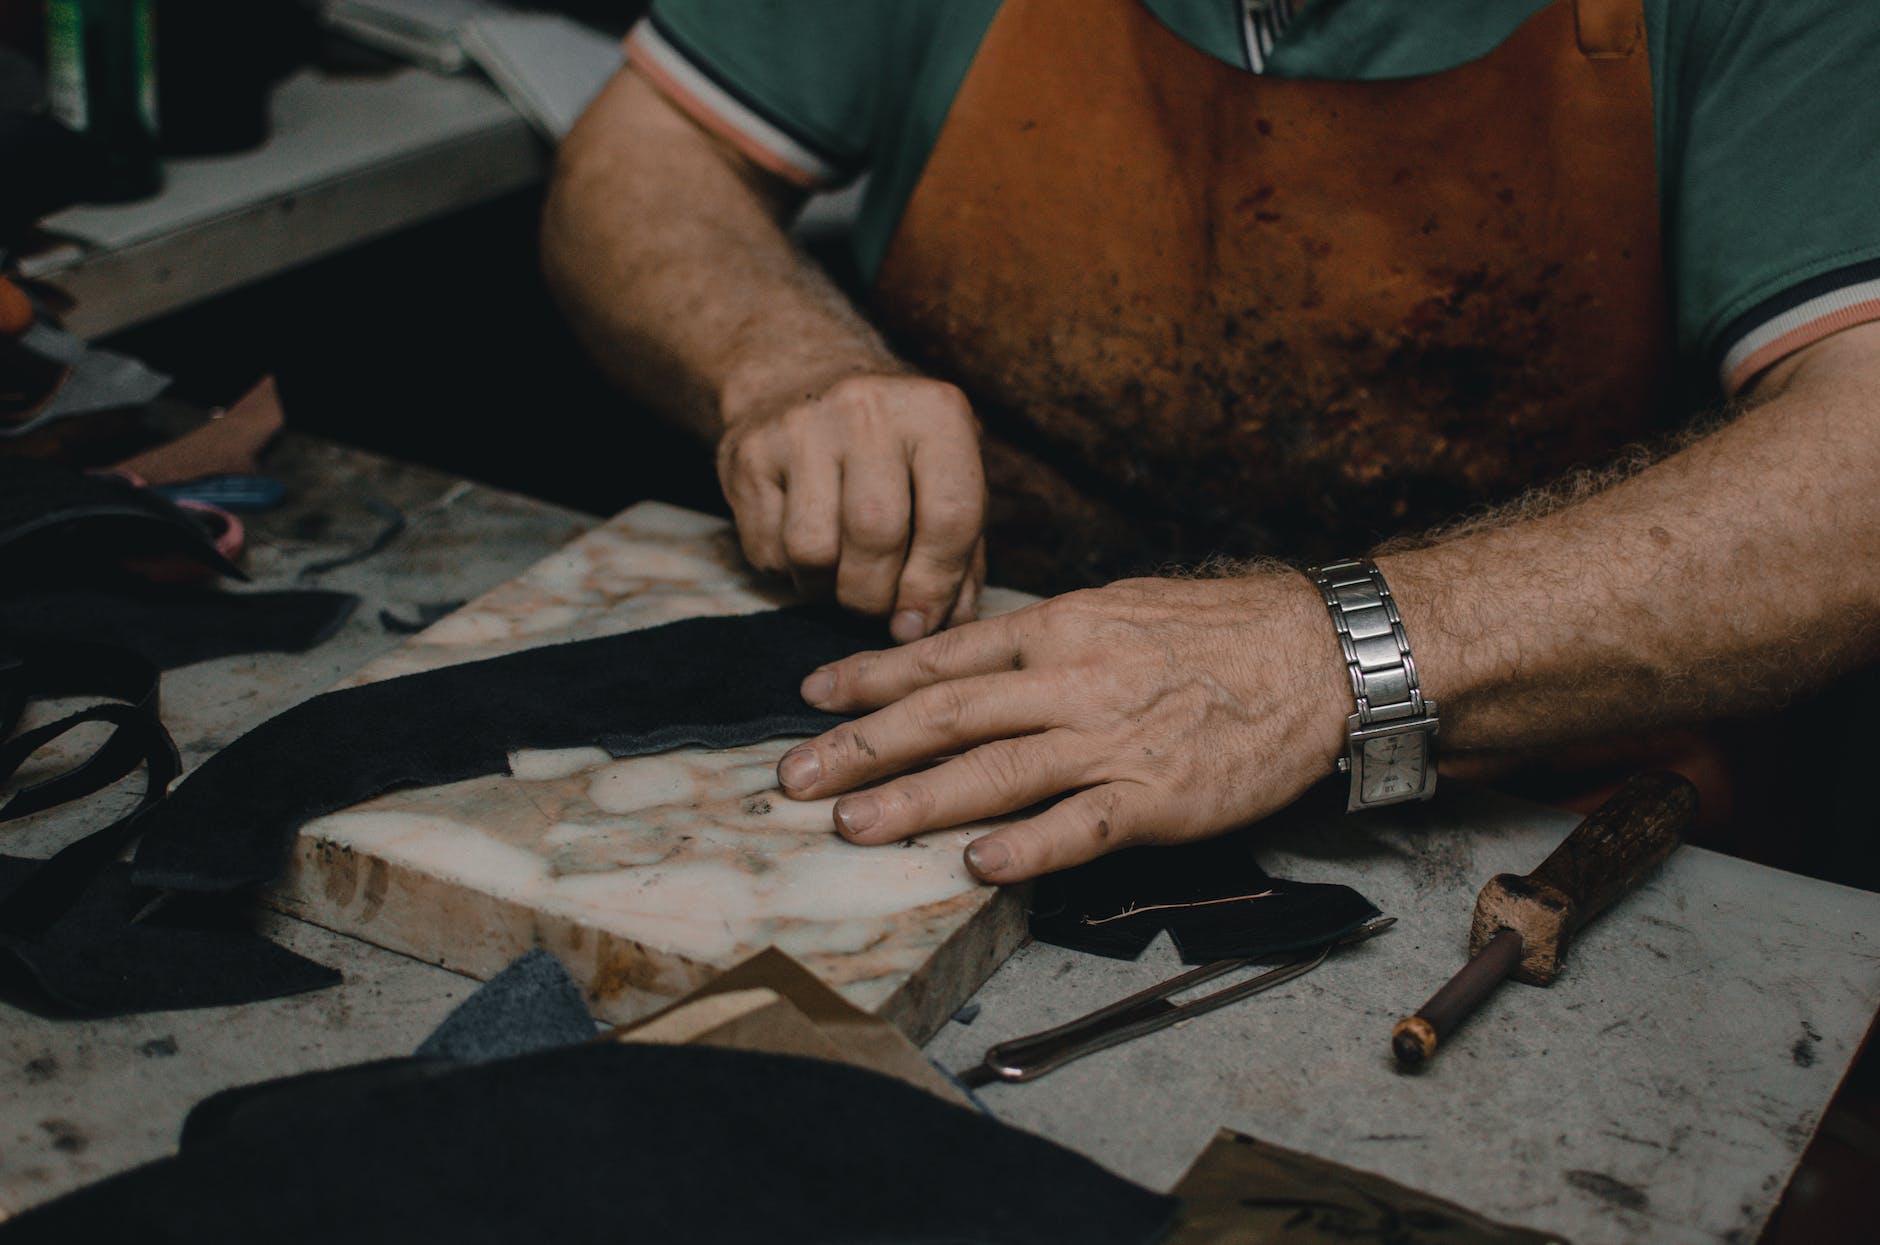
Choosing the right surface to burn
While wood is the most popular surface for pyrography, it is not the only material that can be burned. Pyrographers have discovered that they can burn designs onto a variety of surfaces, such as leather, paper, and even gourds. Each surface has its own unique characteristics and challenges, so it’s important to understand how the burning process may differ on each material.
Can You Burn Pyrography onto Surfaces Other Than Wood?
Exploring the versatility of pyrography
Yes, pyrography can be done on surfaces other than wood. With the right tools and techniques, you can burn designs onto a wide range of materials, including leather, paper, and gourds. This opens up a whole new world of creativity and possibilities for pyrography artists.
Using a wood burning tool on different materials
A wood burning tool can be used on different materials, but the burning process may vary depending on the surface. For example, when burning on leather, it’s important to use a low heat setting to avoid scorching the material. On the other hand, when burning on paper, a higher heat setting may be necessary to create the desired effect.
Tips for burning onto non-wood surfaces
Burning onto non-wood surfaces requires some adjustments in technique. It’s important to experiment with different heat settings and nibs to achieve the desired effect. Additionally, it’s important to prepare the surface before burning by cleaning and sanding it to ensure a smooth and even burn.
What are the Best Surfaces for Pyrography Besides Wood?
Exploring alternative wood surfaces for pyrography
While wood is the traditional surface for pyrography, there are other types of wood that can be used for burning as well. Hardwoods like maple and cherry provide a different texture and color palette for pyrography artists to work with. These woods are harder and denser than regular pine, making them easier to burn and allowing for finer details in the artwork.
Creating pyrography art on maple and other hardwoods
Maple and other hardwoods offer pyrographers a unique canvas to work with. The grain patterns and natural colors of these woods can add depth and dimension to the artwork. Additionally, the hardness of these woods allows for more intricate and detailed designs.
Exploring the possibilities of burning onto gourds
Gourds are another interesting surface to burn designs onto. The natural shape and texture of gourds can create a unique canvas for pyrography art. Gourds can be carved, painted, and burned to create stunning and one-of-a-kind pieces of art.
Getting Started with Pyrography: Tips and Techniques for Beginners
Choosing the right wood and preparing it for burning
For beginners, it’s important to start with a softer wood, such as basswood, as it is easier to burn and allows for more control in creating the design. It’s also important to properly prepare the wood before burning by sanding it smooth and removing any contaminants.
Basic burning tips for beginners
When starting out with pyrography, it’s important to start with basic designs and gradually work your way up to more complex projects. This allows you to develop your skills and become more comfortable with the burning process. It’s also important to practice different techniques, such as shading and line work, to create depth and texture in your artwork.
Exploring shading techniques in pyrography
Shading is an important technique in pyrography that can add depth and realism to your artwork. It involves varying the temperature and pressure of the burner to create different shades and tones. Practice different shading techniques using different heat settings and nibs to achieve the desired effect.
Exploring Pyrography as a Creative Hobby
How to develop your own pyrography style and designs
As you gain more experience with pyrography, you will develop your own unique style and designs. Experiment with different patterns, textures, and subject matters to find what resonates with you. Taking inspiration from other pyrography artists can also help you refine your own style.
Creating your first pyrography project
When creating your first pyrography project, start with a simple design and gradually work your way up to more complex projects. Use a pencil to sketch the design onto the wood before burning to ensure accuracy. Take your time and have patience as you burn, allowing the heat to create the desired effect.
Tips for sanding and finishing your burned artwork
Once you have completed your pyrography project, it’s important to sand the burned area to ensure a smooth and even surface. Start with a coarse sandpaper and gradually work your way up to a finer grit. After sanding, you can apply a finish, such as clear varnish or wax, to protect and enhance the beauty of your burned artwork.