exploring different surfaces for decoupage: wood, glass, and more
What is decoupage and how does it work?
Decoupage is a decorative technique that involves gluing paper or fabric cutouts onto a surface and then coating them with layers of varnish or lacquer to create a smooth, seamless finish. It is commonly used to embellish various objects such as furniture, boxes, frames, and even walls.
To create a decoupage piece, you would typically follow these steps:
1. Choose a base: Select the object you want to decoupage. It can be made of various materials such as wood, glass, metal, or cardboard.
2. Prep the surface: Clean and prepare the surface of the object by sanding it lightly and removing any dust or debris.
3. Cut or tear your design: Select the paper or fabric you want to use for your design. Cut or tear out the desired shapes or images. You can also use pre-printed decoupage paper or napkins specifically designed for this technique.
4. Apply adhesive: Use a decoupage glue or medium to apply a thin, even layer onto the surface of the object where you want to place your cutouts.
5. Position the cutouts: Carefully place your cutouts onto the adhesive, arranging them as desired. Smooth out any wrinkles or air bubbles using a soft brush or your fingers.
6. Apply more adhesive: Once the cutouts are positioned, apply another layer of adhesive over the entire surface, including on top of the cutouts. This will seal them in and create a protective layer.
7. Repeat and layer: Repeat the previous steps if you want to layer more images or designs on top of the base layer. Let each layer dry before adding another.
8. Apply finish: Once you are satisfied with the design, apply several layers of varnish, lacquer, or decoupage finish on top of the entire surface. This will create a durable and glossy finish.
9. Cure and protect: Allow the piece to fully dry and cure according to the product instructions. Finally, you can protect your decoupage creation by adding felt pads or a clear sealant on the bottom, if necessary.
Decoupage allows you to create personalized and artistic designs by combining various images, patterns, and colors. With practice and creativity, you can transform ordinary objects into unique and visually appealing works of art.
Understanding the art form of decoupage
Decoupage is the art of decorating surfaces by applying cutouts of paper or fabric and then sealing them with a protective layer of glue or varnish. This technique allows you to transform ordinary objects into unique pieces of art. The word “decoupage” comes from the French word “decouper,” which means to cut out.
Exploring the materials and tools needed for decoupage
To get started with decoupage, you will need a few basic materials and tools. These include decoupage glue or mod podge, a brush for applying the glue, scissors for cutting out the paper or fabric, and the surface you want to decoupage on, such as wood, glass, or metal.
Step-by-step instructions for decoupaging
The process of decoupaging involves several steps. First, prepare the surface by cleaning it and ensuring it is free of any dust or debris. Next, apply a thin layer of glue or mod podge to the surface using a brush. Then, place your cutout paper or fabric onto the glued surface, smoothing out any wrinkles or bubbles using a sponge or your fingers. Allow the glued layers to dry completely before applying another coat of glue or varnish to seal the decoupaged design.
Decoupage on glass: Tips and Tricks
Preparing the glass surface for decoupage
Before decoupaging on glass, it’s important to prepare the surface properly. Clean the glass object with soap and water to remove any dirt or fingerprints. Dry it thoroughly before proceeding to the next step.
Choosing the right type of paper for glass decoupage
When selecting paper for glass decoupage, consider using tissue paper, napkins, or cutouts from wrapping paper. These materials tend to adhere well to glass surfaces and create a translucent effect when applied. Experiment with different patterns and designs to achieve the desired look.
Applying decoupage on glass jars and other glass objects
To decoupage on glass jars or other glass objects, follow the general decoupage process mentioned earlier. Apply a thin layer of decoupage glue or mod podge to the glass surface and carefully place your cutout paper or fabric onto it, smoothing out any bubbles or wrinkles. Allow the layers to dry completely before adding an additional coat of glue or varnish to seal the design.
Decoupage on wood: A DIY project for beginners
Preparing the wooden surface for decoupage
Before starting a decoupage project on wood, prepare the surface by sanding it lightly to create a smooth texture. This will help the glue adhere better to the wood. Make sure to remove any dust or debris before proceeding.
Exploring different decoupage techniques for wood
There are various techniques you can try when decoupaging on wood. One popular technique is layering tissue paper or thin napkins to create a collage-like effect. Another technique involves using a pencil to lightly sketch a design on the wood surface before applying the cutout paper or fabric.
Finishing touches: Sealing and varnishing the decoupaged wood
Once you have completed the decoupage on wood, it’s important to seal and protect the design. Apply a thin layer of varnish or decoupage glue over the entire surface to seal the layers and give it a glossy finish. Allow it to dry completely before using or displaying your decoupaged piece.
Decoupage on other surfaces: Expanding your creative possibilities
Experimenting with decoupage on metal objects
Although decoupage is commonly associated with wood and glass, it can also be applied to metal objects. Prepare the metal surface by cleaning it thoroughly and applying a primer if needed. Follow the general decoupage process to apply the design onto the metal surface and seal it with a varnish or decoupage glue.
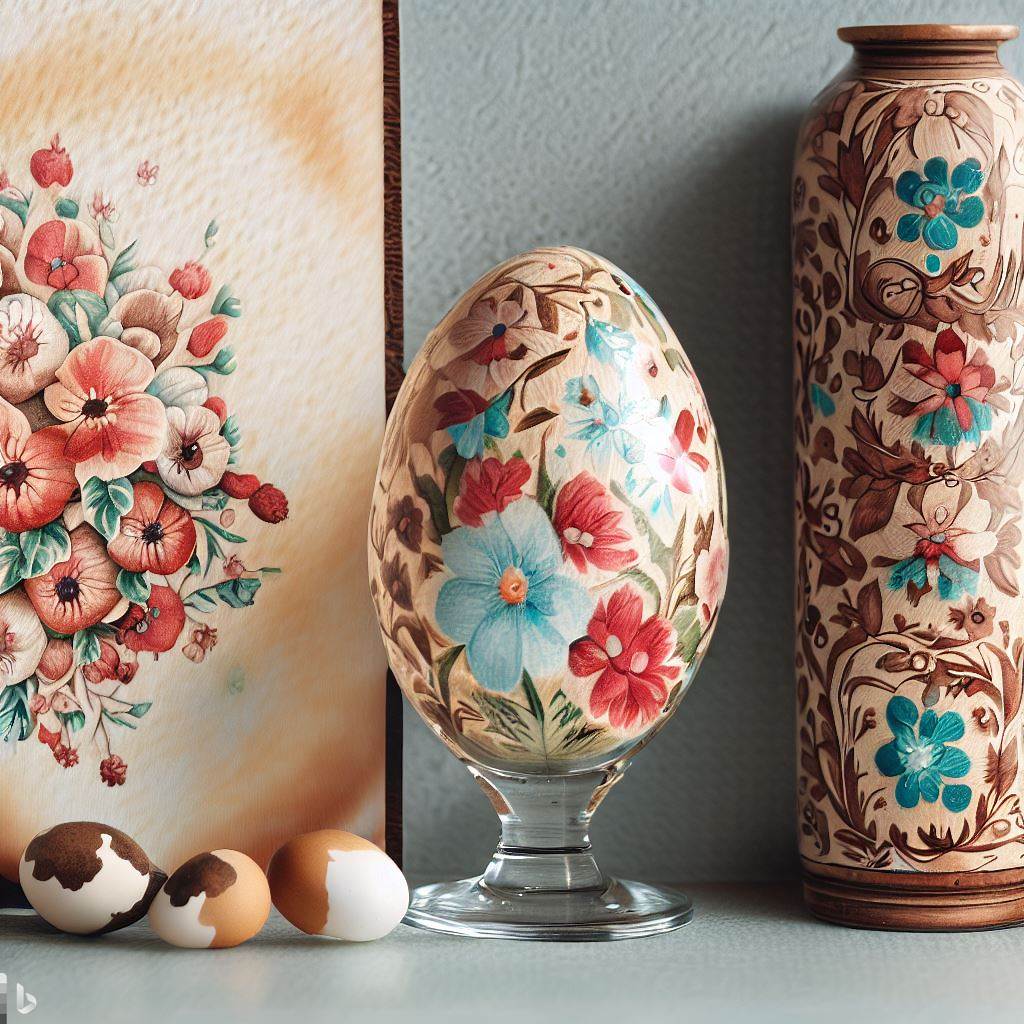
Exploring decoupage on ceramic and porcelain
Decoupage can add a unique touch to ceramic and porcelain objects, such as plates and vases. Ensure that the ceramic or porcelain surface is clean and dry before applying the decoupage layers. Use decoupage glue or mod podge to adhere the cutout designs onto the surface, smoothing out any bubbles or wrinkles. Seal the design with a varnish or decoupage glue for a long-lasting finish.
Creating unique decoupage designs on fabric
Fabric can also be decoupaged to create stunning designs. Choose a thin, lightweight fabric such as cotton or silk for best results. Apply decoupage glue or mod podge to the fabric and carefully place your cutout designs onto it. Smooth out any wrinkles or bubbles and allow it to dry completely. You can then use the decoupaged fabric to create pillows, wall hangings, and other decorative items.
DIY decoupage crafts for home décor
Transforming plain glass jars into beautiful decoupage vases
To create decoupage vases, start with clean glass jars. Apply decoupage glue or mod podge to the glass surface and carefully place your cutout designs onto it. Smooth out any wrinkles or bubbles and allow it to dry completely. Finish by sealing the decoupaged surface with another coat of glue or varnish.
Creating personalized decoupage plates and trays
Turn plain plates and trays into personalized home decor pieces with decoupage. Clean the surface of the plate or tray and apply decoupage glue or mod podge. Arrange your cutout designs onto the surface, ensuring they adhere well. Smooth out any bubbles or wrinkles and let it dry completely. Finish by sealing the design with a coat of varnish.
Inspiring ideas for decoupaging various home decor items
In addition to vases, plates, and trays, there are many other home decor items that can be decoupaged. Consider decoupaging lampshades, picture frames, or even furniture pieces. Use your creativity to transform ordinary objects into eye-catching pieces that reflect your personal style.