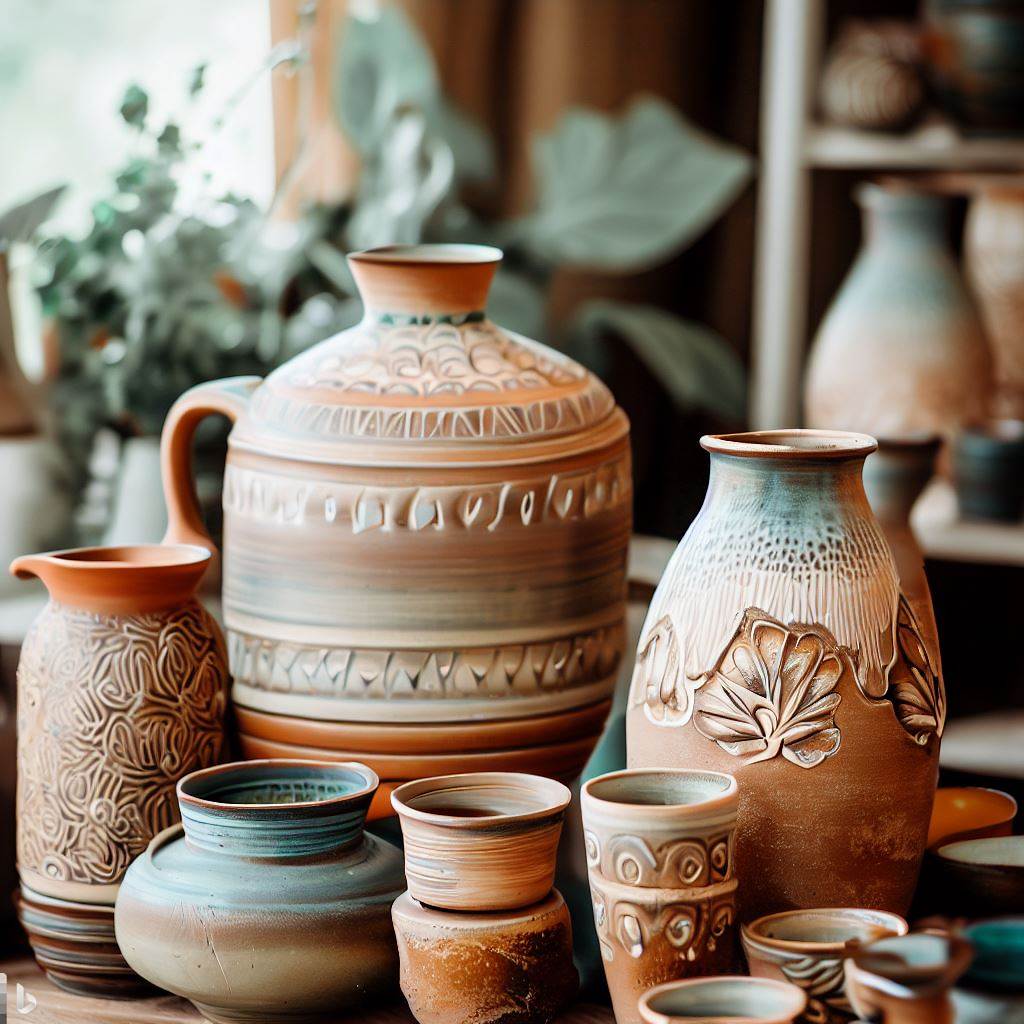
How Pottery Gets Made: Explaining the Ceramic Manufacturing Process
While appreciating finished ware, the elaborate behind-the-scenes process of crafting pottery from raw clay into glazed art remains a mystery to many. Gaining insight into the meticulous steps potters use to shape, decorate, and fire clay illuminates the care and skill transforming earthen mud into cultural treasure.
Selecting and Preparing Clay
Potters choose from an array of natural and engineered clays with different properties suited to desired outcomes. Porcelain’s purity allows thin translucent walls while stoneware provides rugged durability for daily use. Suppliers mill clays with water into workable plastic states ready for throwing and handbuilding. Wedging kneads out air pockets before any working method. The clay type fundamentally influences possibilities.
Centering Clay on the Wheel
Pottery wheels require clay to be centered into a domed cylinder focused on the rotational axis before throwing. Off-center clay wobbles and deforms when spun. Pressure from the palms while coning up brings the mound into focused symmetry so vertical walls can be raised during throwing. Centering provides necessary balance.
Raising and Shaping Vessels with the Wheel
Once centered, potters repeatedly lift the clay upward through pressure between the thumbs and wheel rim to gradually raise walls. Opening inside curves controls width. Ribs trim and calibrate wall thickness. Lifting continues until the desired height is reached before refining rims and bases with tools. The wheel provides momentum to elegantly shape clay into precision forms.
Trimming Foot Rings and Legs
After drying leather hard, thrown pieces get trimmed to remove irregularities and define the foot. A looping trimming tool cuts excess from the base, leaving a clean foot ring of uniform width on vessels. Separately formed feet, legs, and embellishments also get attached before drying and sanding to completion. Trimming refines thrown pieces into polished wares.
Bisque Firing Clay Before Glazing
Air dried pottery contains water which must be expelled before glazing to prevent cracking. Bisque firing heats ware to around 1800°F to permanently harden clay through sintering and make it porous enough for glazes to fuse within. Unglazed clay turns light brown when ready for decoration after bisque firing, now able to withstand water-based glazes.
Mixing and Applying Glazes for Surface Beauty
Like cake frosting for clay, glazes provide hardened pottery an impermeable glass-like coating and brilliant color. Liquid glaze mixtures get applied in layers by brushing, dipping, or spraying until ware is fully covered. Glazes melt into glassy surfaces during hightemperature glaze firings around 2200°F. Mixing and testing needed to achieve flawless results.
Glaze Firing and Cooling Ware
After drying, glazed pottery undergoes a final kiln firing to melt and fuse glazes permanently at higher temperatures. The firing schedule slowly raises temperatures to prevent defects before soaking ware at maturity for full fusion. Extended cooling prevents damaging thermal shocks to pottery. Successful glaze firing renders ware watertight and vibrantly polished.
Final Steps to Finish Ware
Once cool, potters remove fired pieces and assess outcomes. Quality control checks itemize flaws to improve process consistency. Ware gets photographed for archives and marketing. Signature markings get stamped. Minor defects get ground away. Finally pottery is ready for sealing, packaging, and selling. Critical final touches prepare pieces for public display.
From Malleable to Permanent
Each meticulous step in sequence transforms malleable clay into culturally permanent ware through drying, firing, finishing, and meticulous care. Technique and chemistry sync to merge earth with artistry. While pottery appears simply shaped by hand, extensive engineering and labor hides beneath the minimalist surface beauty potters proudly unveil through clay’s alchemy into art.
