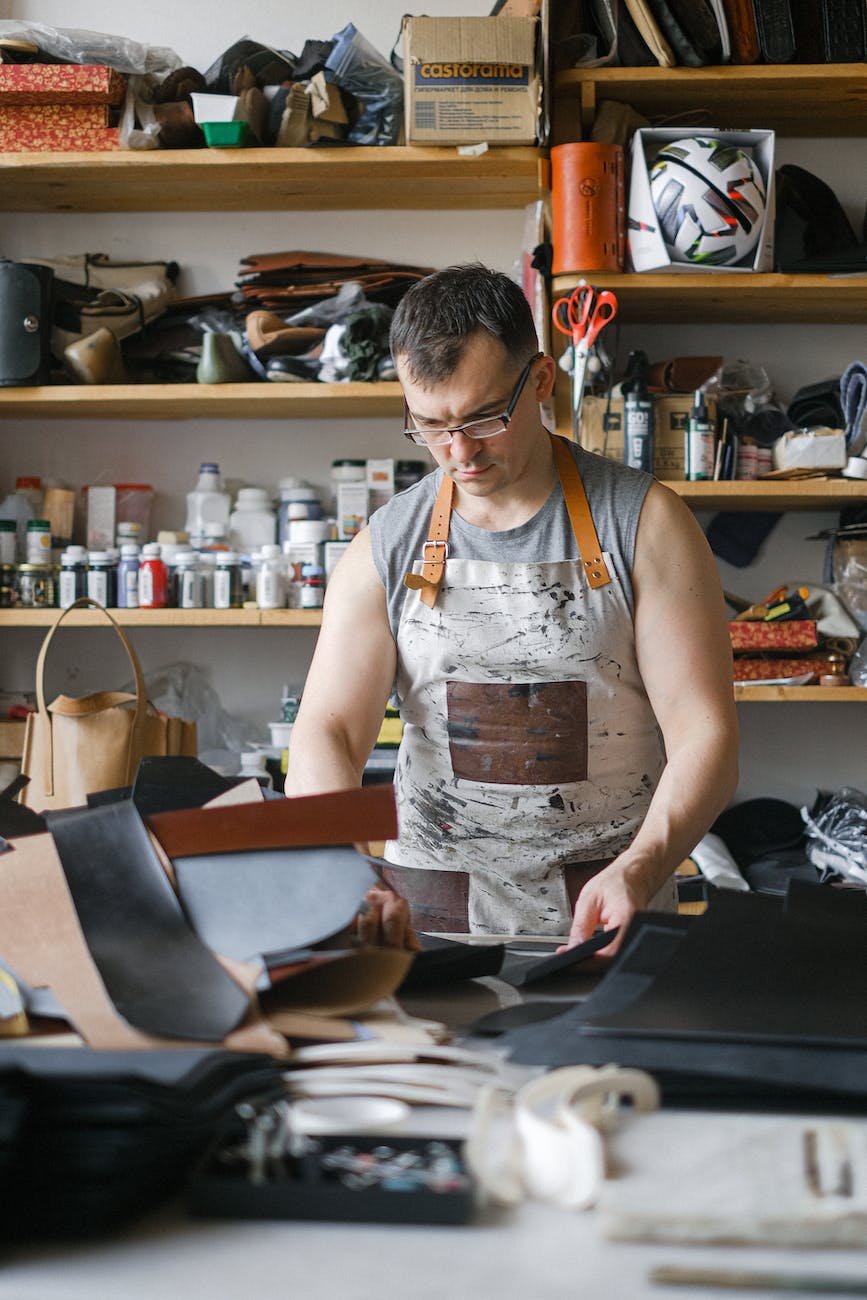
Getting Started with Leatherworking: Tips and Tricks for Beginners
Selecting Beginner-Friendly Leather and Supplies
Starting out working with high-quality materials ensures a positive experience versus struggling with low-grade leather and tools.
Look for full grain 4-6 oz vegetable tanned cowhide for tooling. Smooth aniline dyed leather allows easy stitching without edges fraying. Kits provide starter supplies like needles, thread, dye, snaps and a swivel knife.
Beyond the cost, quality materials act as a pleasure to work. Leather stays supple under tools and takes dye readily. The work feels intuitive versus fighting rigid, uneven hides.
Good First Projects to Develop Technique
Simple first projects build skills without overwhelm. Useful ideas include:
- Coasters to practice basic dyeing and finishing in a small format
- Key fobs with stamped initials make quick personalized gifts
- Simple card holders require only stitching and edge finishing
- Key rings help perfect circular stitching and snaps
- Spoon rests to tool basic geometric border patterns
Take things step-by-step. Completing small pieces instills confidence to gradually attempt more complex work.
Helpful Tips for Cutting Leather
Cutting leather cleanly requires special care and tools for optimal results:
- Use an X-Acto or razor blade freshly replaced for each project
- Keep extra blades on hand since they dull quickly from leather’s density
- Cut only on self-healing mats to protect blades and surfaces
- Secure patterns with tape before cutting; never just eyeball it
- Take care on curves and corners; go slowly with small strokes
- Skive edges before assembly for flexibility and smooth joining
There is no shortcut around sharp fresh blades when working leather. Dullness causes ragged cuts and frustration.
Edge Finishing Techniques for Beginners
Burnishing and painting edges makes projects feel complete and professional. Key tips include:
- Trim off any burrs or fuzziness first with fine sandpaper
- Apply edge finish paint evenly using sponges for full coverage
- Let paint dry fully before burnishing to avoid gumming up tools
- Use a wood or Teflon slicker instead of steel for beginner friendliness
- Rub vigorously using canvas or denim to friction polish dyed edges
- Mask off surfaces to keep dye strictly on the edges only
With some practice, edge finishing becomes a favorite meditative step creating visible satisfaction.
Helpful Stitching Guidance
Hand stitching leather requires specialized needles and awls to make clean holes that don’t tear or stress the material:
- Use thick harness needles made for penetrating leather
- Pre-punch evenly spaced holes with an awl before stitching
- Try a saddle stitch for durability; 2 needles interlock thread
- Start from the middle and move outward to distribute tension
- Apply beeswax to threads for waterproofing and slip
- Knot on the backside; never tie knots mid-stitching
Even tension and spacing prevents amateur results. The right needles prevent ripping through leather.
Tooling Tips for Beginners
Creative tooling impresses raised and outlined designs using simple techniques:
- Practice first on leather scraps before tooling good hides
- Use a diamond awl to trace stitching groove lines before tooling
- Tap firmly but not too hard; only go 1mm deep max for decoration
- Secure leather on a hard surface; tooling on soft surfaces distorts
- Outline designs freehand or use templates for geometric patterns
- Foil background then use modeling tools to define details
With time and experimentation, tooling becomes an intuitive artform.
Helpful Skills for Dyeing and Finishing
Coloring and sealing leather expands creative possibilities but requires proper handling for flawless saturation:
- Wear gloves and work in a ventilated area
- Test dyes first on scraps until you achieve the desired color
- Apply dyes in thin coats using sponges and paintbrushes
- Alcohol dyes and spirit stains add antique patinas
- Avoid over-handling until dyes fully cure to prevent smearing
- Finish with wax and acrylic sealers to protect and enhance colors
Patience and persistence let colors take on a rich flawless quality. Finishing protects leather through years of use.
Troubleshooting Common Beginner Mistakes
Don’t get frustrated by initial mistakes. Analyze issues to improve:
- Ragged cuts mean a dull blade; replace it
- Puckering leather means pulling too tight while stitching
- Bleeding dyes mean you didn’t let layers fully dry before adding more
- Ink stains from marking pens come out with rubbing alcohol
- Cracking finish means you applied acrylic too thickly
- Warped tooling happens when working on soft unstable surfaces
Every misstep provides useful information to enhance your skills. Problem solve with patience.
Leatherworking provides a fulfilling creative outlet and valuable life skills. Allow yourself to enjoy the journey of incremental improvement. With quality tools and patience, beginners gain confidence through practice to craft beautiful personalized leather goods imbued with care and meaning.
