Leather working Techniques: From Cutting to Stitching
Selecting the Right Leather for Each Project
Choosing the appropriate leather type and weight for planned products begins every project on the right foot. Considerations include:
- Intended use – Outerwear vs high friction accessories vs soft linings
- Texture – Smooth grain for polish or nubuck for vintage character
- Weight – Thin 1-2oz leathers for pliability or thick 5+oz for structure
- Treatment – Aniline dye penetration vs protective top coatings
- Origin – Lamb for softness, cow for toughness, exotics for luxury
Testing leather samples helps assess suitability. Letting pieces relax on the bolt reveals natural drape and temper. Inspected leathers become trusted tools.
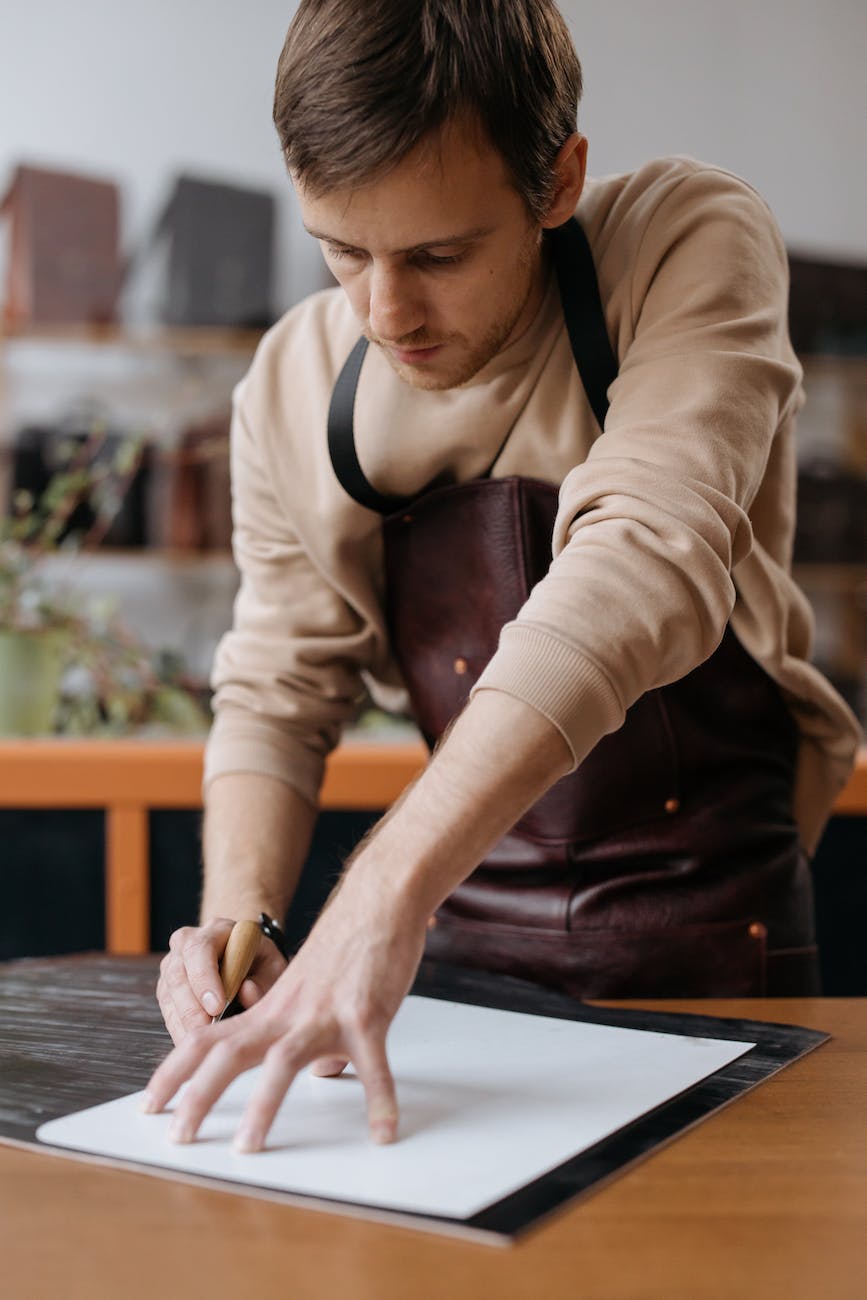
Mastering Precise and Efficient Cutting
Cutting leather cleanly is crucial for attractive final products and avoiding costly waste. Sharp blades and smart layout streamline cutting:
- Prepare by truing edges with a beveler and sanding away flaws
- Use brand new X-Acto or razor blades frequently for flawless cuts
- Keep blades perpendicular and move leather against ruler for straight lines
- Layout patterns efficiently to minimize unused remnants
- Skive edges where seams will meet for smooth flexible joins
- Cut pieces continuously where possible to ensure fit
- Take care with corners and curves using short controlled cuts
With practice, even intricate curved shapes can get cut quickly, accurately, and waste-free. Sharp fresh blades prove critical.
Edging Techniques for Defining and Protecting
Painting, burnishing and finishing leather edges makes pieces feel complete while preventing damage from moisture and wear.
- Seal porous edges with thinned acrylic or oil dyes to prevent wicking.
- Smooth and shape edges with a beveler. Sand away burrs or fuzz.
- Burnish by rubbing firmly with a canvas or steel tool to compress fibers.
- Finish with wax or edge sealer. Use resistors to paint color gradients.
Well-executed edging makes the difference between amateurish and masterful leather craftsmanship. Patience yields elegantly integrated edges.
Tooling Techniques for Adding Decorative Details
Leather tooling impresses or carves decorative motifs that personalize pieces with ornate embellishments and textures.
- Use geometric templates to guide uniform stamping with pear shaped points. Meticulously match corners.
- Swivel knives outline patterns before removing background leather around contours.
- Modeling tools indent veins, scales, and crosshatching. Finesse curves.
- Foil background areas or apply oils to make embossed designs stand out.
With practice, skilled tooling elicits elaborately lifelike 3D textures across leather surfaces. Distinct creative options establish personal style.
Lacing Techniques for Joining Leather Sections
Lacing offers a handworked alternative to stitching for joining leather pieces that allows flexibility, disassembly, and decorative options.
- Punch evenly spaced tight slits instead of holes to reduce tearing.
- Thread sections from backside through slits using thick waxed linen or leather lacing.
- Weave threads over-under to interlock pieces. Tightness and patterns affect drape.
- Incorporate metallic lacing for embellishment. Use crossed lacing for security.
- Attach functional tips like clasps and stoppers to leather thong ends.
Mastering lacing erects sturdy structures from pliable leather while inviting creative expression through colors and patterns.
Hand Stitching Techniques for Leather
Careful hand stitching joins leather pieces securely while adding artisanal embellishment with decorative patterns and colored threads.
- Use harness needles to penetrate tough leather sections. Wax thread for water resistance and durability.
- Set stitch width based on leather weight. Wider spacing allows flexibility.
- Saddle stitch interlocks for strength. Try folk patterns like seed stitch for ornamentation.
- Wrap edges with piping using curved needles before stitching for a polished finish.
- Knot thread neatly on the backside and trim close.
Even simple running stitches gain elegance edged in piping. Consistently straight spacing elevates proportions. Proper needles prevent tearing.
Dyeing Leather for Custom Color Effects
Dyeing allows limitless custom color options from rich solid tones to unique handmade ombre gradients across projects.
- Patch test dyes first. Light leathers absorb more intensity. Some dyes only work on vegetable tanned leather.
- Apply dyes with spray bottles, sponges, or rags. Use resist techniques for speckling.
- Build from light to dark. Multiple thin layers develop deep uniform saturation.
- Distressed vintage hues use waxes and diluted dyes. Sponging removes color again for variation.
- Seal in color after drying with finishing waxes or acrylic resolene.
Endless creativity flows from leather’s blank absorbent surface waiting for dyes. Color nuance and control develops over time through practice.
Molding and Forming Techniques for 3D Objects
Leather’s pliability allows forming supple dimensional containers, armor and other sculptural pieces when crafted with strategic cuts, pleating and molding.
- Make paper templates first to plan 2D patterns that will shape into 3D forms.
- Skive leather at key folded areas and edges to reduce stiffness
- Cut geometric shapes with knife point or chisel beveler then assemble into objects
- Use forms and clamps to conform leather as it dries after damp molding
- Rivet paneled leather pieces together and finish linings cleanly
With careful planning, leather’s versatility allows crafting flowing shapes from vases to imaginative lampshades. Leather sheets transform under hands.
Achieving Consistent High-Quality Results
Developing mastery requires constant refinement through evaluation and improvement of process to achieve reliably excellent results.
- Position work surfaces and tools at proper heights tailored to your body mechanics. This saves fatigue.
- Standardize workflow routines and material preparation steps. This increases efficiency.
- Make checklists and samples for reference. Use guides like popsicle sticks to ensure consistency.
- Identify causes of imperfections through analysis and fixes. Document solutions.
- Upgrade tools and materials that improve ease and accuracy. Quality equipment empowers.
Meticulous technique liberates creativity instead of obstructing it. Pride in excellent craftsmanship elevates the functional to artful.
The stunning diversity of leather allows artisans to shape beautiful handmade goods through carefully honed skills passed down across centuries worldwide. Mastering the nuances from selecting hides to intricate tooling opens creative doors at each step. Wisdom flows down through fingers following in the steps of our forbearers seeking to understand integrity in work and beauty.