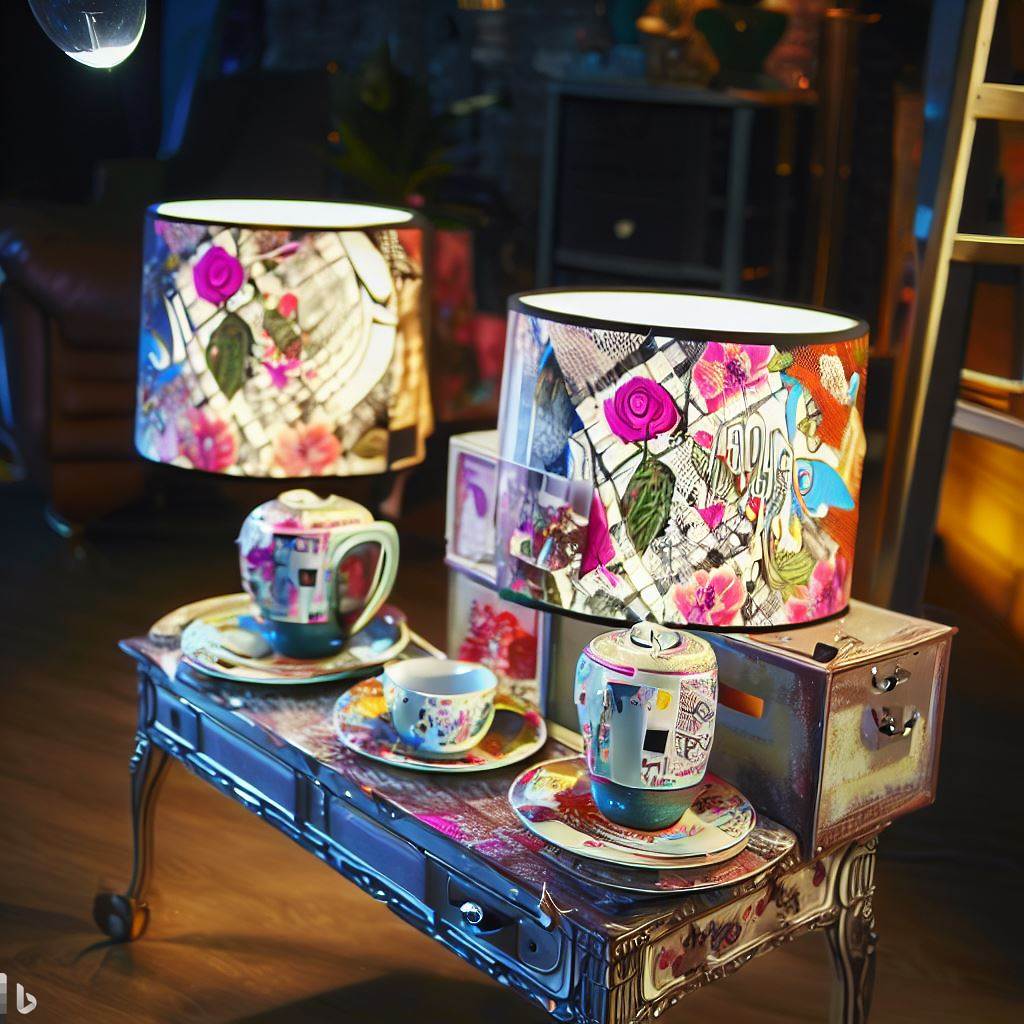
Upcycling with Decoupage: Transforming Thrift Store Finds into Treasures
Decoupage provides the perfect medium for creatively upcycling secondhand treasures. With some vision and a few supplies, everyday thrift store castoffs gain new life embellished with cutouts from vibrant salvaged papers or magazines. Previously overlooked items like chipped dishware, dated furnishings, and faded oil paintings emerge uniquely renewed when thoughtfully decoupaged by hand. Give forgotten objects new purpose while keeping them from landfills. Follow these tips for selecting items with potential, planning complimentary designs, preparing surfaces, decoupaging customized makeovers, and artfully displaying your upcycled decoupage pieces.
Hunting for Thrift Store Makeover Candidates
Browse secondhand shops with an eye for potential hidden beneath flaws.
Vintage Furniture
Give worn dressers, shelves, frames, and surfaces fresh style with decoupage patterns.
Discarded Dishware
Transform orphaned cups, cracked plates, and incomplete sets into artsy mosaics.
Dated Decorations
Revive kitschy but well constructed holiday decorations, figurines, and ceramics with decoupage.
Obscure Paintings
Breathe new life into amateur paintings or unfinished canvases by decoupaging over them.
Old Lampshades
Flip torn paper or damaged lampshades into lighting works of art with decoupaged style.
Quirky Finds
Let weird discarded items like mannequin body parts or dental molds become art canvases.
Evaluating Condition and Structure
Inspect prospective pieces for sound construction and surfaces.
- Overall sturdy intact structure
- No major repairs needed
- Flat or gently curved surfaces work best
- Undamaged areas for decoupage adhesion
- Interesting base details to retain
- Lightweight for transporting
Avoid items with excessive repairs or hazardous conditions.
Creative Design Concepts and Planning
Envision decoupage additions that reimagine castoffs in a new light.
Retaining Original Character
Leave areas of vintage surface unaltered to harmonize old with new.
Enhancing Existing Details
Plan decoupage placement to accentuate hardware, textures, or ornamentation already present rather than covering them.
Updated Color Palettes
Choose on-trend decoupage papers in hues that give stale pieces renewed style.
Infusing Whimsy
Add a playful decoupage motif like songbirds, hot air balloons, or flowers to mundane items.
Functional Items Still Useful
Ensure decoupage doesn’t prevent utilitarian pieces from being used. Just enhance them.
Preparing and Priming Surfaces
Proper prep helps decoupage adhere and fuse durably to thrift store finds.
- Clean thoroughly with detergent to remove grime
- Sand away loose paint and varnish
- Fill any cracks, nails holes, or gaps with filler
- Lightly sand glossy surfaces to aid adhesion
- Wash again after sanding to remove dust
- Apply specialty decoupage primer if needed
Leave surfaces free of oils, soiling, or debris.
Upcycling Makeover Decoupage Techniques
Use these methods adaptively when decoupaging diverse salvaged goods.
Matching Paper Patterns
Cut decoupage paper motifs to mirror the angles, shapes, and sizes of the surface being covered for realistic effect.
Layering and Overlapping
Use dimensional layering of multiple decoupage pieces to add depths and shadows.
Filling Gaps or Missing Areas
Tear or cut decoupage paper into irregular shapes to fill odd voids in imperfect surfaces.
Concealing Damages or Stains
Superimpose vibrant patterned papers atop damaged regions to draw the eye elsewhere.
Creating New Non-Objective Designs
Collage torn solid color papers into fresh abstract mosaics.
Outlining with Embossing
Define decoupage edges with copper, silver, or colored embossing powders for sharp definition after sealing.
Sealing and Protecting Finished Decoupage Creations
Special steps help completed projects endure gracefully.
Flexible Sealants
Choose vinyl or acrylic decoupage mediums that allow expansion and prevent cracking as pieces age.
Brushstroke Direction
Direct sealer brushstrokes to smooth papers down, not lift their edges up. Work from the middle outward.
Thin Even Layers
Build up multiple thin topcoats for a smooth finished surface, avoiding uneven globs.
Allowing to Cure
Let sealers fully harden before handling to prevent smudges or tacky areas.
Non-Yellowing Formulas
Look for sealers specially formulated to remain clear rather than ambering over time.
Refreshing Over Time
Periodically touch-up scuffed or worn areas and reseal older pieces as needed.
Showcasing Completed Decoupage Creations
Display choices impact how revitalized pieces make their best impression.
Appropriate Backdrops
Showcase against artfully painted, mirrored, or coordinated textile walls for impact.
Thoughtful Staging
Use intriguing prop arrangements like books, flowers, and objets d’art to highlight upcycled pieces.
Tailored Lighting
Spotlight decoupaged art objects with dedicated picture lights or display spotlighting.
Elevating
Place visually heavyweight pieces atop decorative pedestals so details can be admired.
Rotation
Curate collections by periodically rotating different upcycled works into view for freshness.
Cards Identifying Origins
Place cards detailing each discarded object’s former identity or imagined backstory.
With decoupage possibilities, castaways gain new purpose. Rediscover beauty while saving resources and honoring histories.
