The Art of Inlay: Setting Enamel into Metal, Wood, and More
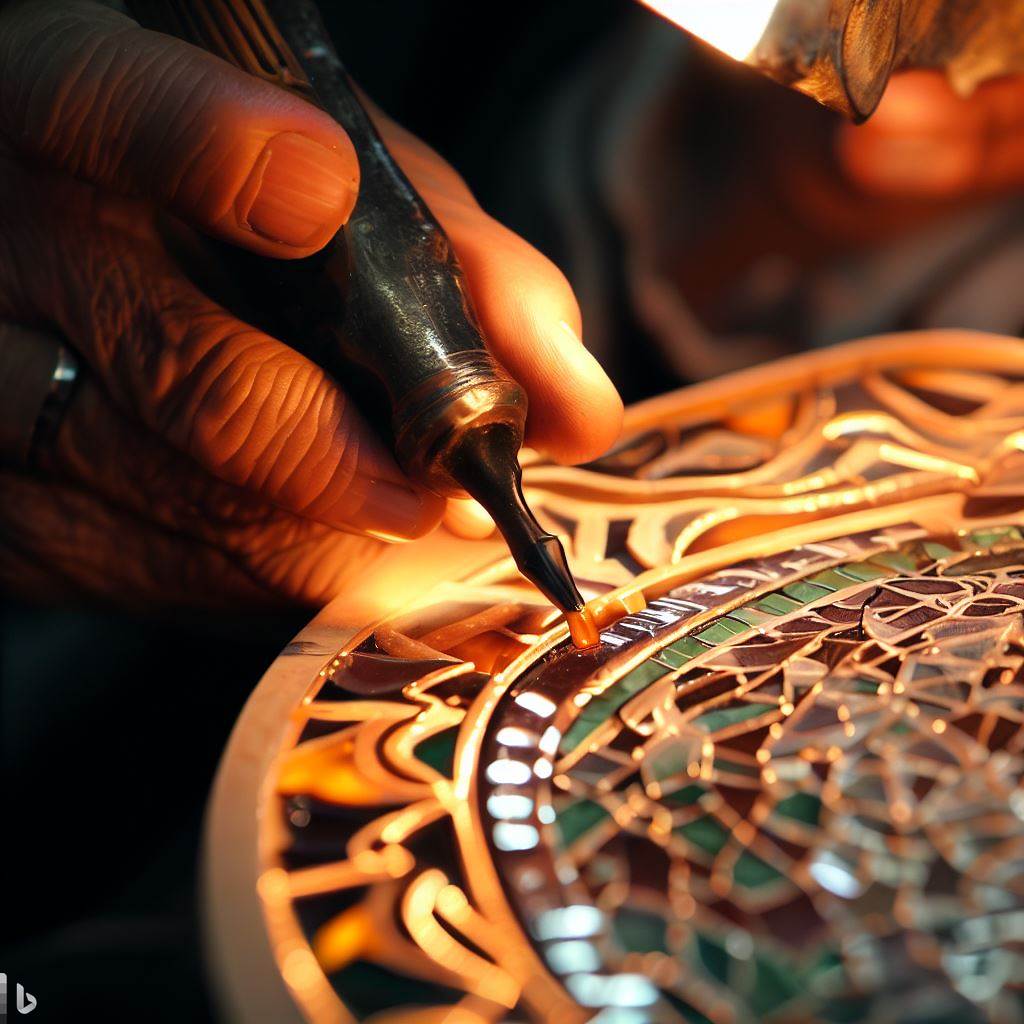
Inlay is an enamelwork technique that involves setting pre-fired enamel forms into cavities or channels in a substrate material like metal, wood, or stone. The enamel pieces are shaped to fit the recesses precisely, often in elaborate decorative motifs. When skillfully executed, inlaid enamel appears seamlessly embedded within the surrounding material for an exquisite, dimensional effect. Mastering the ancient art of inlay takes patience but allows for vibrant embellishments on objects and architecture. Follow these tips for planning, forming, fitting, and fusing enamel inlays into a variety of base materials.
Selecting a Base Material for Inlay
The composition of the background material will dictate the compatibility of the enamels used and techniques for carving recesses.
Precious Metals
Gold, silver, and platinum provide luxurious contrast against radiant enamels. Channels can be carved, etched, or cast.
Base Metals
Copper, bronze, brass, and steel are ideal metal substrates. They can be etched, engraved, or tooled to hold enamel.
Wood
Various hardwoods can be intaglio carved, routed, or laser engraved to house enamel forms. The grain provides warmth.
Stone and Glass
Materials like marble, granite, and glass take detailed engraving and etching to create channels for enamel inlays.
Planning the Inlaid Design
Consider the overall inlaid motif and layout before shaping individual enamel elements.
Complementing Existing Decorative Features
If working on an embellished object, coordinate inlays with its existing ornamentation.
Determining Channel Depths
Factor in the thickness of enamel forms needed when cutting recesses into the substrate.
Allowing Channels Between Areas
Leave small divisions between enamel inlay sections for clean separation and definition.
Mapping the Color Scheme
Visualize a coordinated palette for the enamel inlays matching the substrate. Plan accent colors strategically.
Balancing Shapes and Patterns
Combine geometric enamel components with freeform inlaid accents for cohesive flow.
Creating Recesses for Inlay
Use specialty tools suited to the material to carve out channels and cavities to embed enamel forms.
Engraving Metals
On precious metals, hand engrave detailed tromps l’oeil effects. On base metals, machine engrave for precision.
Etching Chemical Channels
Use etching creams on glass or acids on metals to bite away substrate material and create shallow recesses.
Routing and Carving Wood
Route intricacies into wood or carve them by hand based on the hardness and grain direction.
Milling and Sandblasting Stone
Use diamond core drills and silicon carbide sandblasting on stone to abrade defined channels for enamel.
Casting or Die-Stamping Metal
For production work, cast or stamp thin metal blanks with enamel recesses already formed.
Forming the Inlay Enamel Pieces
Once recesses are prepared, shape enamel elements to fit them exactly.
Matching Expansion Rates
Choose enamels with compatible thermal expansion to the substrate to prevent cracking during firing.
Sizing the Enamel Forms
Grind and sand pieces slightly oversized so they can be precisely fitted during final assembly.
Cutting Flat Inlay Shapes
Use diamond saws to slice fired enamel sheets and scraps into geometric squares, triangles, rectangles, etc.
Creating Contoured Forms
For inlay with relief, build up thick enamel areas on a prepared substrate, then refractory blast or carve to shape.
Checking Consistent Thicknesses
Ensure even enamel thicknesses so pieces fuse at the same rates during final inlay firing.
Fitting Enamel into the Recesses
Carefully finish and adjust each enamel form until it seats perfectly within its intended recess.
Establishing a Consistent Depth
Set all enamels to a uniform depth inside channels for a flat inlaid appearance.
Angling Vertical Sides
Taper or bevel vertical enamel edges that will be visible to increase light reflection and dimension.
Smoothing and Polishing
Refine the fit by smoothing away any irregularities where forms meet the substrate.
Using Adhesives
Dab temporary kiln wash paste or gum tragacanth to hold forms during positioning and early firing.
Checking from All Angles
View the enamel placement from different lighting and angles to ensure a tight joint before firing.
Permanently Fusing Inlaid Enamel
The final vital step is firing to fuse the forms seamlessly within their recesses.
Supporting Enamel During Firing
In some cases, stilts, tripods, or firing sand may be needed under forms during firing to prevent slumping.
Stage Firing Layers
Fire substrates and enamel forms separately at first, then fuse together in final firing to prevent internal stresses.
Matching Thermal Expansion
Ensure inlay enamel and substrate expand and contract at the same rates during temperature changes to avoid cracks.
Observing Fusion Stages
Watch inlays closely as they melt to get the rounded surface appearance needed just before the forms slump.
Gradual Cooling
Allow fired pieces to cool slowly over several hours after fusing to prevent issues with sudden contraction.
Refining Finished Inlaid Designs
Additional touches complete professional looking inlaid enamelwork.
Smoothing Excess Enamel
Carefully wet sand or grind away any enamel overflow outside the recesses.
Polishing Transitions
Blend enamel edges flush into the surrounding substrate using increasingly fine polishing pads.
Clear Coatings
Brush specialized clear enamels over fired pieces to add glossy protection.
Finishing Metals
For metal substrates, apply lacquer, antiquing, or patinas around enamel to enhance the designs.
Accenting With Stones or Gems
Consider setting polished stones into the metal around inlays for added accent color and sparkle.
Inspiring Applications for Enamel Inlays
Beyond jewelry, enamel inlays elegantly embellish:
Sculptural Vessels
Adorn carved stone bowls and vases with abstract enamel inlaid motifs.
Architectural Details
Incorporate enamel medallions, grids, and lines into metal doors, railings, furniture, etc.
Display Case Interiors
Lining display box interiors with coordinated inlaid enamel creates a vibrant framing effect.
Tabletop Décor
Add inlaid enamel designs to chessboards, keepsake boxes, menorahs, vases, and objets d’art.
Musical Instruments
Enhance acoustic and electronic instruments with sound wave patterns inlaid in enamel around openings.
Achieving Lasting Inlay Artistry
Dedication and expertise are needed to masterfully set enamel into materials like precious metals, wood, and stone. But with practice, you can create dimensional embellishments to stand the test of time. Inlaying enamel is a means of honoring tradition while making it personal.