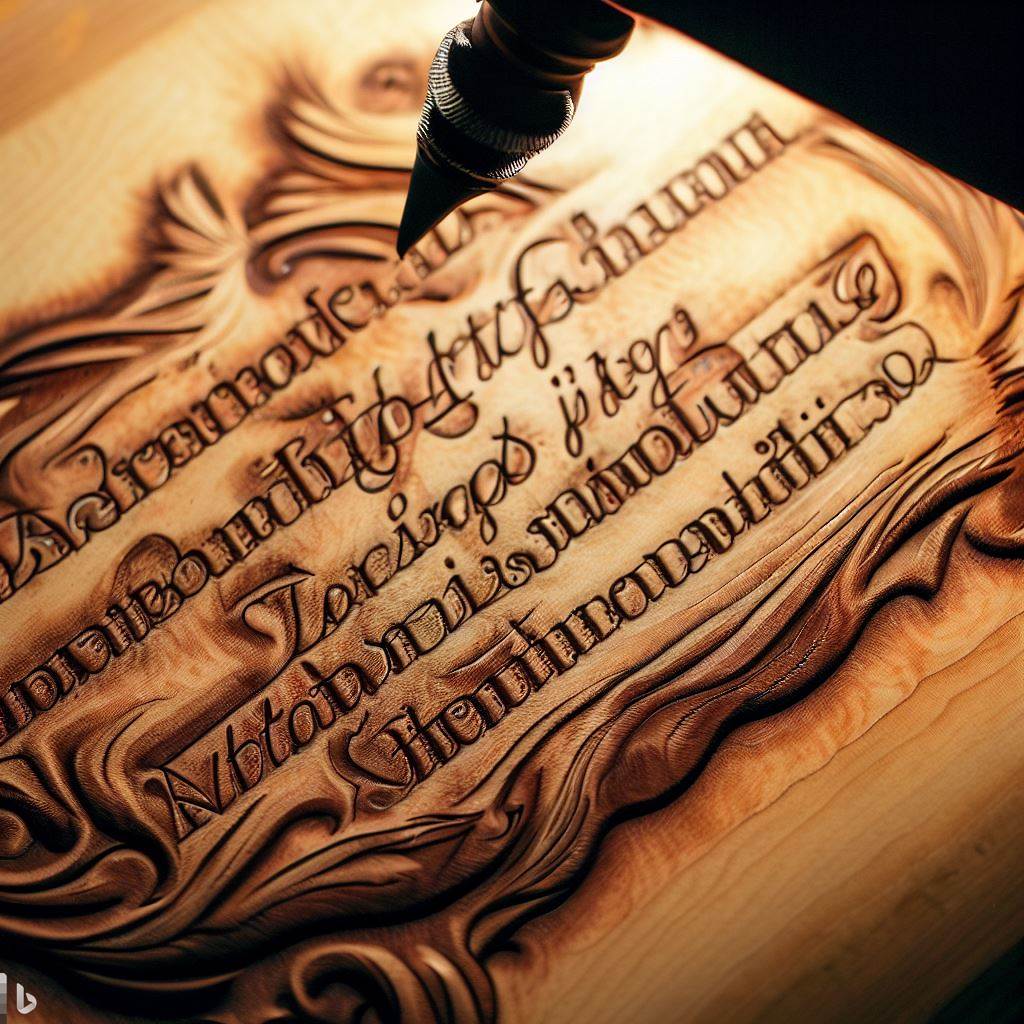
Achieving Dimensionality: Mastering Texture and Shading in Pyrography
Pyrography, the art of decorating wood by burning, has an innate sense of dimensionality. The pyrography process itself creates depressions and contours within the wood’s surface. However, truly mastering textures, tones, and shading takes wood burning art to the next level by producing incredibly life-like, 3D effects. Making judicious use of artistic techniques for burning variances in texture, gradients, and detailing gives pyrography compositions added depth, perspective, and rich visual impact. Developing multidimensional pyrography requires patience and practice, but immeasurably enhances the realism and dynamism of finished wood burned pieces.
The Importance of Dimensionality in Pyrography
Incorporating nuanced textures and shading adds key visual elements that create convincing dimensionality in pyrography:
- Suggests depth and space on the 2D surface
- Mimics the complexity of reality and nature
- Conveys shape, weight, and structure
- Directs the viewer’s eye throughout the composition
- Holds the viewer’s interest in intricate details
- Produces visually tactile textures that imply touch
- Makes subjects appear lifelike rather than flat and static
Mastering artistic techniques for achieving realism and perspective through burning is what elevates pyrography from simple mark making to fine art.
Texture Techniques for Wood Burning
Varied textures make a pyrography composition shimmer with visual interest. Useful techniques include:
Stippling
- Using chisel tip, tap repeatedly to build up tiny dots. Vary spacing for dark/light areas.
Crosshatching
- Burn sets of parallel lines on top of one another at shifting angles.
Line Variety
- Combine thick, thin, long, short lines. Follow contours of forms.
Scumbling
- swift zigzag and circular motions to suggest textures like fur, foliage, wood grain.
Dragging
- Pulling tool sideways to thin out lines for feathering, weathering, fading effects.
Stamping
- Pressing actual textured items into heated wood to imprint patterns.
Useful Pyrography Shading Techniques
Shading is key for conveying depth, shadows, contours, and form dimensionality. Effective approaches include:
Burn Line Density
- More lines clustered together appears darker than thin, spaced lines.
Burn Line Pressure
- Adjusting pressure creates thicker, bolder lines for darker shading.
Burn Line Directionality
- The direction of lines influences shading. Ex. circular lines for roundness.
Crosshatch Layering
- Overlapping layers of hatch marks builds up value contrasts.
Burn Line Blending
- Feathering ends of burn lines softens transitions between tones.
Stippling Gradient
- Gradually space out dots more and more to depict lighter areas.
Burning Negative Space
- Leaving areas unburned stands out against burned shading.
Key Principles for Pyrography Dimensionality
Adhering to these core principles ensures dimensionally convincing textures and shading:
- Value – Dark vs light areas. Wide range of dark-light values heightens realism.
- Form – Shading defines and contours the form and structure being depicted.
- Directionality – Texture patterns and shading follow the form’s dimensions.
- Contrast – Variations in tone. Dramatic contrasts increase dimensionality.
- Scale – Relative size/depth is conveyed through detail size. Smaller looks farther away.
- Layering – Overlapping various textures and shading builds complexity.
- Blending – Smooth, gradual blends prevent flatness.
With mindful attention to these concepts, pyrography compositions emerge with lifelike depth and artistry.
Helpful Dimensional Techniques for Specific Textures
Certain methods are particularly effective for convincingly burning certain textures:
Hair and Fur
- Scumbling rapidly mimics soft fur texture. Drag tools for tapered ends.
Feathers
- Light stippling on quill, with crisp directional lines for vane details.
Wood Grain
- Burn lines following wood’s organic flow. Enhance knots with circular shading.
Rocks and Stone
- Crosshatching, dragging for weathered textures. High contrast gradients.
Metal
Water
- Burn wavy lines blending into one other. Leave white peaks and highlights.
Fire and Smoke
- Drag tools upward from source for blending wispy lines.
With mindful texture choices, pyrography depictions leap to life with realistic nuance.
Effective Composition Planning for Dimensional Pyrography
Thorough planning and preparation enhances dimensionality in final pyrography artwork:
- Photographic Reference – Study subject’s textures, lighting, form. Identify texture priorities.
- Value Scale – Create value range reference from white to black to map out shading.
- Underdrawing – Lightly sketch out composition first if needed.
- Textured Samples – Test burning on wood scraps first to perfect techniques.
- Work Progressively – Slowly develop textures without over-burning early layers.
- Layer Intentionally – Consider how each layer interacts with those below.
Dimensional pyrography relies on foresight and patience. Avoid rushed burning to thoughtfully build nuanced textures that bring subjects to life.
Quick Exercise Ideas to Practice Pyrography Dimensionality
These beginner exercises build foundational skills:
Basic Texture Sampler
- On a wood block, burn sections practicing techniques like stippling, hatching, scumbling, etc.
Value Scale Gradient
- Burn wood strip transitioning gradually through every value from white to black.
Contour Line Drawing
- Burn a simple object using only directional lines without shading.
Drapery Study
- Burn folded fabric using appropriate textures and values to convey form.
Single Light Source Exercise
- On a 3D object, burn shading as if illuminated from one directional light.
Practicing individual dimensional techniques prepares skills needed for seamlessly combining them in finished compositions.
Preventing Flatness in Pyrography
To ensure rich dimensionality, avoid these common causes of flatness:
- Neglecting value range – Only dark and light without middle tones flattens depth.
- Lack of composition layers – Missing overlapped textures and details.
- No directional textures – Not following the form’s contours.
- Too much blending – Overly smooth, undefined textures flatten the image.
- Burning too lightly – Timid application limits value range.
- Burning too dark – Obscures intricate textural nuances and gradients.
With vigorous practice and an attentive eye, pyrographers can learn to burn incredible realism into wood. Mastering artistic techniques for infusing authentic textures, tones, perspective, and life into a once flat surface is ultimately what defines talented pyrography practitioners.