Handmade Jewelry Using Cookie Cutters: Punch Out Fun Motifs
Introduction
Cookie cutters provide a fun shortcut for punching shapes quickly and consistently out of jewelry materials like metal clay, leather, shrink plastic, and more to form focal pendants, charms, and components. With some jewelry making skill, these baking tools transform into handy jewelry cutters!
This guide covers innovative ways to use cookie cutters beyond the kitchen for handcrafting jewelry. Learn how metal clay, Friendly Plastic, polymer clay, and other craft materials take shape beautifully when punched out using cookie cutters. Discover whimsical jewelry ideas featuring cut-out critters, flowers, shapes, and edible themes.
Benefits of Using Cookie Cutters for Jewelry Making
Cookie cutters offer many creative advantages:
- Provide inexpensive preformed shape cutters in endless varieties
- Allow consistency when punching out multiples of the same design
- Available in tiny to jumbo sizes perfect for jewelry details
- Make light work of cutting detailed shapes from malleable materials
- Fun, playful themes and edgy patterns unavailable on standard jewelry cutters
- Nesting cutters allow making sized sets of etched rings, bangles, and circles
- Easy to find plastic cutters that won’t damage metal clay molds
- Durable enough to cut strong metal clay cleanly if used carefully
- Food themes inspire charming jewelry designs through repurposing
Must-Have Jewelry Making Tools to Use with Cookie Cutters
Specialized tools help maximize cookie cutters for jewelry:
- Metal clay roller set – Rolls even thicknesses for consistent cuts
- Clay blade – Slices stacks of rolled clay cleanly apart
- Foam block worksurface – Provides soft cushion for cutting
- Tissue blade – Thin flexible blade lifts cut clay shapes cleanly
- Clay shaper – Presses cut shapes smoothly onto molded textures
- Oven thermometer – Monitors metal clay kiln temperatures accurately
- Design stamps – Imprint cookie clay with food-inspired patterns
- Resin sealants – Protect and gloss finished baked clay pieces
- Needle files – Refine and perfect cut edges and impressions
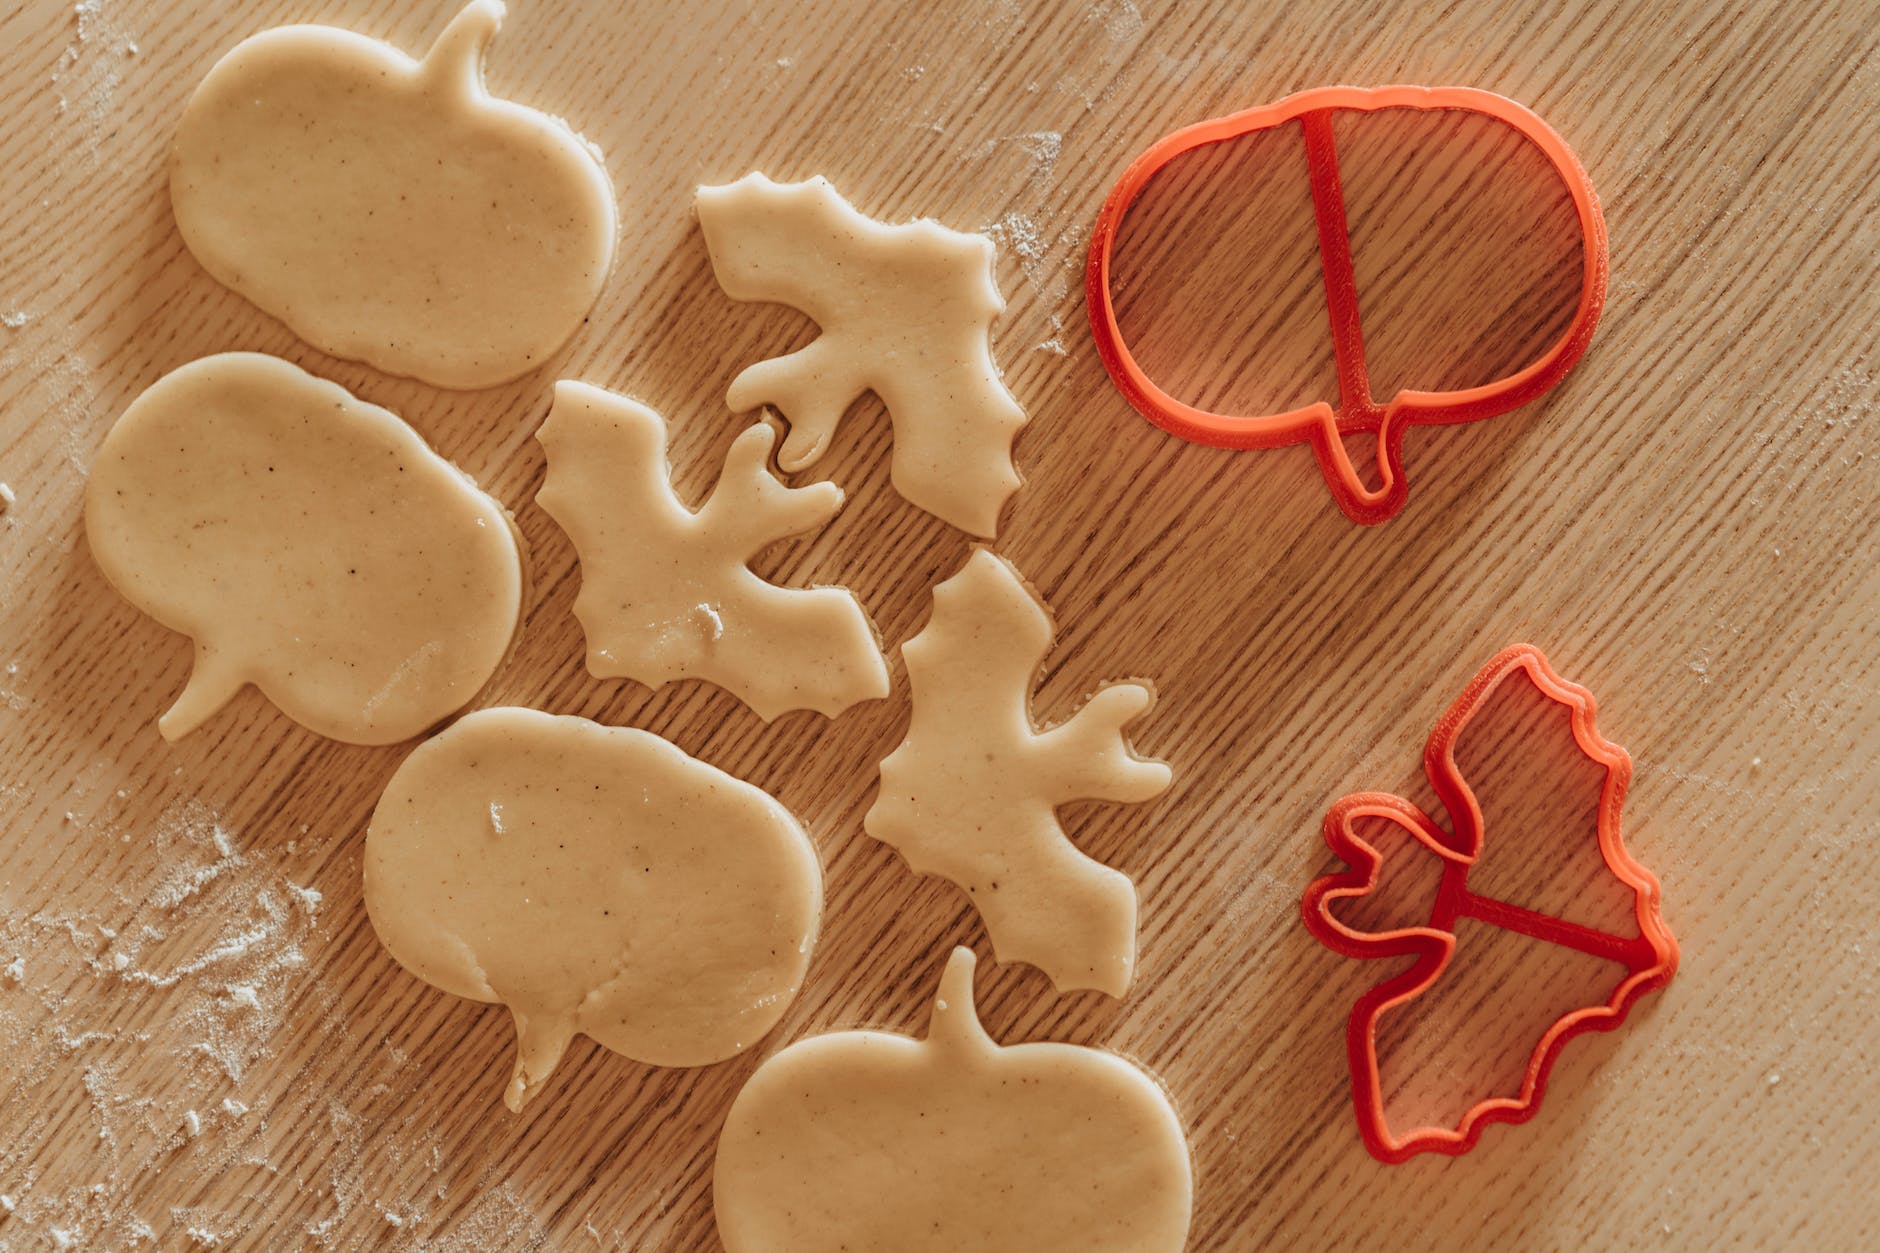
Best Cookie Cutters for DIY Jewelry Making Projects
Consider these top cookie cutter varieties for handcrafting jewelry:
- Animal shapes – Dogs, cats, forest creatures, dinosaurs, sea life
- Flower shapes – Roses, daisies, lilies, poinsettias
- Food shapes – Cupcakes, donuts, ice cream cones, pizza slices
- Geometric shapes – Hearts, stars, circles, diamonds
- Holiday shapes – Ghosts, bats, ornaments, cranberries, trees
- Transportation shapes – Cars, trucks, trains, planes, bikes, balloons
- Icon shapes – House, horseshoe, moon, crowns, butterflies
- Letter and number cutters – Monograms, words, dates
- Tiny cutters – For earring studs, charms and delicate focal pendants
- Nesting cutters – Etch rings and bangles in graduating sizes
Techniques for Making Jewelry with Cookie Cutters
Follow these methods to create fun and funky jewelry pieces:
- Choose polymer clay and metallic-colored clay for dazzling durable jewelry
- Roll clay sheets consistently thick so cut depths remain uniform
- Firmly press cutters straight down through clay, avoiding twisting or dragging
- Cut stacks of flattened shapes then use a tissue blade to separate cleanly
- Emboss cut shapes still in the cutters using clay shapers over textured surfaces
- Let cuts dry fully before handling to avoid distortion
- Sand cut edges so they’re perfectly flush when assembling components
- Stack layers of varying cut shapes using liquid clay to adhere
- Inset or overlay cut designs into molded pendant backgrounds before kiln firing
Inspiring Jewelry Design Ideas Using Cookie Cutters
Want to create unique jewelry with cookie cutters? Try these artistic techniques:
- Etched stacking rings and bangles using graduated nesting round cutters
- Animal stud earrings punching pairs of intricately shaped polymer clay creatures
- Watermelon slice bead necklaces with seeds made from balls of black clay
- Kitty cameo brooches framing cute cat faces behind filigreed bezels
- Fruit leather wrap bracelets with tropical charms like pineapples and strawberries
- Frosted donut pendant necklaces combining shiny glazed and pearly luster dusted beads
- Architectural letter initial pendants using sharp-cornered sans serif cookie letter cutters
- Puffy ice cream cone charms made with translucent clay over glow-in-the-dark cores
- Wildflower bouquets assembled from colorful varieties of polymer clay florals
- Gingerbread house diorama brooches with lights inside peeking through clear candy windows
Helpful Tips for Crafting Quality Cookie Cutter Jewelry
Apply these pro tips for achieving crisp consistent results:
- Chill metal clay thoroughly before cutting to yield clean imprints
- Lightly moisten cutter edges first to prevent clay sticking
- Cut away from yourself to prevent dragging cutters which distorts edges
- Apply firm even pressure straight down as you punch shapes
- Rotate cutters gently to release shapes cleanly without pulling up edges
- Use toothpicks or clay shapers to push out stubborn pieces from inside cutters
- Refine shapes by gently pressing into texture sheets before unmolding
- Measure all pieces to identical thicknesses using playing cards as guides
- Prevent distortion by allowing all cut components adequate drying time after unmolding
Troubleshooting Common Cookie Cutter Jewelry Issues
Cookie cutters come with a learning curve. Here are solutions to frequent problems:
Ragged edges – Cutters are likely dull or clay is insufficiently chilled. Use extremely sharp cutters on very cold hardened clay.
Uneven shapes – Clay rolled to inconsistent thicknesses before cutting can cause uneven results. Use playing card spacers.
Sticking in cutters – Avoid twisting the cutter which compresses sides making pieces stick. Dip cutter in water. Gently push out from bottom using a skewer.
Cracking – Clay dried too quickly or unevenly. Allow adequate even air drying time before kiln firing to prevent stress cracks.
Warped shapes – Insufficient clay stiffening or handling pieces before fully cured causes distortion. Allow clay shapes to dry thoroughly over 24 hours before touching.
Dull finished surface – Under-baked clay lacks luster. Check kiln is reaching full temperature. Test fire sample pieces to optimize timing.
Conclusion
With some basic jewelry skills, standard cookie cutters transform into handy tools for effortlessly punching shapes from malleable materials like clay. The beloved baking tools take on second lives crafting whimsical jewelry full of kawaii charm.
Let cookie cutters inspire new directions for your jewelry designing, sparking ideas through their playful patterns and themes. Use the pre-formed shapes as starting points for turning precious metals, shrink plastics, friendly plastics and more into one-of-a-kind wearable art pieces.
Explore the world of jewelry crafting through a touches of light-heartedness and fun. Cookie cutters remove intimidation factors, providing easy shortcuts for even beginners to make delightfully chic jewelry.