Amigurumi Eyes and Facial Features: Tips for Crocheting Cute Expressions
One of the keys to creating an expressive amigurumi doll or character is well-designed facial features like eyes, noses and mouths. Careful shaping and placement of crocheted faces makes amigurumi come alive with personality. This guide covers techniques for crocheting and attaching cute amigurumi eyes, noses, blushes and mouths to add lifelike charm.
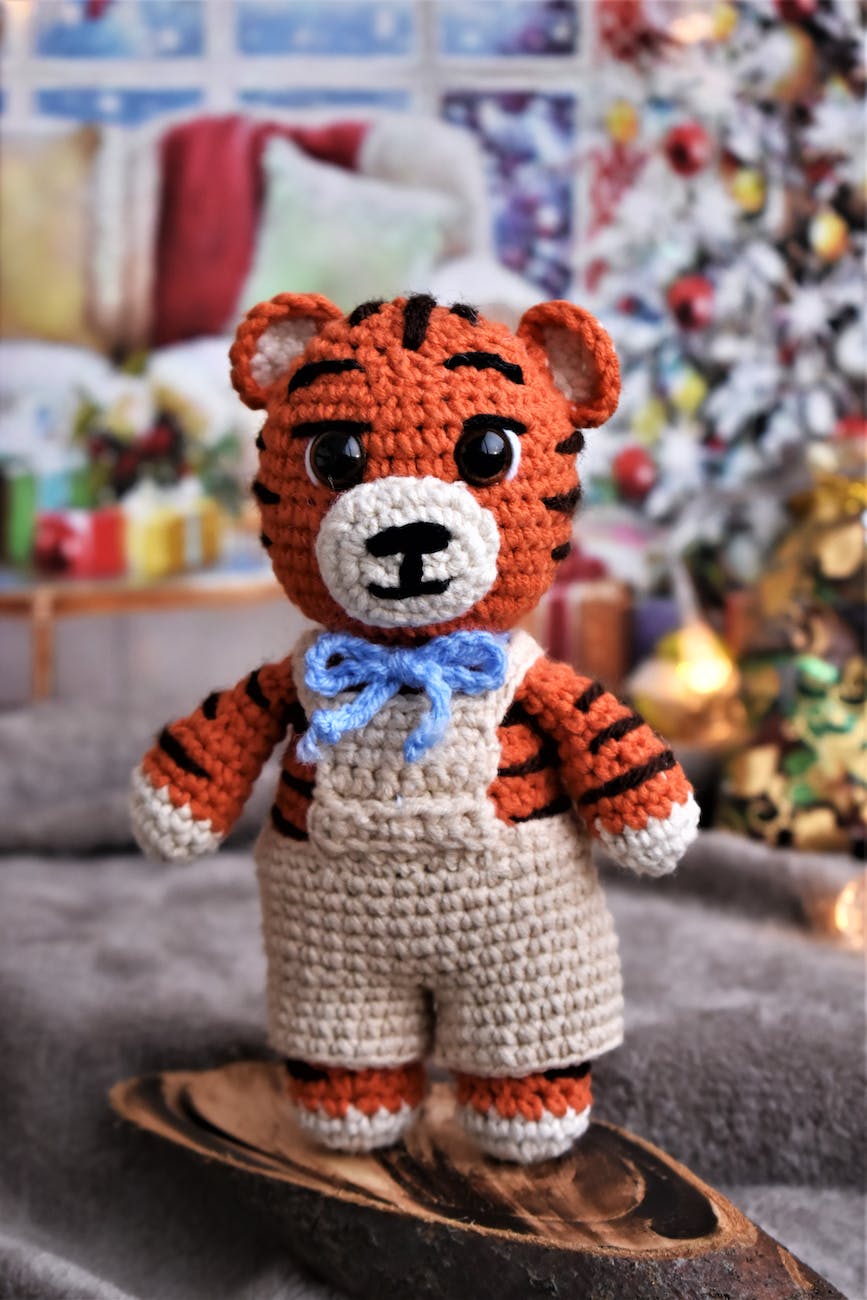
The Importance of Facial Features on Amigurumi
Since amigurumi characters are relatively small and simple, subtle stitched facial features have to convey a disproportionate amount of expression. Placement and shape direct how the face is perceived.
Well-executed eyes encourage emotional connection with the character. A mouth can drastically change the implied mood. Blush marks bring warmth. Carefully considered details like eyelashes or eyebrows add depth.
Taking time to crochet delicate and purposeful facial features helps handmade amigurumi feel more realistic and relatable. They become little friends to cherish.
How to Crochet Basic Amigurumi Eyes
Most amigurumi eyes are stitched in black or brown yarn and attached during assembly. Here are some common techniques:
Embroidery
Use black embroidery floss threaded in a tapestry needle to stitch pairs of straight lines or French knots onto the face.
Crocheted Circles or Ovals
Crochet small oval or circular motifs in dark yarn using tight tension to prevent gaps. Attach to face individually.
5-Round Eyes
Crochet eyes over 5 rounds on a standard eye base of 6 sc. Change to black yarn starting round 3. Add contrast highlights.
3D Pop Eyes
Make spherical eyes that pop out from the face using circles joined down sides. Stuff firmly before final shaping.
Practice these methods on scraps until you achieve cute, clean eyes you like. Vary size and stitch type for different looks.
Adding Color and Glimmer to Amigurumi Eyes
A few easy touches of color lend brightness and depth to basic amigurumi eyes:
- Add a round of white after the pupil for a catchlight effect.
- Use silver or gold metallic yarn in the center for an enticing glimmer.
- Try colored pupils – blue, purple or green – for fantasy creatures.
- Outline the eyes with an eyelash yarn or felt for a fuzzier effect.
- Change up the shape with pointed oval or almond eyes.
Customizing eyes tailored to each amigurumi’s personality helps make them special.
Tips for Positioning Amigurumi Eyes
Placing eyes thoughtfully establishes the character’s focus and expression:
- Set eyes an equal distance apart and level.
- Facing straight ahead gives a friendly, engaged look.
- Placing eyes low and wide apart reads as cute but dopey.
- Positioned high and close together seems alert and intelligent.
- Angled inward gives a shy or brooding feeling.
- Eyes looking upward expresses hope, excitement or surprise.
- Eyes glancing downward conveys sadness or disappointment.
Take care to set eyes true to the desired personality and mood of each amigurumi.
Adding Fun Amigurumi Noses
Noses, like eyes, strong convey personality. Here are ways to crochet cute noses:
- Simple embroidered triangles positioned between eyes
- Round or oval crocheted noses using pink or tan yarn
- Textured noses with horizontal stitches to indicate nostrils
- Mini pompom noses for a fuzzy touch
- Bead or button noses for a shinier appearance
- Heart-shaped noses for a sweet, lovable look
- Leave nose off entirely for a clean, minimalist look
Crochet several sample noses to see what helps complete your amigurumi’s face.
Crafting Amigurumi Mouths and Lips
Well-crafted mouths and lips bring amigurumi to life:
- Straight line mouths made with single crochet or embroidery
- Shaped smile or frown mouths using curved lines
- Tiny mustaches, teeth or tongues attached for personality
- Mini pompoms positioned as upper lips or beauty marks
- Felt for lush, colorful lips or accents
- Cluster stitches to form 3D shaped lips
- Satiny ribbon shaped into pretty bow lips
Get creative with different techniques until the mouth helps convey the desired mood.
Adding Cheek Color with Amigurumi Blush
Subtle color on amigurumi cheeks helps make pieces cuter and more relatable:
- Light pink or peach French knot clusters
- Short rows of single crochet stitches in a soft blush hue
- Dab of pink craft paint sealed with varnish
- Adhere small pink pom poms using tacky glue
- Glue on patches of pink flocking powder for a velvety effect
- Use an eyebrow pencil to apply light color to indentations
- Airbrushing with an airbrush tool allows subtle gradients
A little blush livens up even the simplest amigurumi design.
Finishing Facial Details for Personality
Final facial embellishments give amigurumi attitude:
- Embroidered eyelashes and eyebrows in coordinating colors
- Add glasses, hats or jewelry in fitting with the character
- Mini pompom hair, yarn braids or textured wigs
- Freckles or face markings as appropriate
- A scarf or tiny props they can hold
- Attach a small name tag or sign
Go beyond the basics to develop a truly distinctive character.
The Delight of Crocheting Amigurumi Faces
Half the fun of amigurumi is bringing facial features to life with careful stitches and placement. Subtle shaping of eyes, noses, lips and cheeks allows you to create incredible personality and expression in minimalist art. When faces make your little characters light up emotionally, you know you’ve tapped into amigurumi magic! Enjoy watching your crochet critters come to life.