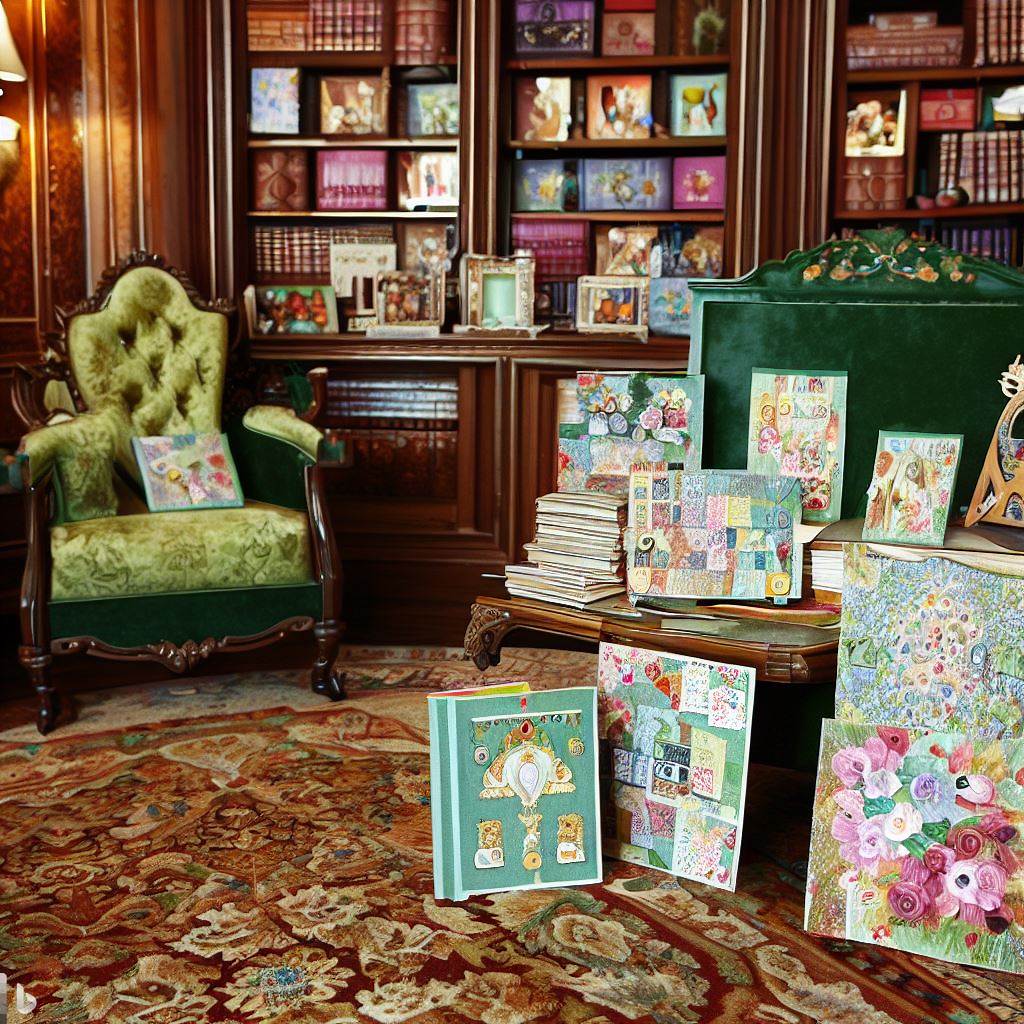
Decoupage Papercrafting: Incorporating Decoupage into Handmade Cards and Journals
Decoupage techniques lend themselves beautifully to enhancing handmade paper goods with imagery and dimension. By thoughtfully cutting and layering printed motifs onto card blanks, scrapbook pages, journals, and other paper media, decoupage adds artful flair. Paper crafters can create stunning embossed effects, intricate cutouts, mixed media accents, and more using basic decoupage principles adjusted for paper. These tips explore suitable lightweight adhesives, how to seal porous papers properly, working in layers, applying dimensional touches, and decorating papercraft gifts and keepsakes with decoupage to take projects to the next creative level.
Adapting Supplies for Paper Decoupage
Specialized decoupage formulas work best on paper to prevent warping.
Lightweight Glues
Opt for decoupage glues intended for paper rather than heavy gel mediums. PVA glues also work well.
Archival Acid-Free Glues
Use acid-free decoupage adhesives on heirloom papers to prevent deterioration over time.
pH Balanced Sealants
Coat paper decoupage with specially formulated pH neutral sealers to protect antique papers from damage.
Removable Adhesive Transfer Tape
Use removable mounting tapes when positioning paper images to reposition easily during arrangement.
Acid-Free Decorative Elements
Any paper inclusions like lace must also be acid-free to avoid yellowing.
Specialty Paper Tools
Invest in specialty non-stick decoupage scissors and cutting mats suited for paper.
Pre-Decoupage Paper Preparation
Properly prepare papers before adding decoupage elements.
Cardstock Weight
Choose cards, journal pages, and scrapbook papers with at least 80 lb weight to support layered decoupage without buckling.
Sealing Porous Papers
Pre-seal blank absorbent paper surfaces with fixative or gel mediums before adding decoupage.
Reducing Curling
Lightly moisten any curled paper blanks to relax fibers and flatten before decoupaging.
Surface Texturing
Consider adding interest to blank papers first through techniques like embossing before decoupaging over them.
Cutting Paper Pieces
Trim any card blanks or journal pages to finished size before decoupage so all elements are properly proportioned.
Artful Paper Decoupage Techniques
Follow these tips for beautifully executed paper decoupage.
Precision Cutting
Cut out intricate paper motifs using sharp scissors or Xacto knives against straight edges.
Partial Motif Overlays
Layer identical images with some details intentionally overlapping for a 3D effect.
Fussy Cutting
Carefully cut out paper elements following the contours and edges to retain realistic shaping.
Working in Layers
Build up dimension by applying background papers first before overlaying focal motifs.
Embossing for Definition
Highlight edges with powder embossing between decoupage layers to add depth.
Sandwiching Inclusions
Trap small flat items like mica flakes or vellum between decoupage layers before sealing.
Creating Dimensional Touches
Add special elements that make decoupaged papers pop.
Metal Embellishments
Incorporate handmade paper jewelry pendants into the layered collage for sheen.
Faux Enameled Accents
Use nail polish to add glossy painted enamel-like highlights.
Clear Resin
Pour or brush resin over focused areas to build up see-through dimension.
Quilling Shapes
Incorporate curled paper quilling strips and intricate compressed coil designs.
Origami and Kirigami
Integrate folded paper cranes, butterflies, or cutout silhouettes.
Cheesecloth and Netting
Add wispy textures by decoupaging soft thin fabrics.
Sealing and Protecting Paper Decoupage
Gently finish paper decoupage without oversaturation.
Thin Sealant Layers
Build up multiple sheer coats of sealer rather than one thick application to prevent wrinkling.
Preserving Textures
Avoid brushing heavily over dimensional areas so texture is retained.
Drying Flat
Weight decoupaged cards and journal pages while drying to prevent warping.
Sealant Overlays
Coat edges thoroughly to seal fully and prevent delamination or moisture damage.
Non-Reflective Finishes
Use matte or soft touch sealers on papers to avoid plastic-like reflective shine.
Acid-Free Tissue Paper Interleaves
Separate journal pages with archival tissue sheets to prevent decoupage transfer between pages.
Creative Paper Decoupage Project Ideas
Let decoupage imagery enrich these papercraft creations:
Destination Memory Journals
Cover blank journals with decoupaged imagery from different memorable vacations as decorative souvenirs.
Thank You Notes
Personalize thank you cards for gifts by using decoupage to reflect gift themes, personalities, or memories together.
Recipe and Meal Planning Books
Decorate blank recipe books and meal planners with food imagery cut from magazines like fruits, vegetables, and cookware.
Encouraging Uplifting Cards
Use decoupage to embellish handmade encouragement cards for loved ones with elements like flowers, sunrises, or inspiring words.
Growth Progress Journals
On baby shower cards or children’s scrapbooks, use decoupage to create inventive growth charts enhanced with images.
Bookish Cards for Readers
Fashion handmade cards using decoupage book pages to celebrate book clubs, librarians, authors, or literary friends.
Decoupage offers limitless artful options for enhancing handcrafted stationery, journals, and paper gifts. Let it bring your creativity to light.
