Handmade Jewelry Photography Tips: Taking Amazing Product Shots on a Budget
Introduction
Great photography captures the unique details of handcrafted jewelry while enticing potential buyers. Yet beginners need not invest in fancy equipment to take quality product photos that impress.
This guide covers key strategies jewelry artisans employ to create stunning jewelry images using affordable home setups and entry-level cameras. We’ll explore flattering angles, evocative backgrounds, optimal lighting, effective post-processing, and low-cost accessories boosting shots to magazine-worthy levels. With some creativity and practice, DIY product photos help handmade businesses shine brightly online and at markets on a budget!
Creating Flattering Jewelry Angles and Crops
How jewelry gets positioned before the camera lens significantly impacts appeal and sales conversion.
Consistent Alignments
Maintain similar orientations across photos of the same piece. Primarily shoot rings laid flat, necklaces dangling vertically, etc. Consistency looks polished.
Emphasize Design Details
Capture angles highlighting unique details like engraved sides of rings or dangling charms. Intriguing views sell the handmade quality.
Get Up Close
Shoot tight, cropped close-ups of sections showcasing materials, textures, and craftsmanship through “wow” macro photography.
Play With Perspectives
Vary shooting height, direction, and lens proximity instead of just straight head-on. Interesting perspectives showcase dimensionality.
Selecting Evocative Backdrops
Choosing appropriate backgrounds complements jewelry’s colors, materials, and style theme to reinforce perceived value.
Neutrals Showcase Metalwork
Single tone backgrounds in beige, gray, black and white optimally highlight metallic jewelry pieces without competing colors.
Natural Wood Supports Organic
Rustic weathered barnwood, burlap, and jute naturally complement bohemian jewelry with earthy stones and materials.
Vintage Papers Suit Vintage Looks
Upcycle sheet music or botanical papers salvaged from old books to display grandma’s vintage brooches and pins attractively.
Colored Foams Align with Palette
Pick foamcore board or faux suede in similar hues as the beads, gems, and metals for cohesive palettes.
Mastering Product Photography Lighting
Lighting, more than any other aspect, determines the attractiveness of jewelry photos through ideal brightness, shadows, and highlights.
Avoid Direct Sunlight
Direct sun creates harsh reflections and flattened lighting. For best results, shoot by bright indirect window light instead.
Diffuse Light with Sheer Fabric
Diffusing window light through a sheer white curtain creates soft flattering illumination perfect for jewelry products.
Reflectors Brighten Shadows
Use inexpensive foam boards or white Bristol paper strategically placed to bounce light back into any underexposed dark spots.
Pay Attention to Catchlights
Notice eye-catching bright catchlights reflected in beads and stones. Reorient jewelry to capture them attractively.
Accessorizing for Next-Level Product Shots
A few optional accessories further elevate jewelry photography delivered by entry-level digital cameras.
Entry-Level Light Boxes
Inexpensive portable Jewelry light boxes create even attractive lighting for small products. Leds often adjust color temperature.
Acrylic Display Stands
Clear acrylic risers and busts lift jewelry attractively for 360 degree visibility. Some rotate.
Macro and Zoom Lenses
Close-up and zoom lenses allow tight cropping on exquisite details. Tripods steady macro magnification.
Remote Shutters and Timers
To prevent camera shake, use remote release shutters or auto timers to trigger hands-free capture. Sharpen detail focus.
Beginner Jewelry Photo Editing and Processing
A few quick digital post-processing touches optimize images for uploading and printing.
Correct Obvious Issues
Touchup glare spots, awkward shadows, or hide distracting imperfections on backgrounds using spot healing brushes cautiously. Don’t overdo digital alterations.
Adjust Color and Contrast
Enhance color vibrancy, brightness, and contrast through apps like Instagram or better like Adobe Lightroom for more control. Keep edits looking natural.
Appropriate Sizing
Resize files to at least 1000 pixels on the longest side at 72 dpi for sharp website use. Set slideshow dimensions consistently.
Watermark Brand Images
Overlay a small stylized text or logo watermark onto photos before publicly sharing to identify your images and deter theft.
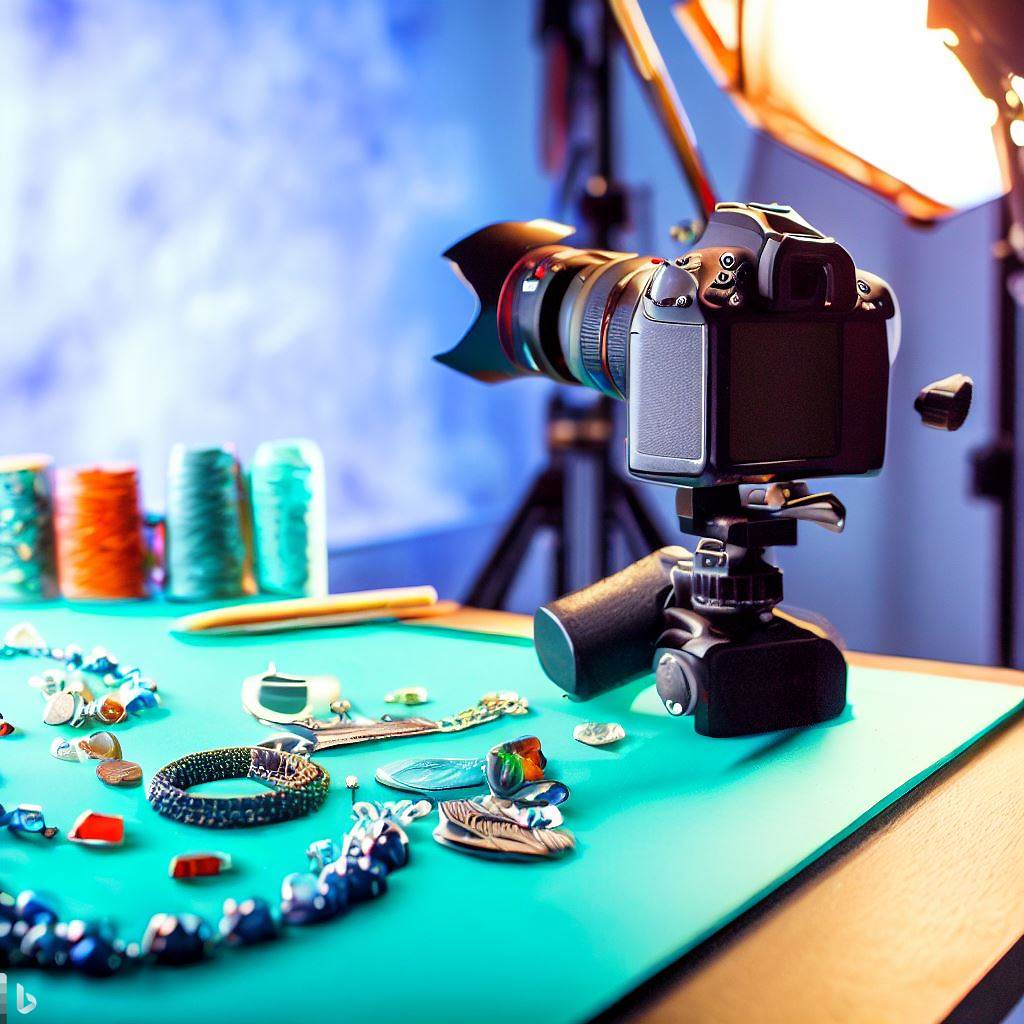
DIY Product Photography Studio Setups
Handmade jewelry photographers creatively repurpose household spaces into budget home photo studios.
Near Bright Windows
Position a table covered with a clean backdrop near large bright windows as an easy starter jewelry photo studio. Control direction and diffusion of plentiful natural light.
Basic Lightbox Stations
Assemble homemade mini DIY photography lightbox stations using available materials like cardboard, tissue paper, tape, and desk lamps or string lights.
Wall Backdrop Stations
Mount long stretches of white and colored butcher paper or fabric as seamless backdrops on walls with removable painter’s tape. Change out backgrounds easily.
Portable Photo Kit
Pack up an adjustable tripod, light reflectors, and backdrop in a portable bin for quickly setting up mini photoshoots anywhere inspiration strikes.
Conclusion
With a digital camera, artistic eye, controlled lighting, and post-processing basics, jewelry makers need not spend heavily to create stunning professional quality product photography. Experiment with angles, backdrops, props, and Jewelry poses to see what flatters pieces best. Pay attention to visual details and expressions that reinforce the handmade artistry and brand story. Soon your custom earrings and necklaces appear rivaling glossy fashion spreads. Great product photography goes far in attracting ideal buyers who appreciate the loving craftsmanship handmade jewelry represents.