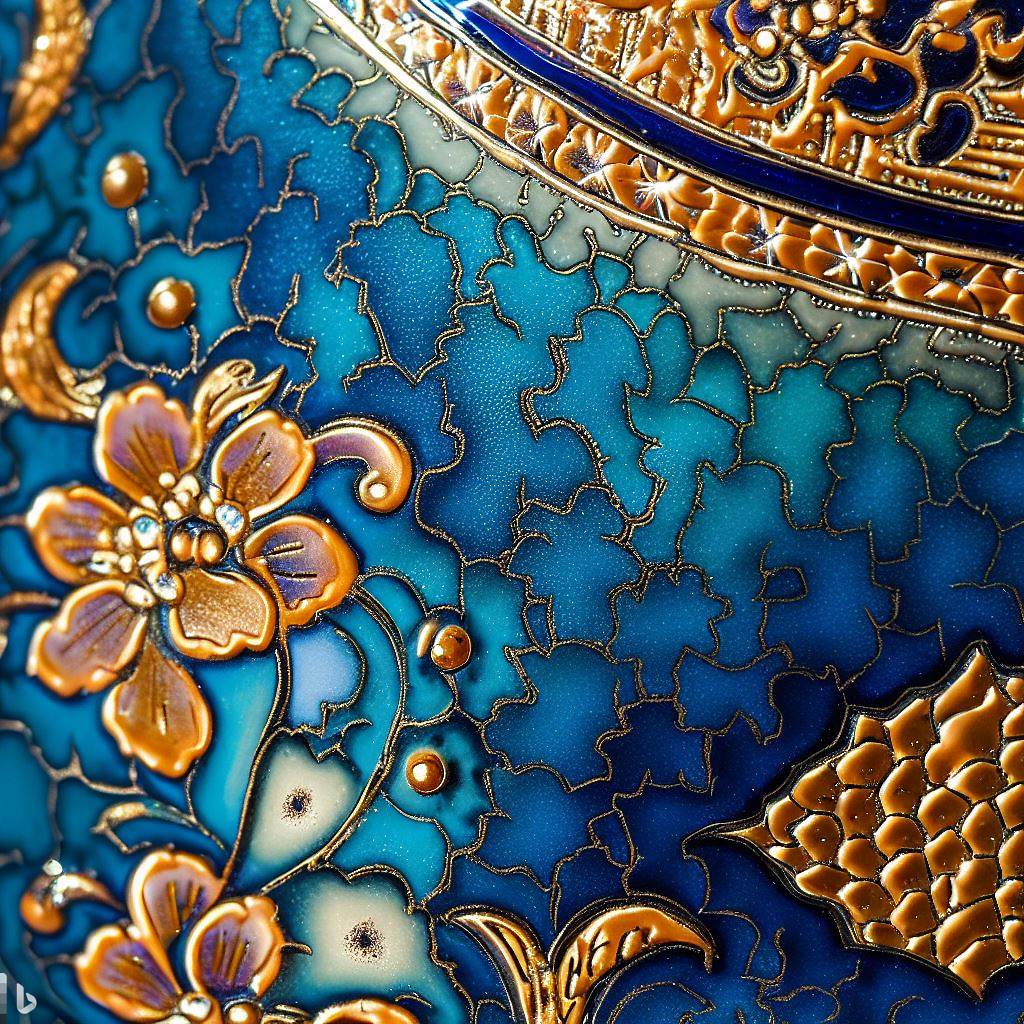
Creating Custom Colors: Tips for Mixing Your Own Enamel Paints
While premixed enamels offer convenience, the magic truly happens when enamelists begin experimenting with blending their own custom colors. Adjusting ratios of pigments, opacifiers, and fluxes gives endless possibilities for unique hues and effects. Mastering the science and art of mixing opens new creative avenues. Follow these tips for selecting quality base ingredients, understanding enamel chemistry, calculating mixtures, and safely firing batches of your original color creations.
Selecting Enamel Base Ingredients
The characteristics of the raw materials you mix with determine the behavior of your homemade enamels.
Pigments
Look for stable, finely ground, concentrated enamel-grade pigment powders for intense, consistent color results.
Opacifiers
Opacifiers like titania or tin oxide control opacity when added to transparent tints.
Fluxes
Fluxes help lower the fusing point of other ingredients. Common options are silica, borax, and soda ash.
Carriers
Inert carriers like alumina hydrate thicken mixtures for easier application. Add conservatively.
Prepared Bases
Consider mixing into premade transparent or neutral bases to save time.
Understanding Enamel Chemistry
Successful color blending requires grasping how enamel ingredients chemically interact.
Firing Behavior
The peak firing temperature and ramp speeds enzymes require for proper melting and fusion.
Thermal Expansion
How much the enamel expands and contracts during heating and cooling cycles. This must match the metal being enameled.
Glass Formation
Ingredients must transition into an amorphous glass state to fuse smoothly on metal.
Opacity
How pigments and opacifiers suspend in the glass chemistry to block or allow light transmission.
Viscosity
Fluxes help control the thickness of liquid enamel at peak firing temperature for smooth finishes.
Compatibility
Some ingredients counteract or degrade others, causing defects like poor adhesion or bubbling.
Essential Tools for Mixing Enamels
Having the right equipment makes measuring, blending, and testing handmade enamel batches easier and more consistent.
Digital Gram Scale
Accurately weigh out ingredient portions down to a fraction of a gram.
Digital Thermometer
Monitor the firing temperatures of test plates to compare results.
High Velocity Burner
A torch enables rapid small-scale testing of enamel mixes.
Glass Muller
Grind chunks and mixes into fine particles using a glass slab and muller.
Sieves
Separate enamel particles into specific mesh sizes using sieve trays.
Safety Gear
Use a vent hood, respirator, goggles, and gloves when handling enamel chemistry.
Calculating Enamel Recipes
Meticulously tracking ingredient ratios allows colors to be replicated and tweaked precisely.
Weight Percentages
Weigh starting ingredients and note percentages of each rather than relying on volume or unspecified “dashes”.
Consistency
Closely follow your recorded recipes for each new batch to build on previous color exploration.
Adjustments
Observe test results carefully and incrementally tweak mixtures to modify properties. Make one measured change at a time.
Substitutions
Some alternate ingredients can be safely swapped to adjust cost, opacity, firing traits, etc. Consult references.
Documentation
Keep detailed notes on recipes, firing schedules, and outcomes to guide further enamel color development.
Preparing Batches for Testing
Carefully preparing small controlled test amounts lets you safely evaluate new mixtures.
Weighing in a Vent Hood
Some pigment chemicals require weighing in a ventilated enclosure.
Personal Protective Gear
Use gloves, goggles, respirator as needed when exposure to dry material.
Mesh Particle Size
Grind mixes to a consistent medium mesh size before testing for even melting.
Thorough Mixing
Blend ingredients for several minutes to disperse uniformly before firing.
Test Plates
Apply thin layers of mixes to small copper plates for test firing under controlled conditions.
Recording Details
Note properties like application qualities and pre-firing appearance for comparison.
Firing Tests
The proof is ultimately in how a custom enamel fires. Fire judiciously and make careful observations.
Even Thin Applications
Brush thin, uniform enamel layers onto test plates for ideal results.
Observe Firing Stages
Watch to see if enamel melts, flows, bubbles, burns off, or discolors unevenly as heated.
Monitoring Temperature
Note the temperature and ramp speeds that produce a smooth glossy fusion vs defects.
Test Compatibility
Try the enamel on several metal types to ensure it fuses correctly to each.
Post-firing Qualities
Assess hardness, texture, color accuracy, and metal bonding after firing.
Troubleshooting Issues
Adjust the recipe and process based on any flaws like poor adhesion, dull finish, or devitrification.
Achieving Desired Effects
By tweaking recipes, you can create enamels tailored for different artistic techniques.
Drawing Enamels
Increase gum arabic levels for mixtures that apply smoothly like paint for detailing.
Cloisonné Enamels
Add flux to lower viscosity for easy application within metal wire walls.
Champlevé Enamels
Use coarse particle sizes and high alumina for thick enamels that pack into carved recesses.
Transparent Colors
Lower the opacifier amount and grind finely for clear tinted effects.
Specialty Effects
Modify recipes to try unique options like crackle, luster, oily, or fluorescent enamels.
Fusing Compatibility
Adjust flux, viscosity, and expansion traits for compatibility with various firing methods.
Inspiring Applications for Custom Enamels
Explore new artistic possibilities when you have unlimited custom colors.
Unique Color Palettes
Create exactly the hues, tints, and opacities needed for your artistic vision.
Improved Color Matching
Formulate enamels to precisely match other design elements like gemstones or fabrics.
ColorGradients
Meticulously blend subtle gradients by incrementally shifting ratios across multiple enamels.
Larger Scale Works
Mix large batches of customized colors for major architectural or sculpture projects.
Production Enameling
Develop signature palettes and standardized mixes for use across multiple works or product lines.
Advancing Your Enamel Mixing Skills
Making enamel mastery a lifelong learning journey enables endless innovation.
- Read extensively about glass and ceramic chemistry.
- Network with other enamel artists to exchange color insights.
- Keep pushing your repertoire of special effect recipes.
- Invest in professional grade ingredients and equipment.
- Consider courses in industrial glass formulation.
- Document your development so insights aren’t lost.
- Allow some controlled serendipity in discovering new directions.
The key is balancing curiosity, precision, and persistence. By formulating original enamel mixes, you gain a whole new means of artistic expression.
