Get Creative with Champlevé: Tips for Hand-Carving Enamel Designs
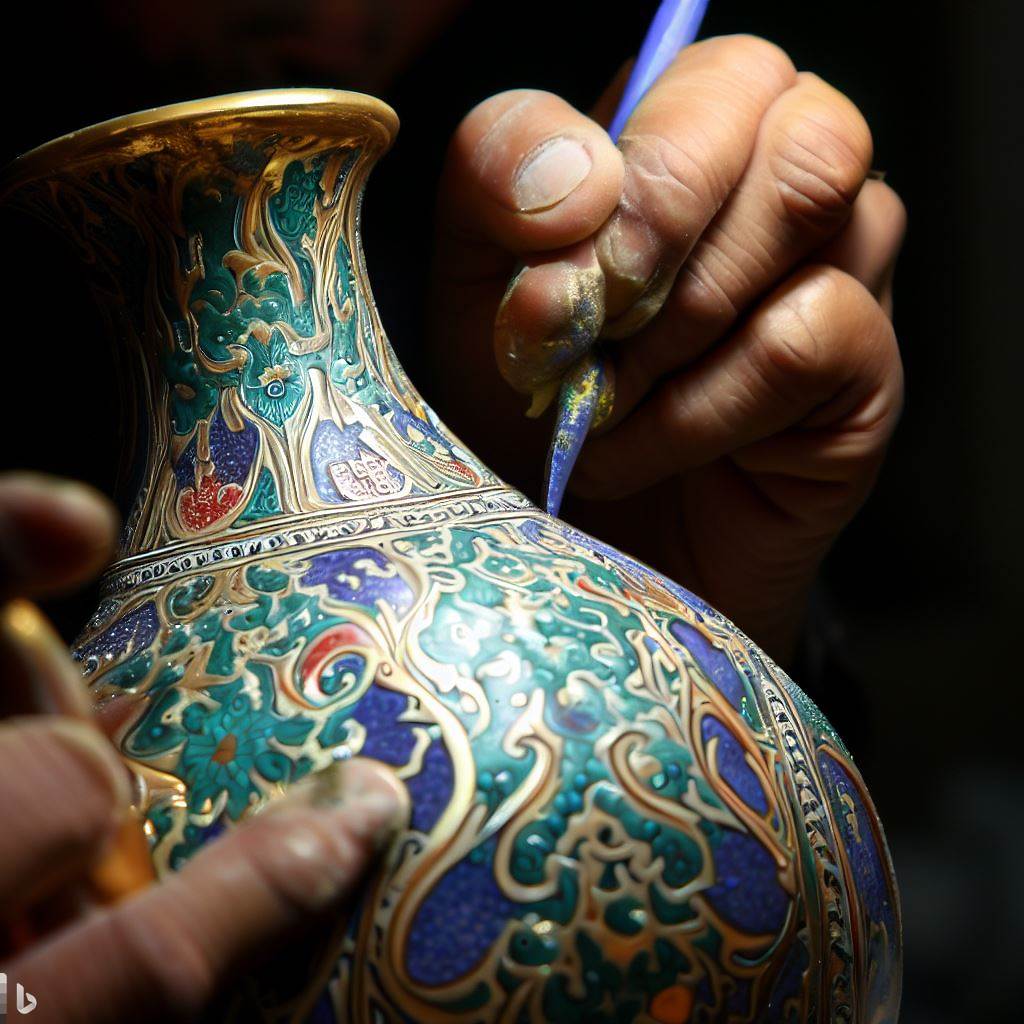
Champlevé is an enamelwork technique that involves hand-carving pits, cells, and channels into a metal surface to hold enamel. The carved depressions are then filled with powdered enamel and fired to fuse it. The graceful sunken designs filled with glowing enamel create a beautiful dimensional effect. Champlevé allows for incredible artistic freedom in the carved patterns. Follow these tips to learn champlevé basics and get creative with your own carved enamel designs.
Selecting the Right Metals
Champlevé designs are carved directly into the foundation metal itself, so it’s important to select a material that carves cleanly and has compatible enameling properties.
Copper Alloys
Copper alloys like bronze or brass are classic choices, as they carve smoothly and fuse well with enamels. The warm color also complements most enamels.
Considerations with copper:
- Anneal regularly while carving to keep metal soft.
- Can use low-fire enamels with copper.
- Patina or lacquer when finished to protect the copper.
Fine Silver
Fine silver is highly prized for champlevé. It has a bright white color to contrast vibrant enamels, carves like butter, and fuses enamel at low temperatures.
Tips when using fine silver:
- Reinforce thinner areas with soldered backplates.
- Depletion gilding can restore silver lost to oxidation during firing.
- Use low-fire enamels compatible with silver.
Precious Metals
Gold alloys and sterling silver also take detailed carving well. Their intrinsically valuable nature justifies the intensive labor.
For precious metals:
- 22k gold is a common alloy, combining carving ease with value.
- Enamels must be carefully matched in thermal expansion.
- Foils can compensate for high material costs.
Planning the Design
Champlevé’s free-form nature offers immense creative possibilities for designs. Take time to thoughtfully plan the carved elements and enamel colors.
Considering the Metal Surface
Observe the characteristics and shapes of your raw metal piece. Follow interesting natural edges, curves, and dimensions in your design rather than imposing artificial shapes.
Allowing the Metal to Show
Don’t cover the entire surface with enamel. Leave areas of exposed carved metal in the final design for contrast and to showcase the quality of carving.
Mapping Out the Key Design Elements
Create a detailed map of the key compositional elements and color blocking. This should include:
- Shapes and sizes of carved channels and pits.
- Depths and levels of different carved areas.
- Location of uncarved sections.
- Color scheme for enamel in each carved section.
Creating Harmony and Contrast
Strike a careful balance in your carved design between harmonious repeating motifs and contrasting unique focal points. Allow some organic variety and flow.
Considering Scale and Intricacy
Assess your skill level and tools when deciding on the carving complexity. Deep cut fine details are challenging but impactful when executed well. Remember to leave adequate enamel-filled channels between details to support the enamel sections.
Preparing to Carve
Proper preparation of your metal blank is essential before attempting to carve champlevé depressions.
Selecting the Metal Blank
Choose metal with enough thickness and dimensions for your design size. Curving natural forms often work better than stiff geometric blanks.
Cleaning and Degreasing
Remove all dirt, oils, and residues from metal blanks before carving or engraving to prevent tool slipping. Scrub with degreaser and rinse thoroughly.
Annealing Metal
Frequently anneal metal blanks while carving to keep the material soft and pliable. This prevents cracking and makes details easier to carve cleanly.
Securing the Metal
Secure your blank firmly in a carving block, bench pin, or clamping system. Stability is key when applying carving force.
Transferring the Design
Use carbon paper to transfer your design map onto the metal before carving. This etched outline serves as your carving guide.
Carving Techniques and Tools
Champlevé requires patience and precise control. Follow these tips for successfully carving clean depressions to hold enamel.
Creating Consistent Depths
Use thickness gauges and depth markings on tools to ensure carved areas have vertical sides and consistent depth for even enamel coverage.
Defining Outlines First
Carve along the outlines of an area first with V-gouges. Then switch to larger U-gouges to remove the interior metal for uniform depths.
Texturing Background Areas
Consider texturing non-enameled background areas with punches or engraving tools. This provides contrast against the smoother enamel.
Establishing Proper Levels
Build up the design across multiple depths and levels. Carve channels and pits first, then connect them with shallower trenches for elegant contours.
Removing Debris
Frequently clean out metal debris from the carving tool and carved depressions with picks. Enamel contamination can cause defects.
Checking Angles and Sides
Inspect carved areas from all angles to ensure vertical sides, clean corners, and proper slopes to hold enamel. Re-carve any problem spots for quality finish.
Useful Carving Tools
- Bench pin with clamps or vise for securing.
- Depth gauge for consistent carved levels.
- Skew chisel and V-gouge for outlines.
- U-gouge scoops and scorpers for removing interior metal.
- Picks for cleaning carved depressions.
- Magnifier for inspecting details.
Applying Enamel
Once carved depressions are prepared, properly filling them with enamel is the next vital step.
Matching Enamel to Metal
Choose an enamel compatible with the metal in both thermal expansion and firing temperature needed to fuse properly.
Medium Coarse Powder
Sift a medium coarse (-60/+100 mesh) enamel powder into the depressions. This flows smoothly into carved contours.
Tapping to Settle
Lightly tap the metal to help settle enamel into all crevices of the carved channels and pits. Remove any excess powder.
Using Enamel Wash
Diluted enamel wash applied before firing temporarily holds the powder and prevents scattering when stilt supports are removed.
Filling to the Depth Needed
Build up additional layers of enamel in deeper areas to fill to the appropriate carved depth. Fire between applications.
Edge Contours
If needed, blend and feather enamel edges right up to the rims with a wet brush for smooth, graceful contours.
Cleaning Surfaces
Carefully remove all enamel grains from non-carved metal surfaces with picks and brushes to prevent contamination upon firing.
Firing Champlevé Enamels
The carved enamels require very precise firing to properly fuse without defects.
Slow Ramp Up
Bring the temperature up gradually, around 50-150°F per minute. Faster ramp ups risk cracking or exposing bare spots.
Slightly Higher Peak Temperature
Aim for a firing temperature 25-50°F higher than typical for the enamel. The extra heat helps fuse enamel gently into the carved depressions.
Longer Dwell Time
Extend the hold time at peak temperature to allow thorough fusion within the channels and pits before ramping down.
Insulating Thick Areas
On uneven metal thicknesses, use refractory clay or alumina hydrate paper to protect thinner areas from over-firing during long dwells.
Multiple Firings
Be prepared to fire a piece multiple times to get perfectly filled and fused enamel within the carved areas. Additional layers and firing can correct any sparse spots.
Checking Results
Inspect fired enamel closely with magnification and light for any bubbles, pinholes, or unfilled patches. Remedy these by carved more deeply, reapplying enamel, and refiring.
Polish and Finishing
Applying final finishing touches elevates your champlevé artwork.
Smoothing Edges
Gently round over any sharp enamel edges with wet sanding sponges and fine grit sandpaper to smooth. Remove any new tool marks on metal.
High-Shine Polish
Bring carved metal sections to a mirror shine with increasingly fine polishing compounds. Avoid damaging indented areas.
Protective Coatings
Coat fired pieces with non-yellowing varnish, wax or clear enamel spray. This prevents scratches and metal oxidation over time.
Compartments and Backings
Consider decorative metal back plates, ring boxes, or compartments featuring your champlevé designs. This transforms pieces into striking jewelry or objects.
Creative Displays
For art pieces, customize creative stands, frames or mountings to showcase and accentuate the champlevé enameling.
Finding Inspiration
Look to the natural world, tribal arts, Art Nouveau motifs, and your own cultural heritage for carved champlevé design inspiration. The distinctive sunken textures lend themselves beautifully to floral, animal, geometric and lettering motifs.
– Botanical designs – Flowers, vines, leaves, trees
- Aquatic motifs – Fish, shells, waves, bubbles
- Zoomorphics – Reptiles, insects, birds, mythical beasts
- Geometric patterns – Mandalas, lattices, tessellations
- Spiritual symbols – Celtic knots, mandalas, religious icons
- Monograms and words – Names, dates, insignia, sayings
Let the carved depressions guide and enhance the motif shapes for a cohesive look. With practice, champlevé provides a gratifying way to produce dimensional, painterly enamel artwork full of your own hand-carved character.