Handmade Jewelry Using Photographs: Make Memories You Can Wear
Introduction
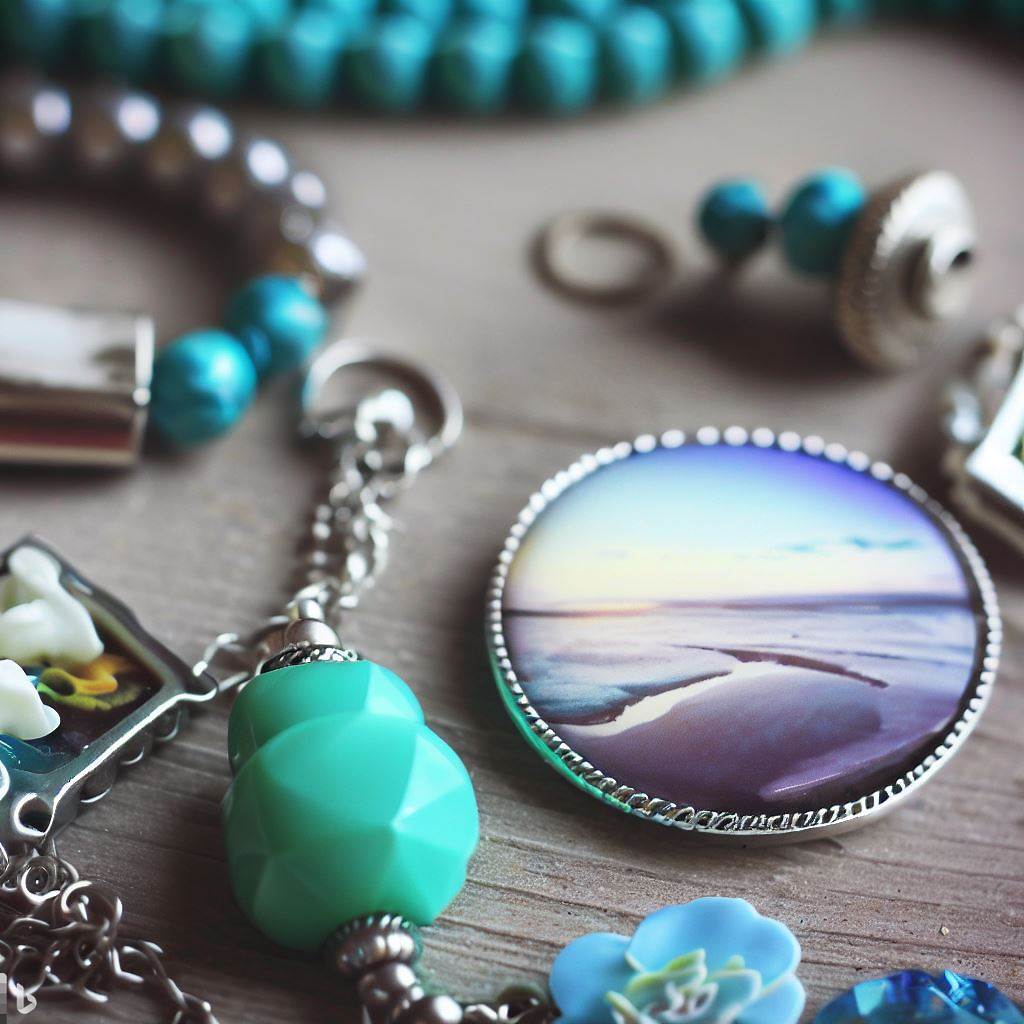
Photos preserve special memories that come alive again when transformed into handmade jewelry. With some creative settings and seals, printed photographs become stunning resin pendants, lockets, and embroidered brooches showcasing meaningful moments.
This guide covers innovative methods for turning photos into custom charms, beads, cameos and components perfect for necklaces, bracelets, rings, and other jewelry. Learn techniques like decoupage, resin casting, and sealed framing to make photo memories into heirlooms worn close.
Benefits of Using Photographs for Jewelry Making
Photos offer many advantages for handcrafting jewelry:
- Allow capturing nostalgic moments and meaningful memories as keepsakes
- Provide inexpensive and readily abundant material already printed
- Vivid colors and crisp details become focal interest
- Enable gifts with deep sentimental significance
- Make ideal miniature portraits for cameos, charms, and sculptural filigree frames
- Readily adhere to surfaces and embed seamlessly into resin
- Pair beautifully with embellishments like beads, ribbons, and found objects
- Develop patina and vintage appeal when sepia toned before sealing
- Repurposing printed photos follows principles of upcycling memories
Helpful Tools and Materials for Photo Jewelry Making
In addition to printed photos, useful supplies include:
- Adhesives – Craft glue, E6000, jewelry glue, gel medium
- Liquid resin or UV resin – Seals and protects delicate photos
- Corner rounder – Smooths sharp photo corners into rounded edges
- Hole punch – Quickly punches clean stringing holes
- Scissors – Fussy cutting around key image elements
- Ruler – Measures even photo segment sizes
- Craft knife – Precision cutting for tiny details
- Photo editing software – Crops and sizes images
- Tweezers – Carefully position tiny photos
- Jewelry findings – Jump rings, headpins, and ear wires
Best Photos for Making Jewelry
Look for images with these desirable qualities:
- Close Cropped – Face and shoulder portraits work best
- Color Photos – Vibrant images attract the eye
- Glossy Finish – Avoid newsprint quality yellowing over time
- Happy Memories – Uplifting moments become keepsakes
- Everyday Moments – Don’t overlook seemingly mundane times
- Childhood Photos – Youth pictures take on renewed meaning
- Historical Photos – Give past generations a voice
- Sentimental Photos – Special relationships, pets, heirlooms
- Vacation Photos – Remember exciting adventures
- Achievement Photos – Commemorate milestones
Techniques for Transforming Photos into Jewelry
Follow these methods for turning photographs into wearable keepsakes:
- Print photos at high resolutions onto photo paper for crisp details
- Cut photos precisely into meaningful shapes and silhouettes using sharp craft scissors
- Decoupage photos atop pendant trays, charms, and jewelry bases using gel medium
- Edge photos beneath glass domes in jewelry box lids, lockets, and rings
- Affix photo charms using jewelry glue onto simple necklace chains
- Preserve photos by coating the surface thoroughly with liquid UV resin
- Frame photo strips under glass into slider bracelets with antique slider mechanisms
- Transfer images onto metal blanks for engraving using laser toner transfer techniques
Step-By-Step DIY Photo Jewelry Tutorials
Follow these tutorials to create beautiful photo jewelry:
Photo Resin Pendant
Supplies:
Steps:
- Print out a meaningful photo cropped small to fit a pendant tray cavity.
- Mix UV resin according to directions and pour a thin layer into tray.
- Press photo face down into resin, ensuring it’s fully coated.
- Pour additional resin overtop to seal photo fully. Allow to cure in UV light.
- Once hardened, glue a bail finding onto the rear and attach a jump ring.
Photo Slider Bracelet
Supplies:
- Various small printed photos
- Antique slider bracelet mechanism
- Craft glue
- Clear glass cabochons
- E6000 glue
Steps:
- Adhere photos onto top of glass cabochon backs using craft glue. Allow to fully dry.
- Fill cabochon top cavity with UV resin. Let cure until hardened.
- Glue resin-sealed cabochons onto the frames of the slider bracelet mechanism using E6000.
- Open mechanism and insert photos into slider frames to display.
Decoupage Photo Collage Pendant
Supplies:
- Assorted printed photos
- 1-inch pendant tray
- Decoupage glue
- Resin sealant
Steps:
- Cut out tiny photos to decoupage into the tray. Arrange attractively.
- Brush decoupage glue over the pendant tray surface and start layering down photos.
- Cover completely with overlapping images. Brush more glue overtop.
- Seal the finished decoupage pendant with 3 coats of clear acrylic resin spray.
Inspirational Photo Jewelry Designs
Take inspiration from these beautiful ways to repurpose photographs into wearable art:
- Textured image transfer pendants on raw metal blank canvases like copper or slate
- Resin paperweights with photos suspended freely inside thick clear blocks
- Tiny photo lockets mounted on rings as secrets only the wearer knows
- Photo cameo brooches with laser cut filigree or wire wrapping framing portraits
- Custom pet memorial jewelry with portraits of beloved furry friends
- Charm bracelets using cropped photo charms marking special memories
- Pixelated photo mosaic pendants recreating images from small cubed cuts
- Photo slide necklaces with glass viewfinder frames showcasing a rotating photo reel
- Hidden photo watches with pictures sealed safely under glass watch faces
- Stacked focal bead bracelets wrapping meaningful photos around clay or wooden beads
Tips for Improving Your Photo Jewelry Skills
Apply these techniques to take photo jewelry to the next level:
- Fully seal porous paper photos before adhering to prevent moisture from causing damage
- Enhance photos with sepia, vintage, or black and contrast filters before sealing
- Watermark or place photos facedown when sharing online to avoid illegal use of your images
- Use archival quality photo papers, glues, varnishes, and resins to help photos endure time
- Set black and white photos within color coordinated resin like yellowed vintage photos in sepia tone resin
- Intentionally damage and distress photos by scraping, burning, or staining edges before sealing
- Create hidden hollow compartments behind photos to conceal secrets
- Name pieces based on photo dates, subjects, or locations as descriptive identifiers
Conclusion
With some artistic skill, photographs transform from printed paper keepsakes into remarkable wearable works of art. Vivid imagery gains new permanence and significance cast into jewelry.
Let cherished photos provide inspiration for creating pendants, charms, and beads packed with sentimental meaning. Follow principles of upcycling by giving forgotten dusty albums renewed life and purpose immortalized in handmade jewelry.
Whether to remember beloved faces, special occasions, or meaningful moments, give memories new voice through photo jewelry crafted by hand with care. Let these miniature wearable time capsules keep nostalgia and personal history close.