Handmade Jewelry Using Resin Molds: Dramatic Pendants and More
Resin cast in detailed jewelry molds creates glossy, dimensional pendants, rings, and components. Combined with inclusions like dried flowers or glitter, resin takes on an artistic fluidity perfect for jewelry.
This guide covers selecting and using silicone molds to handcraft resin jewelry. Learn techniques from preventing bubbles to layering colors. Find inspiration in creative ways to transform resin and molds into one-of-a-kind art jewelry pieces.
Benefits of Using Resin Molds for Jewelry
Resin molds provide many advantages for jewelry making:
- Achieve consistent professional results efficiently in reusable molds.
- Find inexpensive molds in every imaginable shape from flowers to mystic symbols.
- Craft batches of identical components like focal beads or charms.
- Intricate mold designs add artistic details resin alone couldn’t capture.
- Avoid tediously carving or fabricating forms by casting directly in detailed molds.
- Make multiples of customized designs by using silicone molds of your handmade original pieces.
- Soften rigid molds into curved shapes to make domed focal pendants and cabochons.
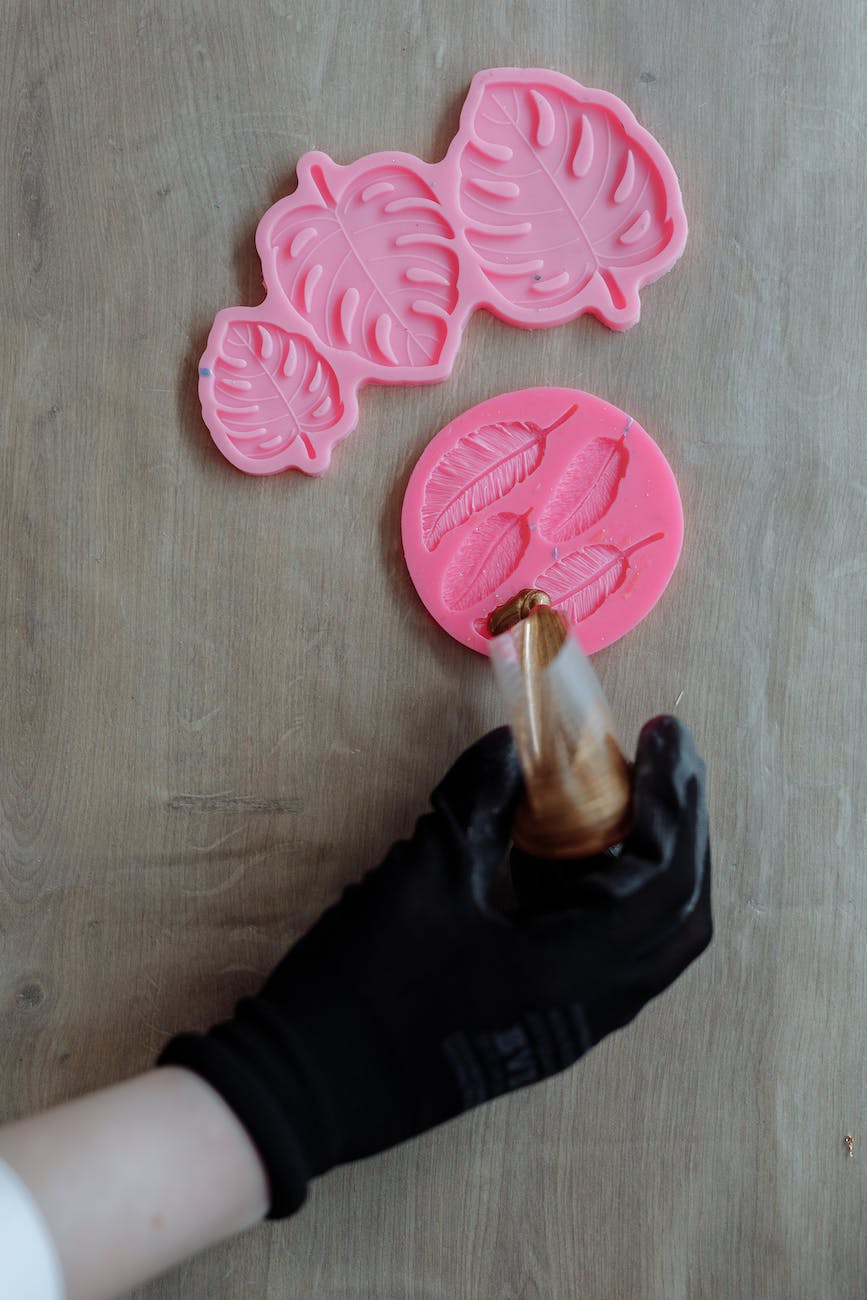
Selecting Resin Jewelry Molds
Many materials work for resin molds depending on the project:
Silicone – Flexible with fine detailing. Easy release. Ideal for intense detail like filigree. Can gently bend silicone into dome shapes.
Plastic – Affordable and accessible. Limited fine detail. Rigid shapes only.
Glass or Acrylic – Very rigid but suited to flat backings. Creates clear see-through layers.
Wood – Best for simple rustic shapes. Resin can stick to porous material.
Metal – Like brass filigree charms. Resin won’t bond to metal. Avoid highly intricate open designs that trap resin.
Helpful Supplies for Resin Jewelry Molding
Beyond quality molds and resin, a few additional supplies prove useful:
- Mixing Containers – Disposable plastic cups or resin mixing pots
- Stir Sticks – Disposable popsicle sticks, stir sticks, or micro spatulas for mixing resin
- Dropper – For adding resin tints and inks dropwise
- Propane Torch – Helps pop air bubbles in resin before hardening
- Rubber Bands – Secure pieces around curved molds to prevent leaks
- Vaseline – Lubricates molds to prevent sticking
- Sandpaper – Fine grit removes any raised seam lines after unmolding pieces
- Sealant – Polyurethane, spray sealer, and resin sealants protect finishes
Step-by-Step Guide to Resin Jewelry Molding
Follow this general process for flawless cast resin jewelry results:
Step 1 – Select Mold Design
Choose mold shapes and details suited to the jewelry piece. Opt for molds that can embed inclusions.
Step 2 – Clean and Prepare Mold
Wash molds in mild soap and water. Dry fully. Apply Vaseline mold release if needed.
Step 3 – Plan Inclusions
Gather dried flowers, photos, confetti, glitter or any embellishments to encase in the resin.
Step 4 – Calculate Resin Amounts
Determine how much mixed resin is required to fill the mold cavity volume fully.
Step 5 – Mix Resin
Combine resin and hardener according to packaging directions. Stir thoroughly 3-5 minutes until fully blended.
Step 6 – Pour Resin
Slowly fill mold fully from one corner to prevent air bubbles. Tap mold to help bubbles rise.
Step 7 – Release Air Pockets
Use propane torch to lightly pass over resin and help stubborn bubbles pop. Avoid direct contact.
Step 8 – Seal Mold
If needed, secure a top around mold walls with rubber bands to contain resin while curing.
Step 9 – Allow Resin to Set
Leave cast resin undisturbed to harden fully before unmolding according to resin directions.
Step 10 – Unmold Carefully
Gently flex and work mold to pop out finished resin piece. Avoid damaging intricate details.
Step 11 – Finish Edges
File or sand any rough mold seam lines until smooth. Polish with microfiber cloth.
Step 12 – Apply Protective Sealant
Finish resin surface with clear acrylic spray or other sealant for shine and scratch protection.
Helpful Techniques for Dazzling Resin Jewelry Molds
Take cast resin jewelry to the next level using these specialized molding techniques:
Doming Molds
Turn flat molds into dome shapes by heating in hot water then bending gently before pouring in resin. Creates dimensional cabochons.
Section Molds
Divide deep molds like spheres into upper and lower pieces for easier filling. Join halves later to encase inner contents.
Embedded Objects
Press meaningful items like coins or photos into resin before hardening to encapsulate them. Makes sentimental jewelry.
Geode Molds
Coat crystalline mold interiors with clear resin tinted with alcohol ink or mica powder swirls. Creates “sliced” agate effects.
Powder Coating
Sprinkle metal powder, mica, or flocking powder into mold to coat embedded items with a business, sparkly, or velvet touch.
Backfill Clear Resin
Pour a thin transparent layer to encase contents fully, then let cure before filling remainder of mold for crystal clarity.
Staged Layering
Pour colored layers in intervals, allowing each to partially set before adding the next hue. Creates artful color gradients.
Silicone Molding
Press finished resin pieces into silicone to capture shape. Reproduce textured focal beads, cameos, or custom components.
Inspiring Jewelry Projects Using Resin Molds
Looking for ideas to fire up your mold-based jewelry creativity? Here are beautiful possibilities:
Pressed Flower Jewelry
Encapsulate delicate flower petals, leaves, and stems in clear resin pendants and paperweights to create a lasting bouquet.
Photo Jewelry
Capture cherished moments by pressing photos into dimensional resin like domes or cubes. Makes sentimental pendants and keychains.
Mystical Symbol Jewelry
Cast astrological, alchemical, sacred geometry, and ancient icon molds in gold-tinted resin as otherworldly pendants.
Statement Rings
Pour vibrant resin into bold ring molds shaped like flowers, skulls, animals, or feathers for standout molded rings.
Glitter Dome Jewelry
Mix ultra fine glitter into clear resin and pour into half sphere molds. Glitter floats and shimmers within these dimensional pendants.
Souvenir Jewelry
Press tickets, coins, or shards of fabric into resin to encapsulate memories and events in lucite jewelry keepsakes.
Bezel Pendants
Fill bezel tray molds with resin tinted and swirled like gemstones. The frames become dazzling dimensional resin “cabs”.
Ocean Resin Jewelry
Tint clear resin with blue alcohol ink. Add bits of sea glass, sand, shells, and glitter captured in wave or octopus molds for oceanic designs.
Troubleshooting Common Resin Molding Problems
Don’t worry, resin molding has a learning curve. Here are solutions to common issues:
Bubbles in Resin – Use a propane torch briefly on the surface to help bubbles rise and pop or pour in very thin layers, waiting for each to cure before adding more on top.
Resin Not Curing – Ensure equal resin and hardener are mixed thoroughly. Not mixing for the full recommended time prevents hardening. Also check for expired products.
Mold Sticking to Resin – Give resin adequate time to cure fully before unmolding to avoid it adhering. Apply petroleum jelly or silicone spray to mold interior as an extra release barrier.
White Spots on Resin – Dry powder pigments clump up when mixed directly into resin. Instead premix powdered tints into a small amount of clear resin before adding to make an even colored resin base.
Resin Cracked or Crazed – Cooling resin too quickly creates internal stresses that manifest as cracks. Allow resin to cure fully at room temperature away from drafts, fans, and cold window surfaces.
Resin Takes Long Time to Set – In cold conditions below 70°F, resin cures considerably slower. Use small space heaters or sunlight to gently warm the casting area for quicker results.
Embellishments Floating Up – Objects may gradually work their way upwards through the resin as it cures. Press them into a thin starting layer of resin and allow to partially harden before flooding the full mold.
Safety Best Practices When Working with Resin
Take proper precautions when using resin:
- Work in well-ventilated areas to minimize inhaling fumes. Consider wearing an organic vapor respirator.
- Avoid resin contacting skin. Wear disposable nitrile gloves and long sleeves when mixing and molding. Wash hands after.
- Only use resin products as directed. Carefully measure equal parts resin and hardener.
- Prevent resin from going down drains which can clog pipes. Properly contain and dispose of waste.
- Supervise children around resin. Consider their shorter stature and greater susceptibility when assessing ventilation setups.
- Never microwave resin. Only apply indirect heat like warm water baths or sunlight to help cure resin faster.
Conclusion
With quality silicone molds and clear casting resin, you can create dazzling jewelry pieces with depth and polish. The possibilities are endless between selecting from thousands of detailed mold varieties and deciding which special contents to embed within each piece before the resin cures permanently.
Jewelry molds allow efficiently reproducing multiple copies of designs with precision detail. But you also have the freedom to give each piece individuality by mixing in colors, glitter, found objects, and more. Simply add premade bails and findings to transform resin molding creations into professional quality pendants, charms, and focal beads.
Let resin molding open new doors for bringing your most elaborate jewelry visions to life!