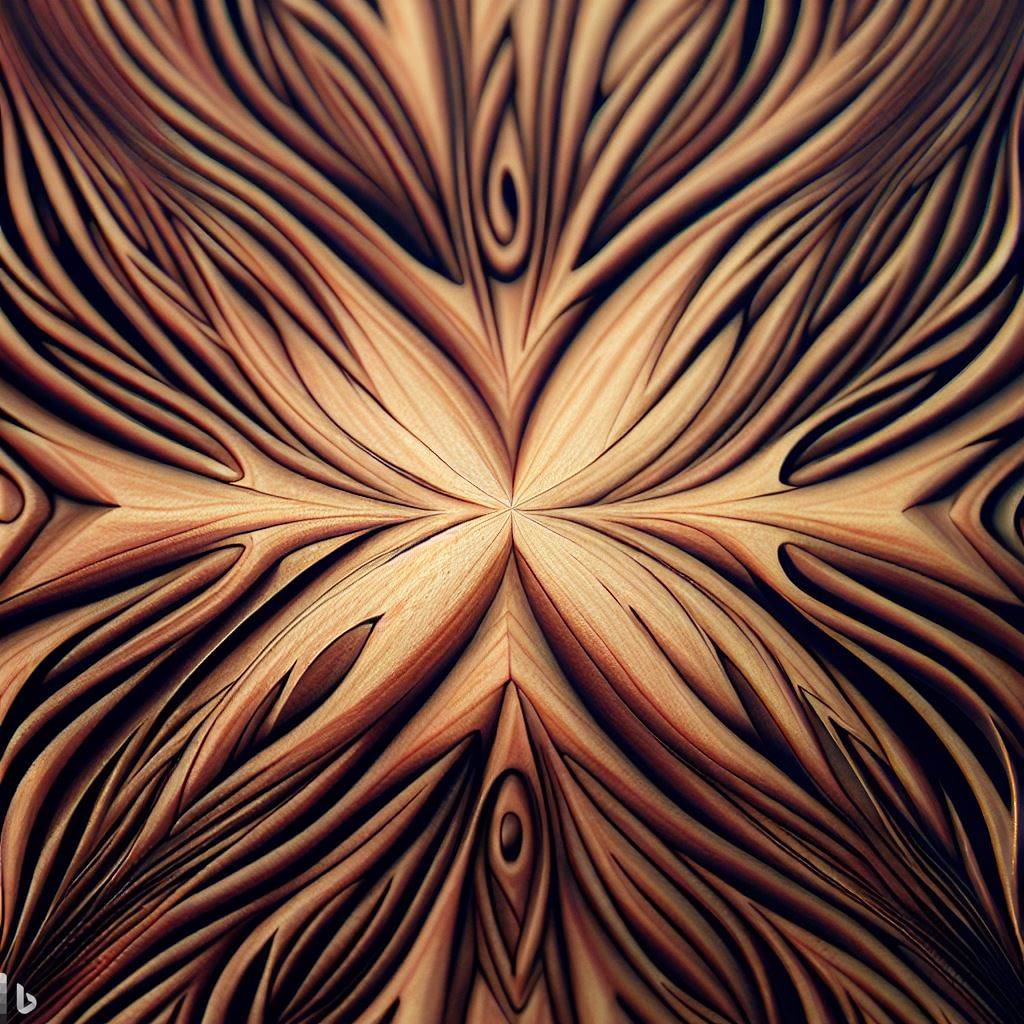
Abstract Pattern Pyrography: Hypnotic Wood Burned Textures and Effects
While pyrography excels at representational art, exploring abstract non-objective patterns opens new creative avenues. Burning repetitive shapes, marks, and textures across a wood surface results in mesmerizing designs full of movement, rhythm, and visual interest.
This guide covers tips for planning and executing hypnotic abstract pyrography compositions. We’ll explore techniques like using resist methods, manipulating patterns, and incorporating mixed media to take your wood burnings into meditative abstract realms beyond traditional imagery.
The Allure of Abstract Patterns
What makes abstract patterns so aesthetically engaging? Understanding their appeal helps appreciation:
Texture and Depth
The eye delights in following rhythmic textures that seem to shift and move. This activates and rewards the brain.
Symmetry and Balance
Visually balanced designs feel harmonious and tranquil. Mirroring patterns intrigues.
Mindful Process
Methodically burning repetitious patterns induces a meditative,relaxed state from the monotony similar to mandala coloring or knitting.
Ambiguity
Not depicting clear objetcs allows viewers more room for open-ended interpretation and personal meaning making.
Visual Motion
Optical effects like afterimages, pulsating, flashing, vibrating, swirling, and wave patterns actively stimulate eye movement and attention.
With these traits in mind, let’s look at techniques for burning alluring abstract pyrography.
Experimenting with Resist Patterning
Resist methods create striking abstract effects by blocking areas from burning:
Wood Block Printing
Carve geometric shape reliefs out of a block, ink the surface, then press onto wood to print as burn resistant barriers.
masking Tape
Adhere strips of masking tape in waveform patterns, then burn up to the edges for wiggly line shapes.
Custom Stencils
Cut out stencil designs from sheet metal, vinyl, or thick cardstock. Fix them in place when burning around their voids.
Stop-Out Varnish
Paint on varnish patches to resist burning anywhere it’s applied. Let dry thoroughly before burning.
Melted Crayons
Draw designs with crayons, heat wood from behind to melt wax into surface, then burn around solidified wax lines.
Batik Wax
Brush on colored batik wax along intended pattern lines. Burn around it, then remove wax with heat.
Manipulating Wood Burn Patterns
These techniques generate mesmerizing effects by altering the burning process itself:
Repeat Pass Distortion
Burn over the same area multiple times allowing the marks to gradually distort, glide, and smear together into new formations.
Water Spray
Mist the wood while burning so marks skitter and fork creatively from the escaping steam.
Steel Wool
Rub steel wool across fresh burns to trail and snag the marks into new swirling directions.
Overburning
Reburn existing marks at hotter temps to broaden, thicken, and contort them into abstract remnants.
Graphite/Carbon Powder
Dust carbon powder over burns and tilt board to let it slowly drift, leaving a ephemeral trail.
Sand Away
Use coarse sandpaper to delete areas and transform existing marks into newfound designs needing only imagination.
Building Texture and Pattern
Mark-making is the pyrographer’s brushstroke. Master these abstract effects:
Dot Stippling
Build fields of contrasting densities by stippling separate areas with different sized dots, from fine speckling to concentrated networks.
Cross Contours
Burn layers of contour lines purposefully against the wood’s grain direction. Dense overlaid contours make striking effects.
Scumbling
Use broad zigzag motions to scumble texture randomly across the wood. Vary directions and line weights.
Blanket Lines
Burn lightly packed parallel lines like scratchboard to fill space. Slightly waver line direction for organics.
Scattered Char Singes
Create loose marks and texture by adjusting the burning pen to briefly lightly “kiss” the wood in scattered places rather than dragging.
“Drawing” Lines
Use the corner edge of a skew nib to etch very fine sketch-like lines that curl and taper expressively.
Incorporating Mixed Media
Expand beyond just pyrography to make patterns more elaborate:
Stains and Inks
Apply stains, inks, or thinned acrylic washes over burn textures to complement with color. Let irregular pooling occur.
Colored Pencils
Use colored pencils to trace over select burned lines or alternate them innovatively within patterns. Vibrant colors elucidate burns.
Gold Leaf
Brush size glue into cracks and gaps within burned textures. Press gold leaf down. Buff gently to emphasize only where glue adhered.
Charcoal and Pastel
Use soft vine charcoals or chalk pastels to smudge silhouettes and shading around or over existing pyrography. Blend together.
Resin Layers
Coat with glossy resin varnish and let cure fully. Then add a second layer of burning over the smooth surface to contrast gloss and matte effects.
Mirrored Inlays
Cut matching wood veneer pieces to inlay into carved out voids within the patterning. This doubles and reflects the designs illusively.
Finding Inspiration for Patterns
Looking at resources helps visualize potential abstract motifs:
- Zentangles and mandalas for repeating shapes and frames
- Islamic and Celtic art’s infinite knots and tessellations
- Native art’s animal hide patterns
- Op art’s optical vibrating designs
- Textile designs’ organic rhythm
- Fractal geometry’s mathematical recursion
- Cryptograms and ancient runes
- Rorschach ink blots
- Tree rings and root networks
- Aerial geography patterns
Don’t copy directly – just let these examples spark your own visions through themes like sacred geometry, nature’s patterns, graphic optical illusions, glyphs, and symbology. Then use pyrography to recreate your own unique abstract textures full of mystery and visual magnetism.
The flames dancing across the wood surface refract into unforeseen hypnotic effects within your willing imagination. Pyrography’s controlled fire unleashes unlimited creative potential.
