Mastering Crochet Gauge: Techniques for Getting the Right Size Every Time
Achieving accurate gauge in crochet is essential for projects to turn out the intended size. But gauge can seem tricky for beginners to grasp and maintain. This comprehensive guide covers everything from how gauge works, importance of swatching, tools for checking gauge, adjusting hook size, and tips to finally master consistent crochet gauge for success with any pattern.
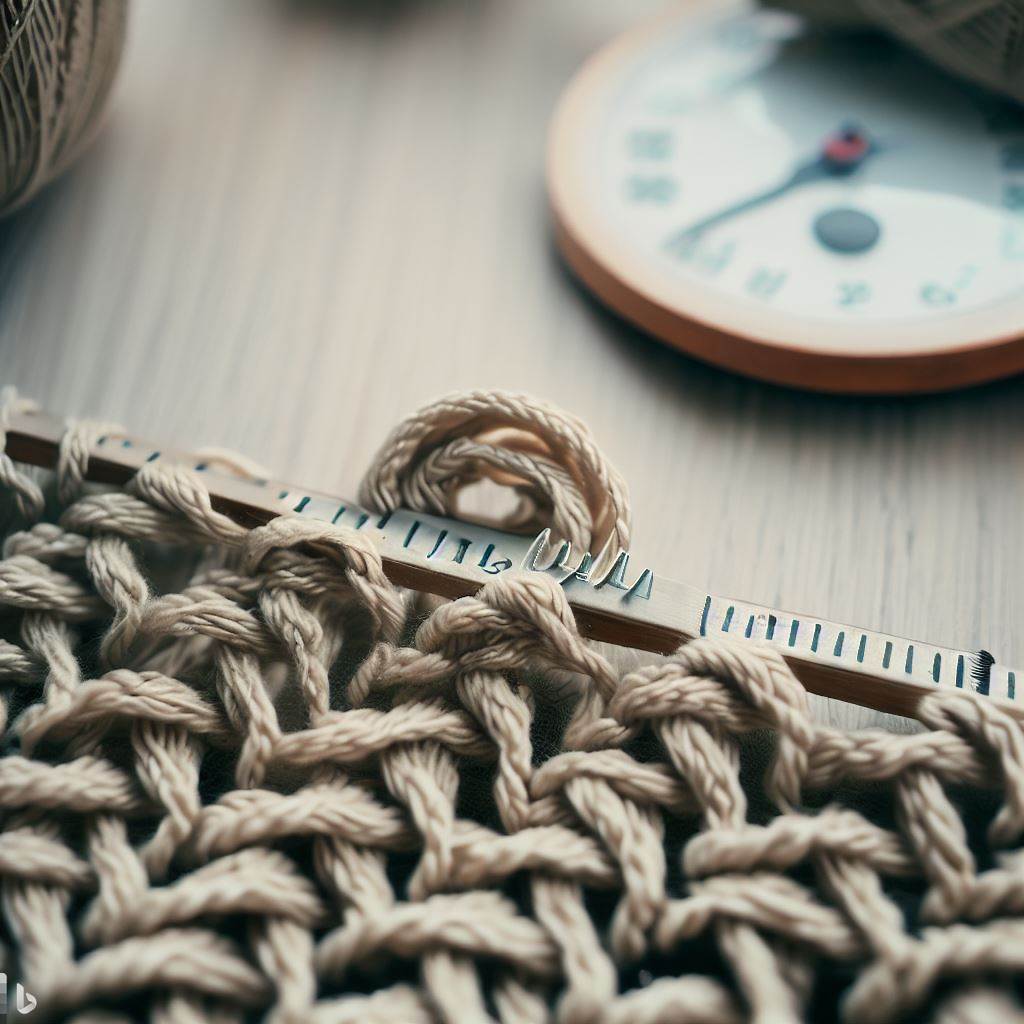
What Is Crochet Gauge?
Gauge refers to the number of stitches and rows in a standard crochet measurement, usually stitches per 4 inches or 10 cm. This gives a sense of scale to determine if crochet fabric is worked tightly or loosely.
For example, a pattern gauge might specify:
16 stitches x 20 rows = 4 inches in single crochet using worsted weight yarn and 5mm hook.
This means 16 sc stitches measure across 4 inches, and 20 rows of sc measure vertically 4 inches. The indicated hook and yarn produce that stitch scale.
Each crocheter has a unique natural gauge based on their tension. Mastering gauges specified in patterns is necessary to create pieces that match stated dimensions. Adjusting hook size helps match your personal gauge to the pattern gauge.
Why Crochet Gauge Matters
Maintaining accurate gauge throughout a project is crucial for several key reasons:
Achieve Correct Sizing
Matching the stated gauge ensures your finished pieces turn out the intended dimensions. If gauge is too tight or loose, the design will be too small or large.
Consume the Right Yardage
Patterns estimate yardage needs based on their listed gauge. If your gauge differs greatly, you may run out or have too much yarn.
Follow Pattern Instructions
Most pattern directions like “work until piece measures 10 inches” rely on you achieving their gauge. Otherwise the sizing is incorrect.
Taking the time to measure and match gauge saves frustration down the road when pieces don’t align to the expected specifications.
How to Check Your Crochet Gauge
Checking gauge periodically as you work is simple once you know the process:
Work a Gauge Swatch
Crochet a sample swatch at least 4 x 4 inches using the exact yarn, hook and stitch called for in your pattern.
Measure Swatch Dimensions
Lay swatch flat without stretching. Use a ruler or measuring tape to measure across 4 inches of stitches centering between edges. Count the number of stitches across this 4 inch width.
Measure Vertically Too
Mark off a 4 inch section of rows in the center of the swatch and count the number of rows.
Compare to Pattern Gauge
See if your stitch and row counts match the pattern gauge (ex. 16 stitches x 20 rows per 4 inches).
Adjust Hook Size
If your counts are off, switch hook sizes and crochet new swatches until you match the gauge.
Be sure to measure gauge every few inches as you work larger pieces to ensure consistency. Gauge tools like pins, clips or apps also help streamline the process.
Crochet Gauge Tools and Gadgets
Specialized tools offer handy ways to check gauge on the go:
Gauge Rulers
Clear plastic rulers marked with stitch gauge ranges allow you to instantly see if a swatch aligns to a gauge. Look for the measurement where the stitch columns fill the space.
Row Counters
These small manual or digital counters attach to knitting needles or crochet hooks to tally rows as you work. Quickly reference rows per inch.
Gauge Check Rings
Measure stitches by threading yarn through rings marked with gauge ranges. Pull yarn until rings reach desired size to count stitches per inch.
Crochet Gauge Apps
Mobile apps use phone cameras to scan and instantly analyze a crochet swatch. Apps provide stitch/row counts to compare with pattern gauge.
Stitch Markers as Rulers
Use removable markers placed an inch apart along a swatch to quickly measure length and count stitches between them.
Investing in a few dedicated gauge tools saves the hassle of constantly getting out a ruler and calculator to check gauge on projects.
How to Adjust Crochet Gauge by Hook Size
If your swatch gauge doesn’t match the pattern, don’t panic! You can simply adjust your hook size. Here’s how:
If Gauge is Too Tight
- Work UP a hook size (or two)
- Larger hook creates LOOSER, BIGGER stitches/fabric
If Gauge is Too Loose
- Work DOWN a hook size (or two)
- Smaller hook makes TIGHTER, SMALLER stitches/fabric
Swap hook sizes gradually until your stitch/row count per inch matches pattern gauge. Make a new swatch with each hook to compare.
Remember that needle material also impacts gauge:
- Slick metal hooks = looser stitches
- Grippy wood/bamboo hooks = tighter stitches
So you may go up or down hook sizes depending on material and your own tension. Don’t hesitate to experiment!
Tips for Achieving Consistent Crochet Gauge
Once you’ve set your gauge foundation, employ these tips to maintain steadier gauge throughout projects:
Work in Continuous Rounds/Rows
Stopping and rejoining yarn often creates noticeable differences in tension. Work as much as possible in continuous rounds or rows.
Handle Yarn Consistently
Hold yarn the same way throughout for even tension. Let it feed through fingers at a steady, comfortable pace.
Relax Shoulders and Hands
Crocheting tightly can cause hand cramping quickly. Periodically stretch and relax your shoulders, wrists, and hands to reset.
Use Yarn Management Tools
Stitch markers, end caps, and yarn guide rings help regulate tension and make it easier to work stitches evenly.
Check Gauge Frequently
Measure gauge every few inches on larger pieces instead of just once. Make any hook adjustments needed to maintain consistency.
Block Completed Pieces
Gently blocking evens out stitches and allows the fibers to relax into their final size and shape.
Practice makes perfect when training your hands to automatically maintain a steady gauge. Be patient with yourself as you build muscle memory and consistency.
Common Crochet Gauge Issues and Solutions
If you find your gauge fluctuating, check for these common issues:
Inconsistent Yarn Tension
- Causes loose/tight sections
- Try to maintain steady tension feeding yarn through fingers
Varying Hook Hold
- Changes grip/pressure on hook distorts gauge
- Focus on consistent hook hold and movement
Hook Too Large or Small
- Drastic gauge changes may require more hook adjusting
- Make larger hook increments for correction
Inconsistent Stitch Height
- Different wrapping/insertions alter stitch height
- Form all stitches uniformly
Errors in Stitch Count
- Missing/incorrect stitches throw off dimensions
- Carefully count stitches in each row
Yarn Changes
- Different yarn textures and ply affect gauge
- Swatch new yarns separately to set their gauge
Being aware of what impacts tension helps you systematically improve gauge skills.
Master Crochet Gauge for Project Success
Learning to accurately measure, match and maintain crochet gauge removes the guesswork from any pattern. While it takes practice to control tension, the ability to intentionally adjust gauge by changing tools gives you creative freedom. Master consistent gauge, and you can take on any project knowing the finished size will meet your expectations. Relish the satisfaction of perfectly sized handmade pieces thanks to your gauge prowess!