Pyrography for Beginners: Easy Wood Burning Projects and Patterns with Step-by-Step Instructions
Just starting out with wood burning art? Have no fear! Pyrography is very approachable even if you’ve never tried it before. This beginner’s guide covers everything a new pyrographer needs to get started, from essential supplies and safety tips to easy step-by-step burning projects suitable for beginners.
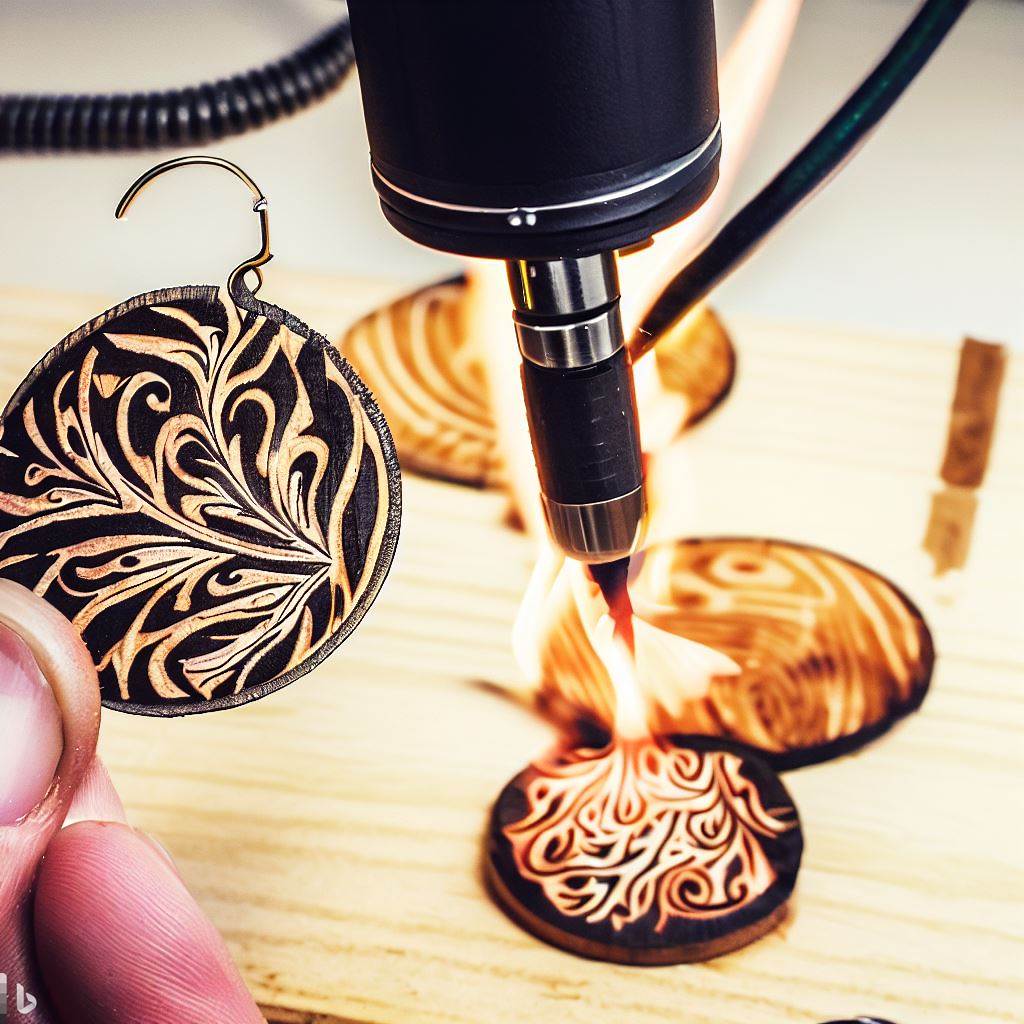
Follow along as we walk through beginner-friendly pyrography patterns, techniques, and complete project tutorials. With practice, you’ll gain skills and confidence to take on more advanced burning challenges. But for now, let’s start kindling that artistic fire gently with these pyrography basics for first-timers!
Beginning Pyrography Supplies
Having quality tools makes learning pyrography much easier. Here is recommended beginner equipment:
Pyrography Tool
Opt for a basic fixed-tip burner versus a interchangeable nib tool to start. Solid point burners are more forgiving for beginners. Look for adjustable temperature settings. Brands like Walnut Hollow, Razertip, and Colwood are good starter choices.
Assorted Nibs
Eventually try a selection of different shaped nibs for varying effects like writing tips, knife blades, loopers, etc. But stick with a single nib for initial practice.
Pyrography Project Book
Get a beginner workbook with patterns and step-by-step guides to help you learn techniques correctly from the start. Traceable patterns are very useful.
Basswood Planks
Choose smooth-sanded basswood, maple, or birch boards approximately 5×7 inches. Avoid soft porous woods prone to scorching. Let planks acclimate in your home before burning.
Carbon Paper
Transfer patterns onto wood with carbon paper. Purple or red colors show up well on basswood. Tape layers together for multiple transfers.
Sandpaper
Keep 100, 150 and 220 grit on hand. Fine sanding between coats gives smooth surfaces for burning details cleanly.
Safety Gear
Protect yourself with a particle mask, protective gloves, and safety glasses. Have a fire extinguisher handy just in case.
Beginning Pyrography Safety Tips
Exercise caution when first learning this fire craft:
- Work in a well-ventilated area to avoid inhaling fumes
- Tie back long hair and avoid loose sleeves or dangling jewelry
- Never leave a hot tool unattended or resting on flammable surfaces
- Let tools fully cool before changing nibs or putting away
- Keep flammables like alcohol, paint, etc away from your burning area
- Have a jar lid of water nearby to quickly dunk hot nibs if needed
- Maintain a respectful distance between the tool’s hot nib and your fingers/hands
- Be attentive and avoid distractions to prevent accidental burns or scorching
- Unplug tools when not in use and store safely out of childrens’ reach
With responsible precautions, pyrography only carries minimal risks. So don’t let safety concerns deter you from trying it!
Helpful Beginner Pyrography Tips
Keep these techniques in mind as you learn:
- Work on a solid table to keep steady hands
- Brace wrists/hands against the work surface for stability
- Burn light layers first, then re-burn to go darker
- Let sections cool fully before burning adjacent areas
- Outline key contours first before shading enclosed spaces
- Start with simpler blocky shading before textures/details
- Sketch designs first in pencil before burning irreversibly
- Follow patterns exactly to learn techniques properly
- Buy basswood planks online to avoid frustrating grainy big box wood
- Print designs mirrored before transferring for correct orientation
- Save early practice pieces to compare progress over time
Now let’s get burning! Here are beginner-friendly pyrography patterns and project tutorials to follow.
Beginner Pyrography Patterns and Tutorials
Simple Flower Pattern
Supplies Needed:
- Basswood plank
- Pyrography pen with medium point tip
- Carbon paper
- Flower pattern
Instructions:
- Sand plank smooth. Transfer flower pattern using carbon paper.
- Outline all major flower contours with light, consistent pressure. Don’t burn inside lines yet.
- Shade flower interior all one midtone using hatching strokes in one direction. Avoid darks for now.
- Re-outline key edges like petals for definition. Burn some sections darker for contrast.
- Add details like petal veins, center stamen, and leaf veins using thin trailing lines.
- Sign your initials and date!
Geometric Line Pattern
Supplies Needed:
- Basswood plank
- Pyrography pen with writing tip
- Ruler
Instructions:
- Lightly draw diagonal parallel lines across the plank using a ruler to keep straight.
- Re-burn over each penciled line pressing harder to deepen groove. Keep consistent spacing.
- Rotate plank 180 degrees. Repeat burning new lines between the original lines to form diamond gaps.
- Rotate plank 90 degrees. Burn new lines perpendicular through the intersections. Vary pressure for character.
- Rotate plank 45 degrees. Burn final lines between the existing intersections.
- Accent the bolder intersections and variables for interest. Sign your name!
Simple Feather Pattern
Supplies Needed:
- Basswood plank
- Pyrography pen with skew tip
- Feather pattern
Instructions:
- Transfer feather outline using carbon paper. Burn slowly over main center contours.
- Burn parallel lines outward from center axis to create feather barbs and rachis. Use thin skewed lines.
- Burn bands of short strokes around rachis to create barbules and give fluffy texture.
- Add finer details like distinctive points and wispy trailing barbs. Curve strokes to follow shape.
- Shade background around feather to help it stand out. Sign your name!
Abstract Wood Grain Pattern
Supplies Needed:
- Basswood plank
- Pyrography pen with skew tip
Instructions:
- Plan simple curved lines across the wood’s grain. Burn wavy contours at different angles.
- Burn short, thin skewed strokes between the curved bands to suggest abstract wood grain texture.
- Burn rows of small dashes along sections of curved lines to make them stand out further.
- Allow some curved contours to fade as they cross the wood so grain emerges through.
- Accent with small trailing curls, dots, and crosshatching for extra interest. Work loosely!
Sunrise Landscape Silhouette
Supplies Needed:
- Basswood plank
- Pyrography pen with medium tip
- Sunrise landscape pattern
Instructions:
- Transfer simple landscape outline using carbon paper.
- Burn smooth even lines over all major contours – hill, trees, grass, sun. Don’t shade yet.
- Texture sky area with small curved lines radiating out from sun to emulate beams of light.
- Texture grass with thin short vertical lines. Slope them to follow the hill’s incline.
- Texture treetops by burning small V shapes. Overlap treetops in front and behind each other.
- Carefully burn bright glows around the sun without scorching. Sign your name!
Hopefully trying these beginner pyrography patterns gives you an enjoyable introduction to woodburning techniques! Use these projects as building blocks towards more elaborate and detailed artworks as your skills grow. But for now, just focus on enjoying the relaxing, meditative process. Soon you’ll be an accomplished pyrographer ready to ignite full creative blazes!