Achieving Photorealism in Pyrography: Tips and Tricks
Pyrography, also known as wood burning, is the art of decorating wood or other materials with burn marks resulting from the controlled application of a heated object. It has been around for centuries, with some of the earliest examples found in ancient Egypt. However, achieving true photorealism with pyrography is a much more modern pursuit, enabled by advancements in tools and techniques.
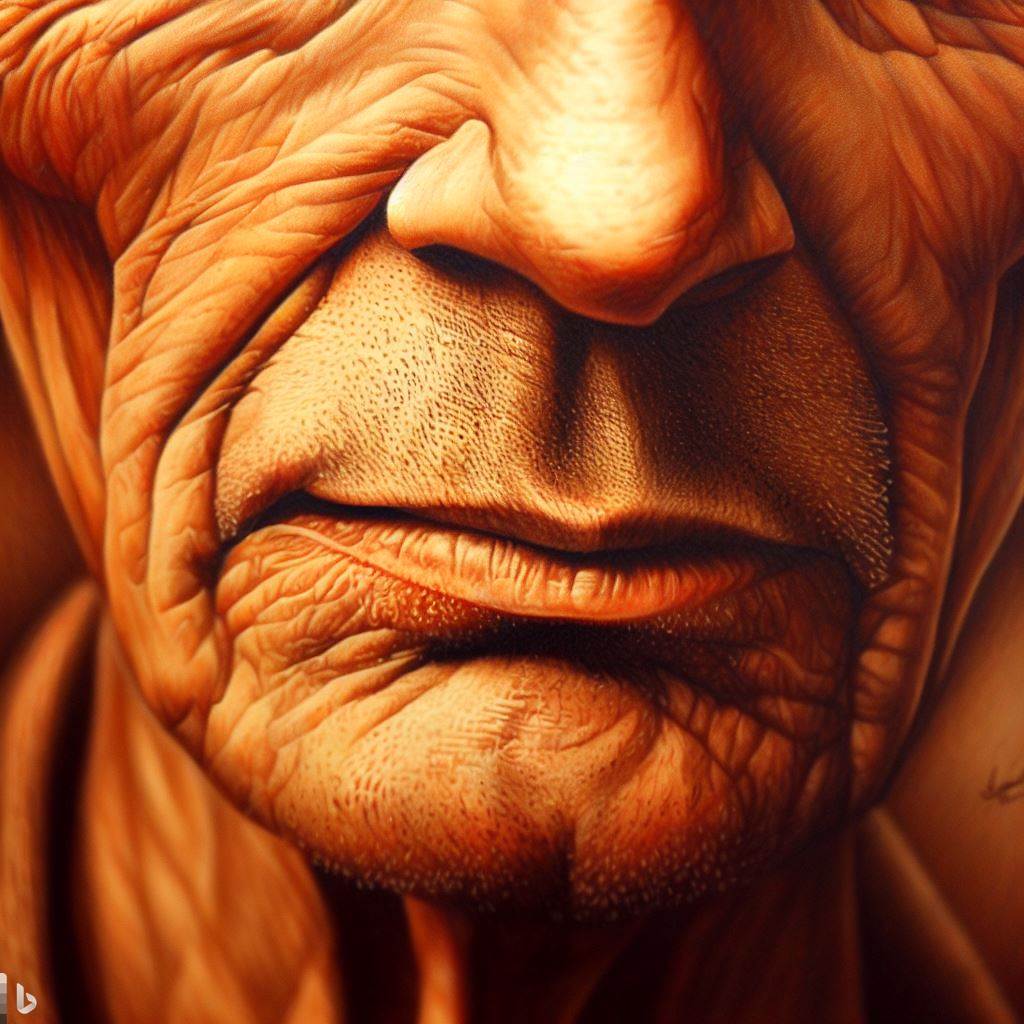
With patience and practice, wood burning artists can now create stunning realist portraits, landscapes, and more that look almost indistinguishable from a photograph. While developing such skills takes time, there are tips and tricks to help pyrographers get closer to photorealistic results. This article will cover some of the key techniques and advice for those looking to hone their realism in wood burning.
Choosing the Right Supplies
Having quality tools is essential in pyrography, especially for refined, photorealistic work. Buying cheap equipment will make the process much more difficult and limit what you can achieve. Investing in good materials upfront will pay off in the long run.
Pyrography Tool
The most important tool is the pyrography unit itself. Look for ones with a wide temperature range so you can adjust the heat based on your needs. Some key features to look for include:
- Adjustable temperature – Allows you to fine-tune the heat for detailed burning. Look for one with a range of at least 200 degrees Fahrenheit.
- Variable speed – Control the speed of burning for different effects and precision.
- Interchangeable tips – Different nibs and heads allow a variety of mark-making techniques.
- Comfortable grip – Helps control the tool and reduce hand fatigue over longer sessions.
Many artists recommend opting for a solid point burner rather than a wire nib tool when first starting out. The fixed heads provide more stability and are more forgiving for detailed realist work. Brands like Burnmaster, Razertip, Walnut Hollow, and Colwood are well-respected options.
Wood Planks
Choosing the right wood is also key for best results. Look for planks of high-quality basswood, birch, poplar, maple, or walnut. Avoid softwoods like pine which are more difficult to burn finely. The wood should be sanded smooth, unfinished, and free of blemishes. Consider investing in wood panels specifically made for pyrography that come ready to use.
Carbon Paper
Carbon paper transfers your reference image outline onto the wood so you can trace it accurately when burning. Get a high-contrast transfer paper in purple or black. Test different types to see which marks show up clearest on your wood surface.
Safety Equipment
Have proper safety gear like a particulate mask respirator to filter out smoke and dust. Safety glasses will also protect your eyes from flying sparks and wood particles when burning. And use a well-ventilated area or smoke absorber to reduce fumes.
Mastering Realistic Textures and Tones
The two most important skills for photorealism in pyrography are recreating accurate textures and tones. Here are techniques to help you enhance both:
Burn Layers for Smooth Tones
Burning in layers creates smooth gradations between lights and darks. Apply multiple passes of lighter shading first, then gradually increase the temperature and pressure for darker tones. Let layers cool between applications. Be patient and work slowly to avoid rushed, scratchy lines.
Crosshatch for Textured Effects
Use various crosshatching patterns to emulate realistic textures like skin, hair, wood, stone, etc. Try different angles, densities, stroke directions, and weights. Layering creates more depth. Outlining crosshatched areas helps define textures from backgrounds.
Stippling for Soft, Organic Textures
Stippling with the tip of the nib creates tiny dots that build up realistic gradients. It’s perfect for soft textures like skin, clouds, fur, feathers, leaves, and more. Vary dot size, spacing, and intensity for different stippling patterns.
Skew Nib for Fine, Short Lines
Skewing the nib to the side lets you make thin, short marks for details like hair, stubble, fur, grass, whiskers, wrinkles, wood grain, etc. Dragging on an angle keeps lines tapered and precise.
Sgraffito for Highlights
Sgraffito involves scratching or etching into the wood grain with a knife or spur to create highlights. Use sparingly and carefully for realistic accents on shiny surfaces, reflected light, whiskers, hairs, etc.
Apply Color Theory
Use color theory to mix the right realistic hues. Go for higher contrast and saturation. Layer warmer colors like browns first, then add cooler blacks and greys. Add violets and blues for shadows. Mix colors by layering and crosshatching different tones.
Composing a Photorealistic Piece
How you compose and plan your pyrography project also impacts the realism. Use these tips when designing your photorealistic wood burn:
Choose a Quality Reference Photo
Work from a sharp, high-resolution reference photo that clearly shows every detail you want to capture. Avoid blurry pics or low lighting. Taking the photo yourself lets you control the angle, lighting, focus, etc. Enlarge and print the photo for easy tracing.
Focus on the Eyes
Eyes are key for realism. Reproduce them carefully as they give personality and life. Map out the iris, pupil, highlights, shadows, eyelashes, creases, bags, crows feet, etc. Spend time refining and perfecting the eyes before moving on.
Outline Major Contours First
Lightly outline the major contours first like the silhouette, head shape, eyes, nose, mouth, etc. This framework guides your proportions before burning intricate details. Don’t start burning inside shapes until all the outlines are mapped.
Choose an Appropriate Size
Don’t go too small if burning a detailed portrait or scene. Leave adequate room for small features. Aim for at least an 8″x10″ piece, or larger for extra realism. Enlarge or reduce your reference as needed to fit your plank size.
Focus on a Limited Area
When starting out, don’t overcomplicate compositions with too many elements. Choose a tight crop that isolates the most important details you want to portray realistically like a single face, flower, object, etc. Avoid busy backgrounds.
Use Selective Sharpness
Mimic a shallow depth of field by making your focal point sharply detailed, and keeping the background and periphery softened. This helps draw the eye to what’s most important while hiding imperfections elsewhere.
Burn Dark to Light
Starting with the darkest areas helps you map values accurately. You never want to burn too dark or you can’t layer lighter. Burning incrementally from dark to light retains clarity and form.
Developing a Photorealistic Style Takes Time
While these tips will help you gain skills, developing a polished photorealistic style takes a lot of dedicated practice. Be patient with yourself as you learn. Trace the same features like eyes, noses, and mouths over and over. Do studies and value exercises focusing just on textures. Copy master pyrography artists to learn their techniques. Over many hours and weeks of burning, you will gradually gain the realistic style you’re after. Just remember that pyrography is a marathon, not a sprint. Don’t get discouraged by slow progress as long as you keep striving to improve. The satisfaction will come when that photorealism suddenly clicks!
In summary, achieving true photorealism in wood burning comes down to having the right high-quality tools, understanding core techniques for textures and tones, thoughtful composition, and sheer repetition. Use the advice in this article as a starting point, keep practicing, and your pyrography skills will become more refined and realistic over time. Just stay determined in your artistic journey, embrace failures as lessons learned, and keep your eye on creating work that captures life like a photograph.